I have no particular reason to make this cake. Decided to find the best vanilla cake recipe and here it is. It is perfect, not too dense with all butter but enough to retain the flavour. and some oil to get a perfect crumb texture.
For the cake
Ingredients:
113g unsalted butter, at room temperature
357g all-purpose flour leveled
1 teaspoon baking powder
1 teaspoon fine salt
400g granulated sugar
1/2 cup/118 ml vegetable oil
5 large eggs, at room temperature
1 tablespoon pure vanilla extract
1 cup/240 ml milk
Directions
Preheat the oven to 350 degrees F. Butter the bottoms and sides of two 9-inch round cake pans; Place a sheet of parchment paper on the bottom of the pan and butter it lightly.
Whisk together the flour, baking powder and salt in a medium bowl; set aside.
This slideshow requires JavaScript.
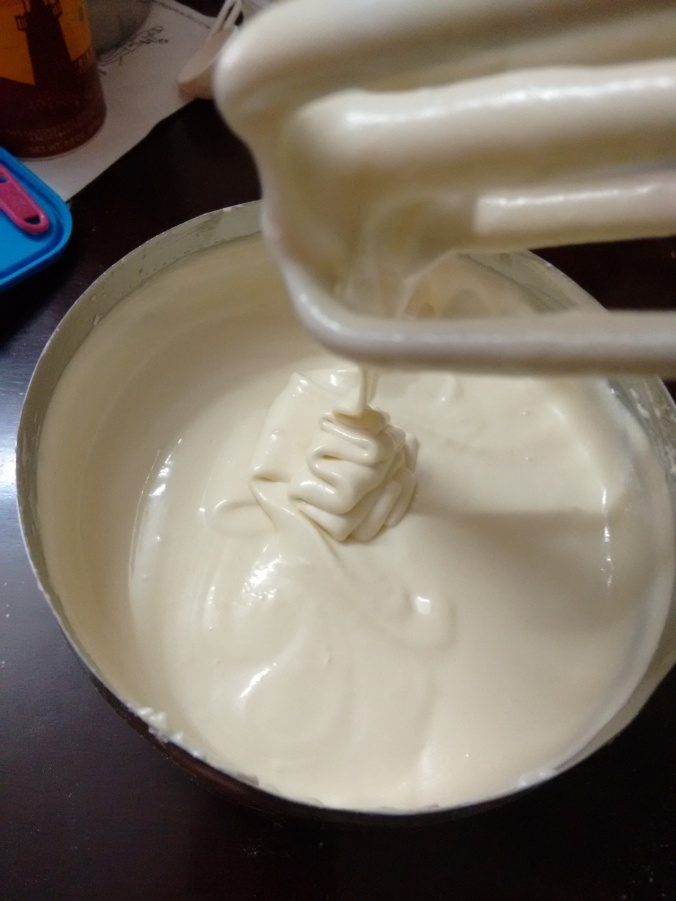
Beat the butter, sugar and oil in a large bowl with an electric mixer on medium-high speed until light in color and fluffy, about 5 minutes.
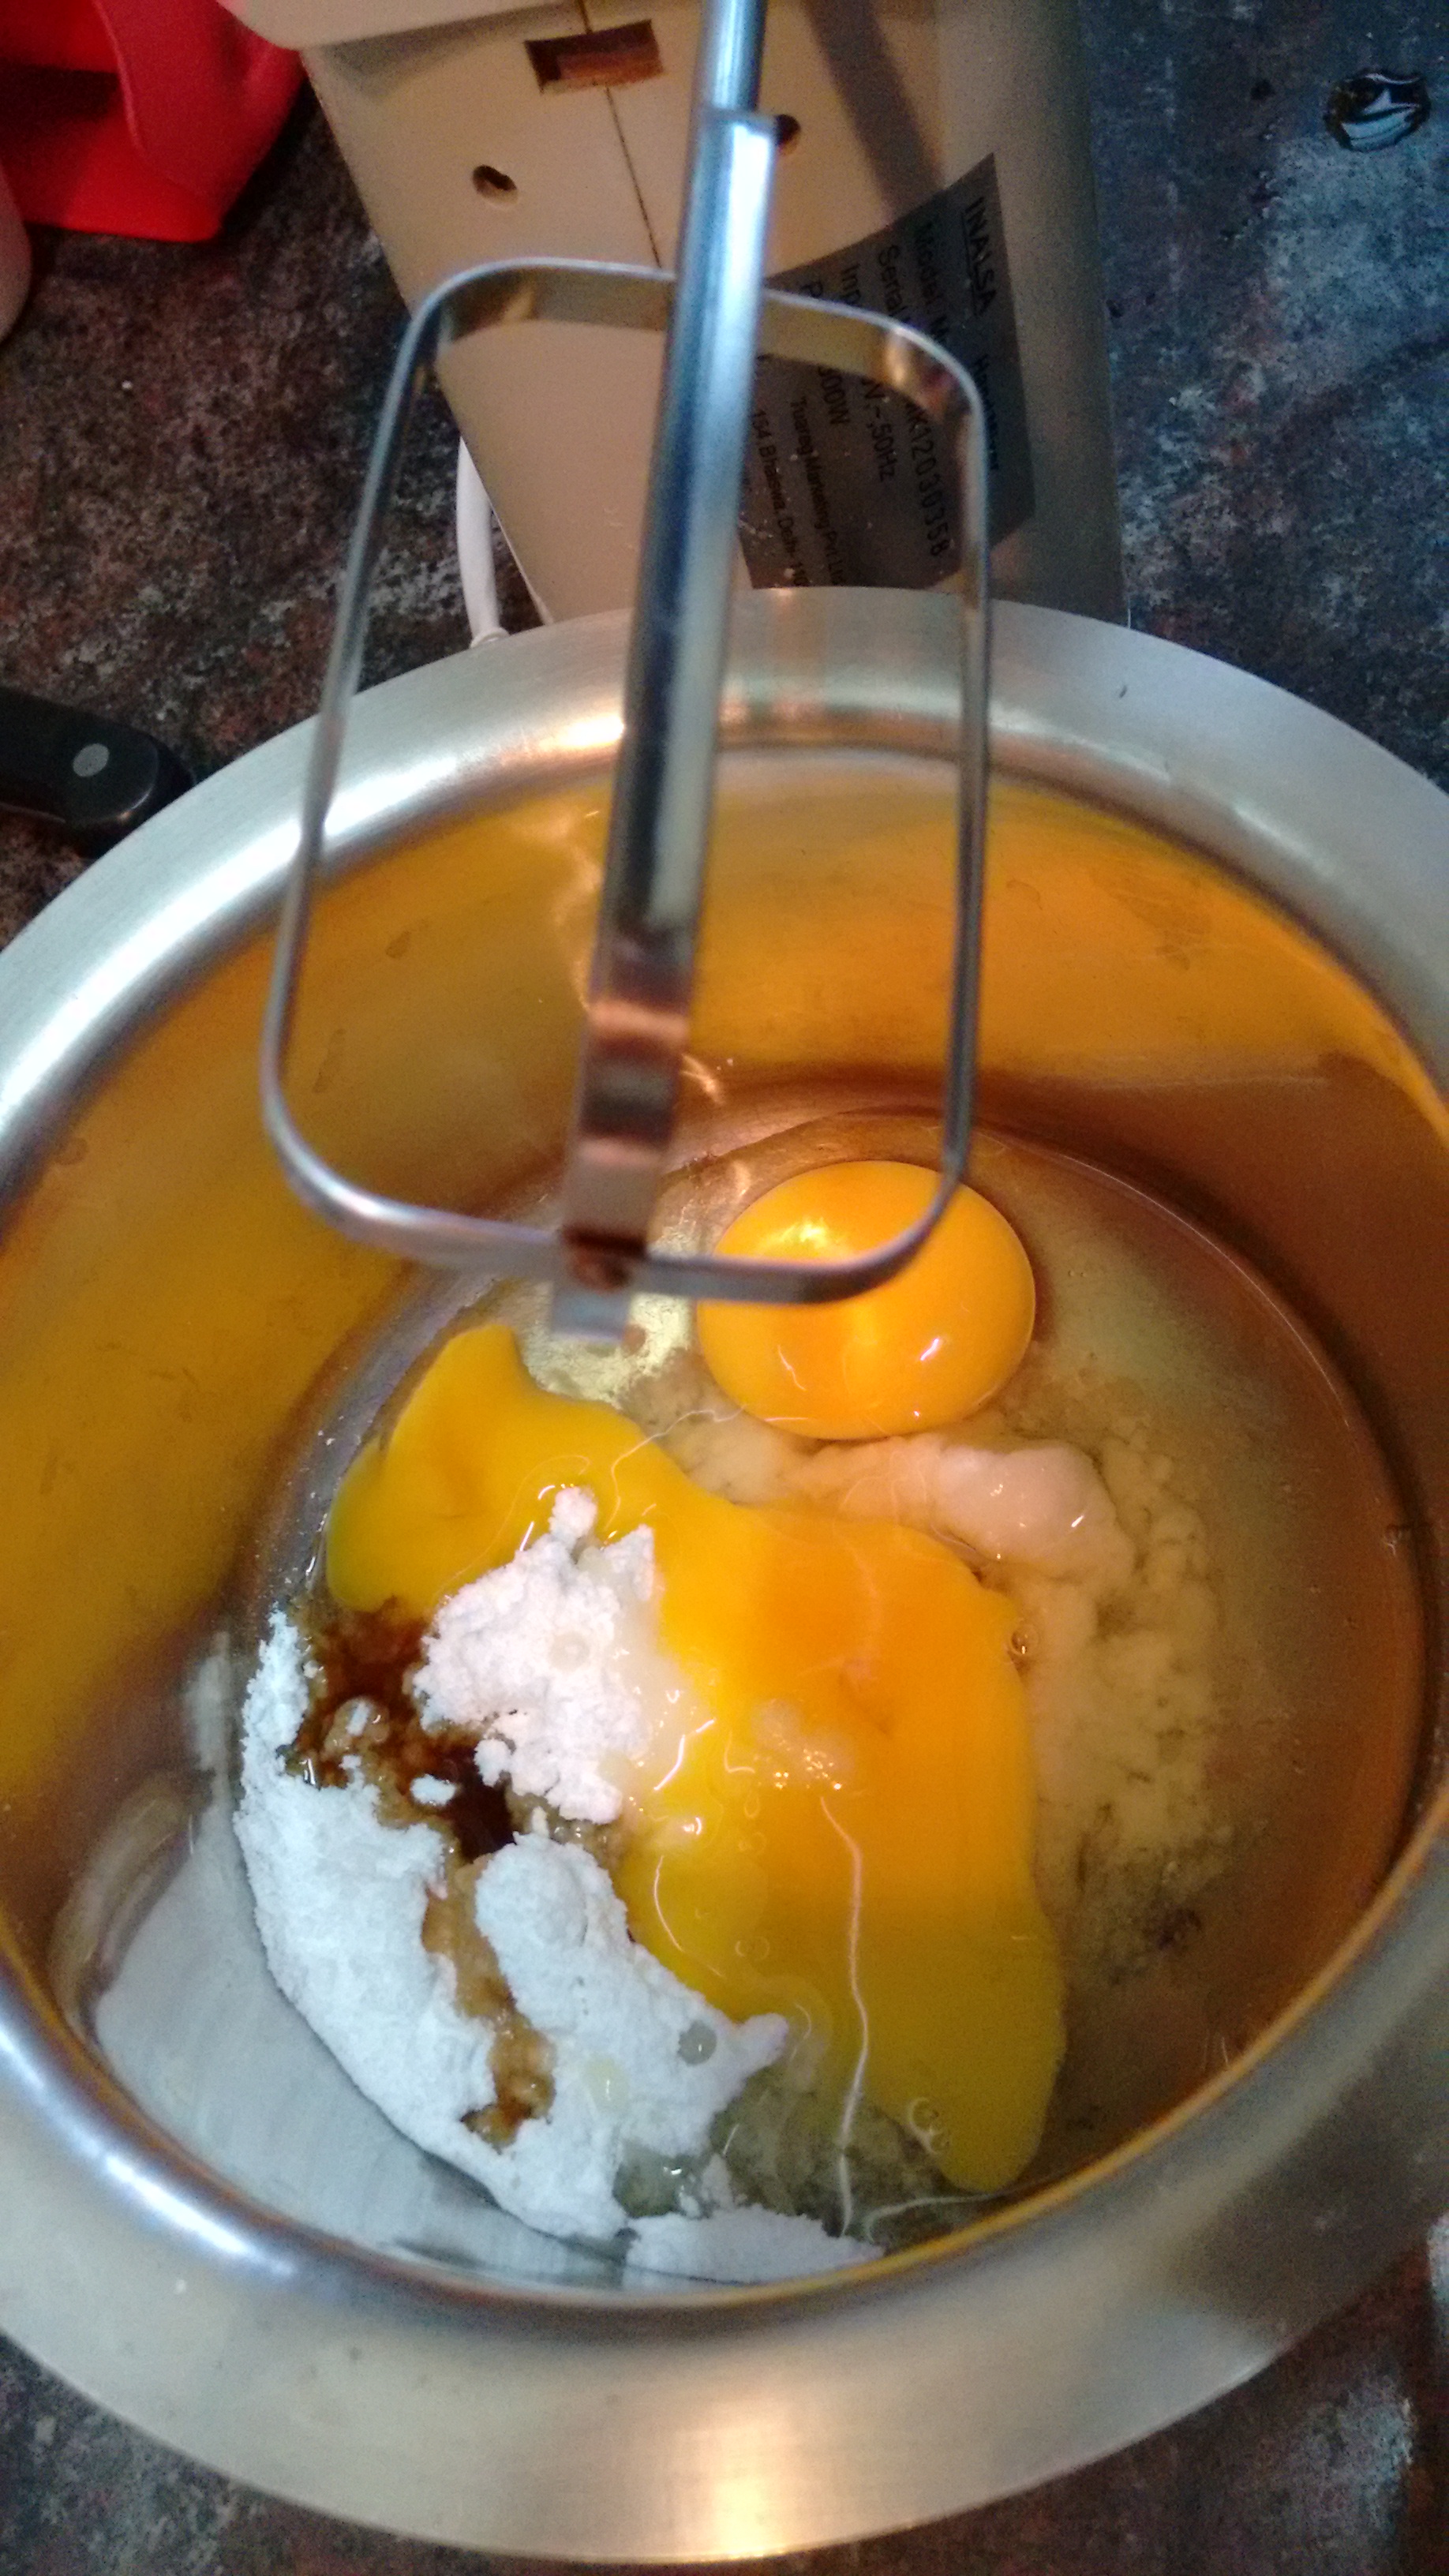
Beat in the eggs, one at a time, and then the vanilla until combined.
Alternate folding the flour mixture and the milk into the batter with a spatula, adding the flour in three additions and the milk in two, starting and ending with the flour, until just smooth. Divide the batter evenly between the prepared pans.
Bake the cakes on the same oven rack until golden on top and the centers spring back to the touch, 35 to 40 minutes. Rotate the pans about halfway through if they seem to be browning unevenly. Let cool in the pans about 10 minutes, then turn out onto cooling racks and let cool completely.
If you are making intensely sweet frosting , reduce the sugar for the above recipe to taste (maybe by 50gms)
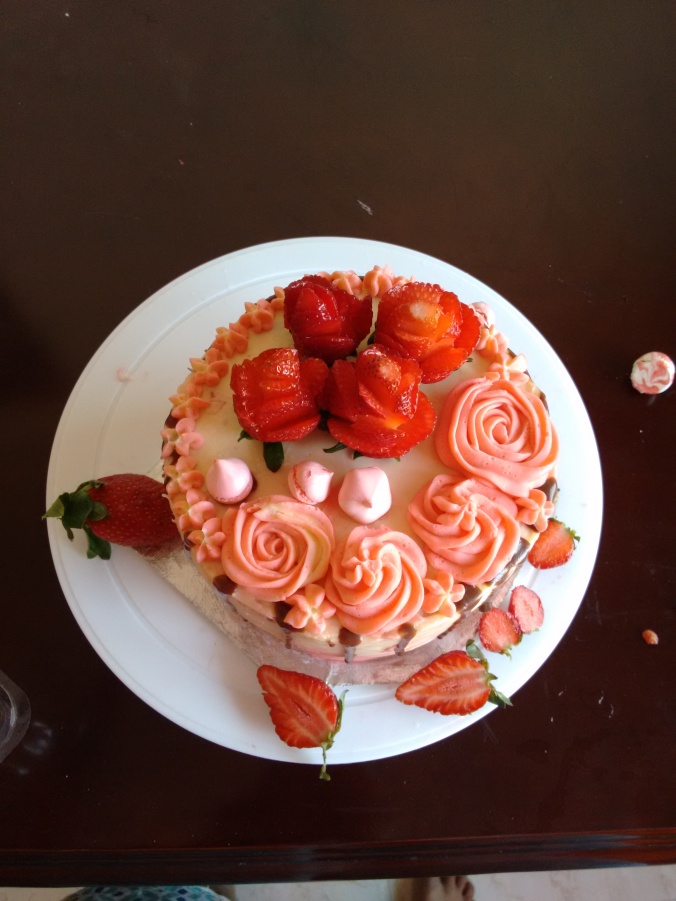
I loved the strawberry frosting. I add little extra butter to the buttercream so that when I add crushed strawberries the butter and liquid from the strawberries doesn’t separate.
But it did. To fix this you have to take a couple of spoon of the strawberry frosting and microwave it for 5 secs. The resultant will scare you . don’t panic. Start whipping the rest of the separated frosting into this. It will all come together.
I would suggest an Italian buttercream instead of a Swiss one here. Also I should have cut down on the butter. I felt the frosting was a slight on the buttery side in flavour.
I thought I had lost it in me. It took a long while for me to get motivated again. I am glad that I am baking again. It was difficult as I had switched places twice and as usual the winter drove me to hibernation. You might call me a cold blooded 🙂
However, I had baked a little to no satisfaction.Sometimes the outcome was terrible and there were times when I had chosen the wrong dish, I was depressed. People do have a diverse taste palate and I couldn’t expect everyone to like what I bake. Nevertheless, I am back.
I found this amazing, summery cake, typically middle eastern with beautiful colours.
The recipe is by ‘The boy who bakes’, find the original recipe here.
Quite a coincidence that the figbrulee girl bakes a recipe by the boy who bakes.
Key points to remember:
Use a wet towel wrap for the cake to raise evenly.
Cover the top with aluminium foil after half time as this cake cooks for relatively longer time than many other cakes. This is more like a pound cake.
Allow the cake to rest for a day. It is tastier the next day.
Pistachio and Pomegranate Cake
113g unsalted butter, room temperature
100g caster sugar
Zest of 1 large oranges
2 large eggs, lightly beaten
35g plain flour
1/2 tsp baking powder
1/4 tsp salt
100g green pistachios, plus extra for decoration
Seeds from 1 pomegranate
Pre-heat the oven to 180C (160C fan) and grease a deep 20cm round cake tin with a little butter and line the base with parchment paper.
Place the pistachios into the bowl of a food processor with a tablespoon of flour and pulse until finely ground .
Place the butter into a large bowl, using an electric mixer, beat until light and creamy about 3 minutes.
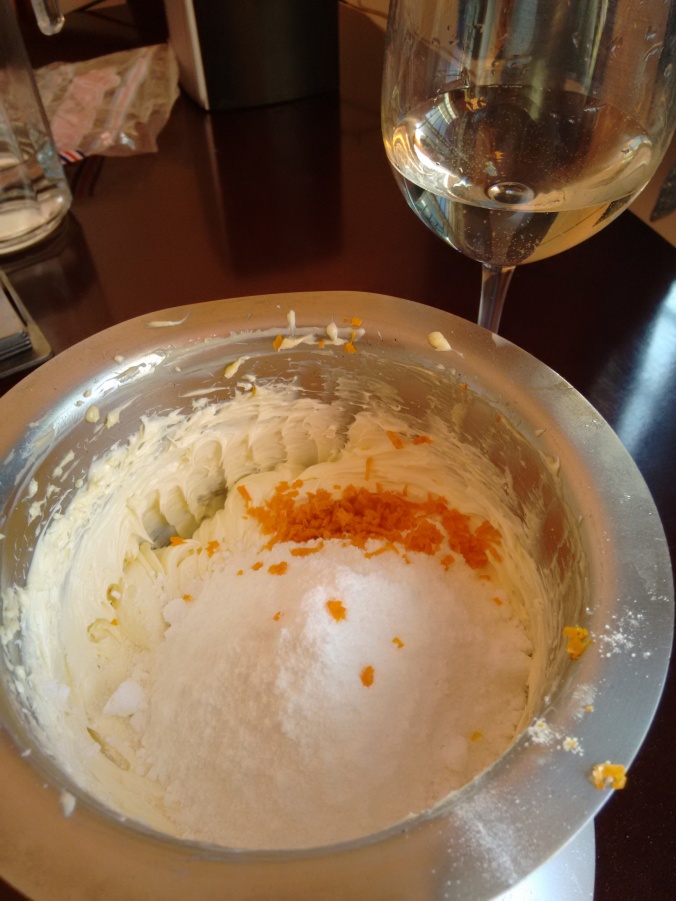
Add the sugar and the orange zest and beat together until light and fluffy, about 5 minutes.
Add the eggs a little at a time, beating until fully combined.
Sieve the flour, baking powder and salt together, add the pistachios and mix together.
Add the dry goods to the butter mixture and gently fold together until combined. Scrape the batter into the prepared tin and gently level out.
Bake the batter in the preheated oven for 50-55 minutes or until the cake is golden brown and when a skewer inserted into the middle of the cake comes out clean.
Allow the cake to cool in the tin for 10 minutes before turning out onto a wire rack to cool completely. To finish the cake sprinkle with extra chopped pistachios and the seeds from a pomegranate.
Because this cake is made with ground nuts it keeps brilliantly, at least 4 days if kept in a sealed container.
Finally a recipe to brag about. After intensively contemplating on fancy cake pops, I just didn’t like the idea that it was made of simple cake. While, so much of effort is spent on loading it with fondant of all shapes, little attention is paid to the flavor.
I finally arrived at the idea of mixing multiple flavors of cake complementing each other.
Here is what I did.
Chocolate hazelnut cake +Ginger syrup cake + angel food cake! To avoid the chocolate overpowering the taste I toned it down with the ginger cake. My chocolate hazelnut cake was too moist, so angel food cake was a late addition.
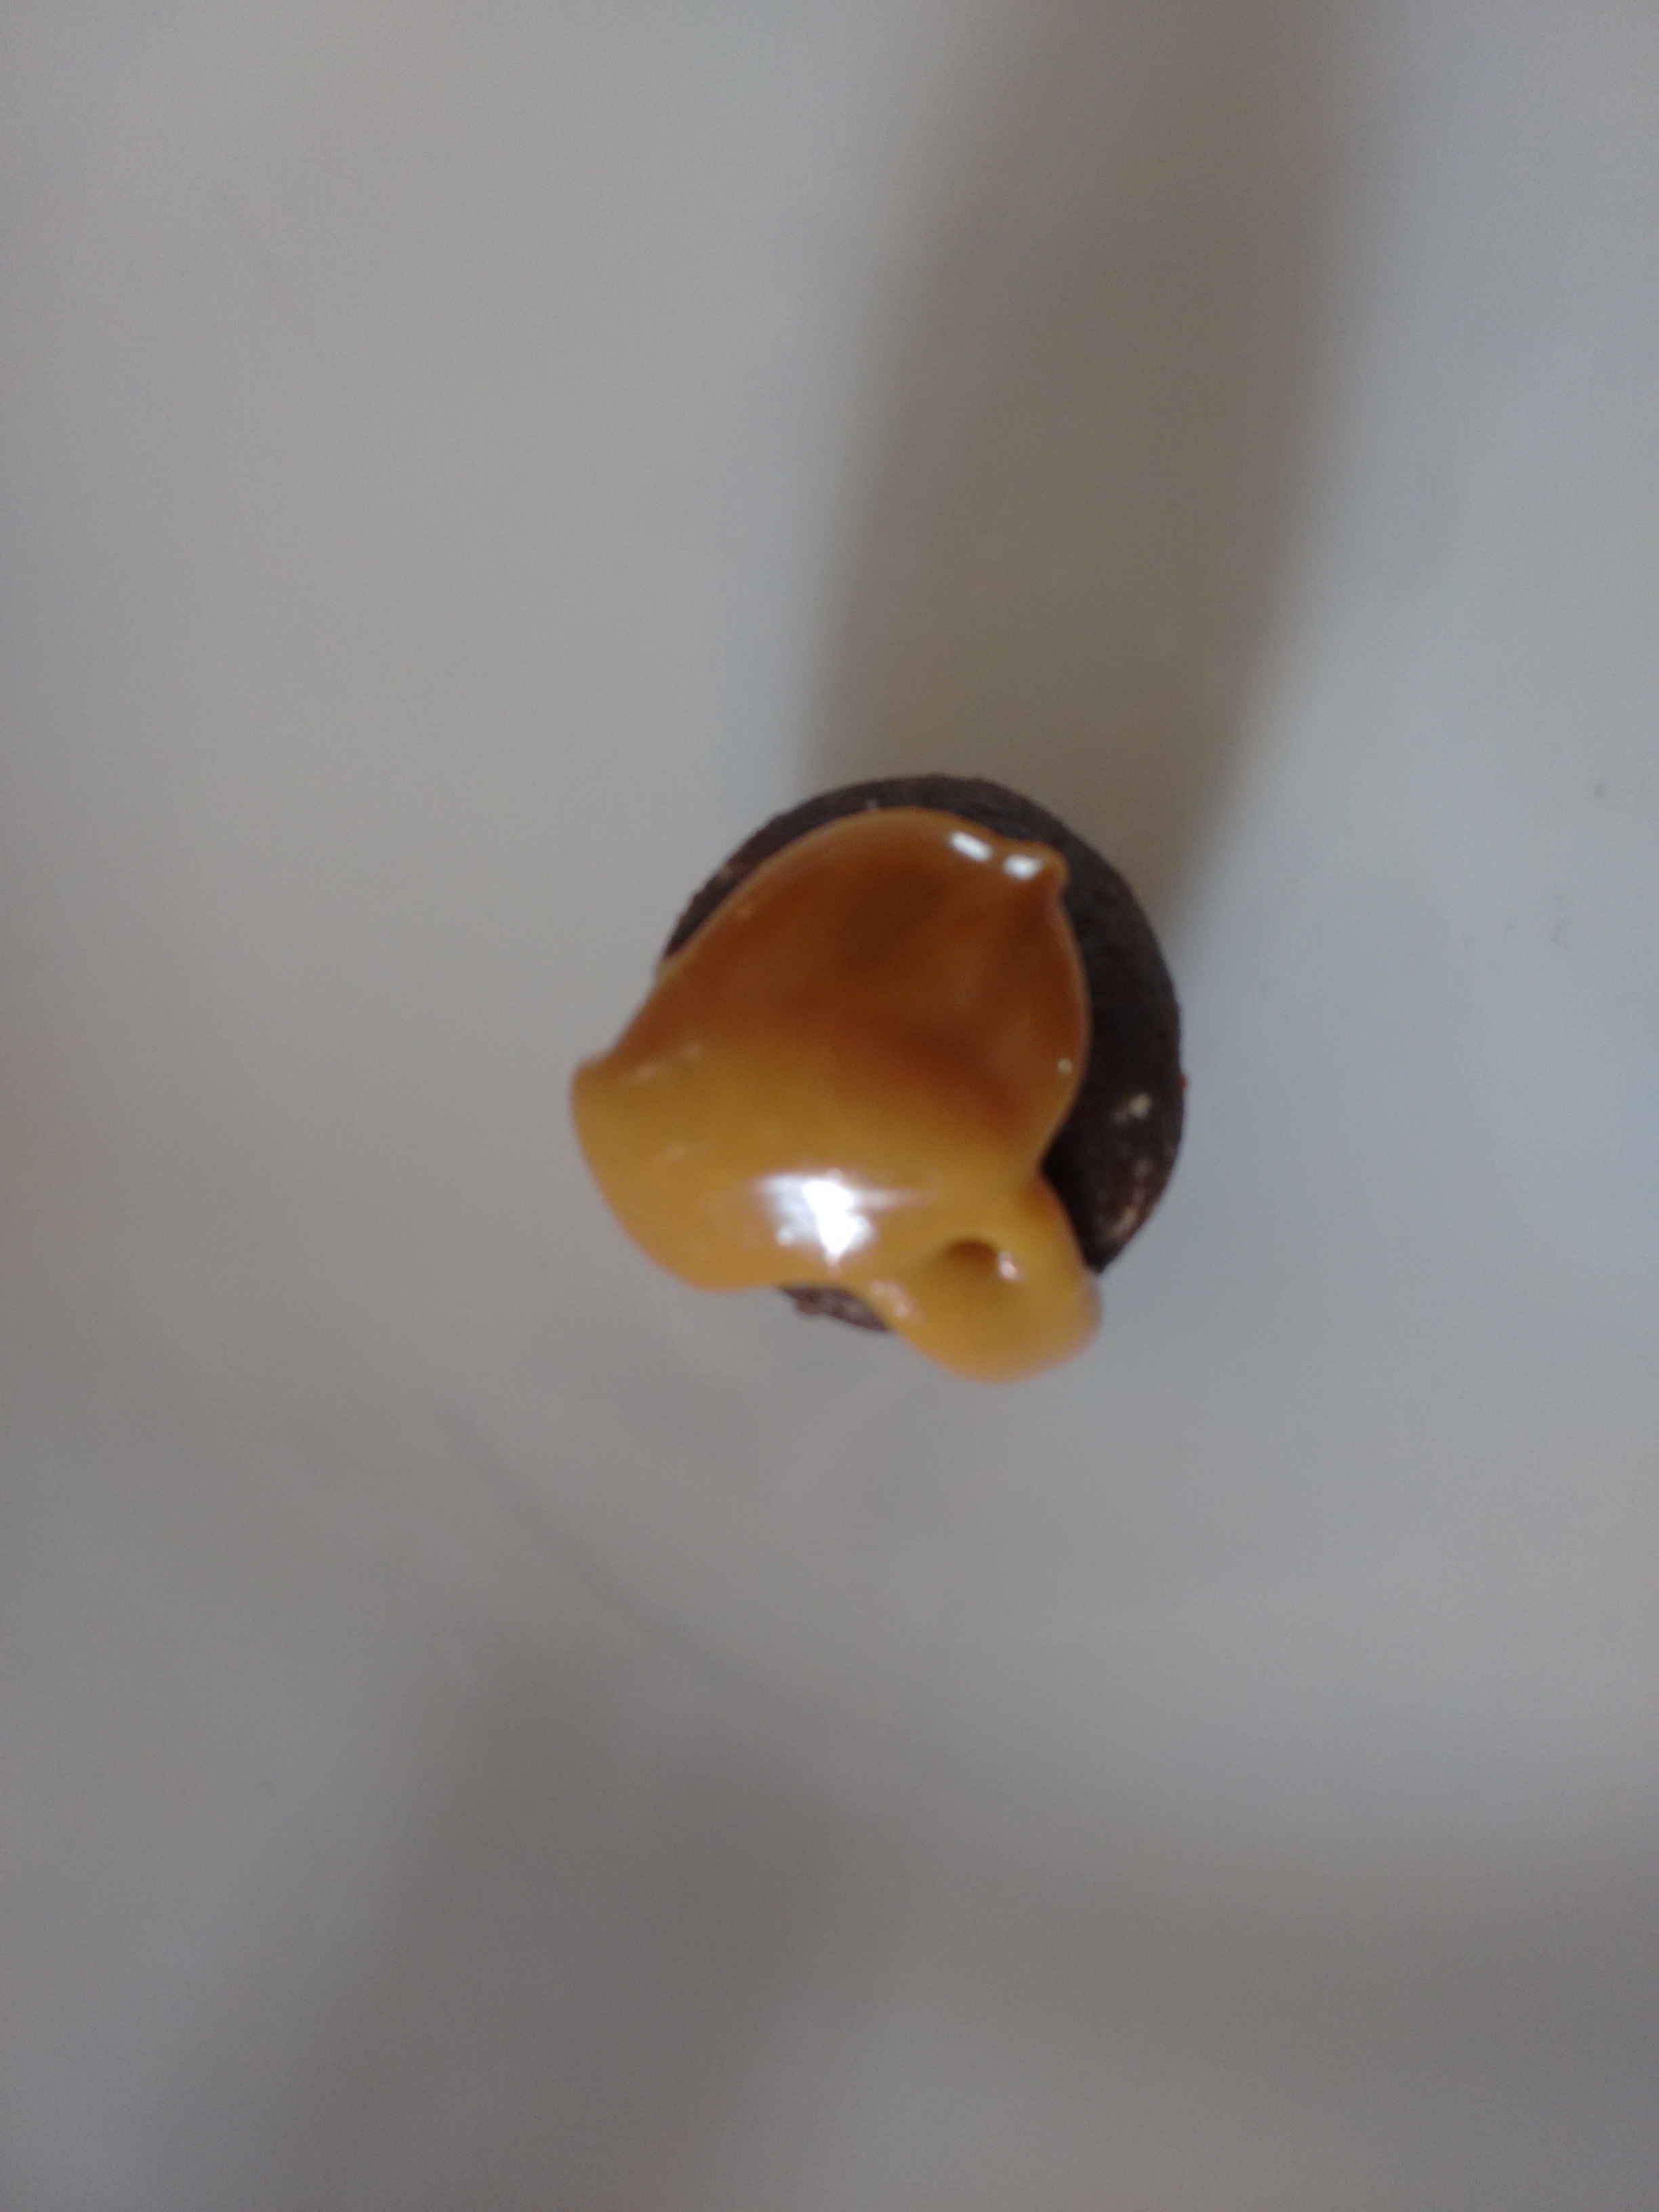
For the cake pop balls dip, I searched for plain white chocolate in every possible store near my house. didn’t find it. My roommate advised to use caramel with slight tinge of mint to it. It worked like a charm.
By the way I was too lazy to poke it with a lolly stick, so it could loosely be called cake truffles.
Please mind the quantities, you might end up feeding a town.
Chocolate Hazelnut Cake
140 grams 70% chocolate, melted
80 grams butter
80 grams hazelnut paste
4 eggs
178 granulated sugar
1 teaspoon vanilla extract
15 grams cocoa powder, sifted
55 grams toasted hazelnut flour
For the Chocolate Hazelnut Cake:
Preheat the oven to 350ºF. Combine the melted chocolate, butter, and hazelnut paste in a double boiler.
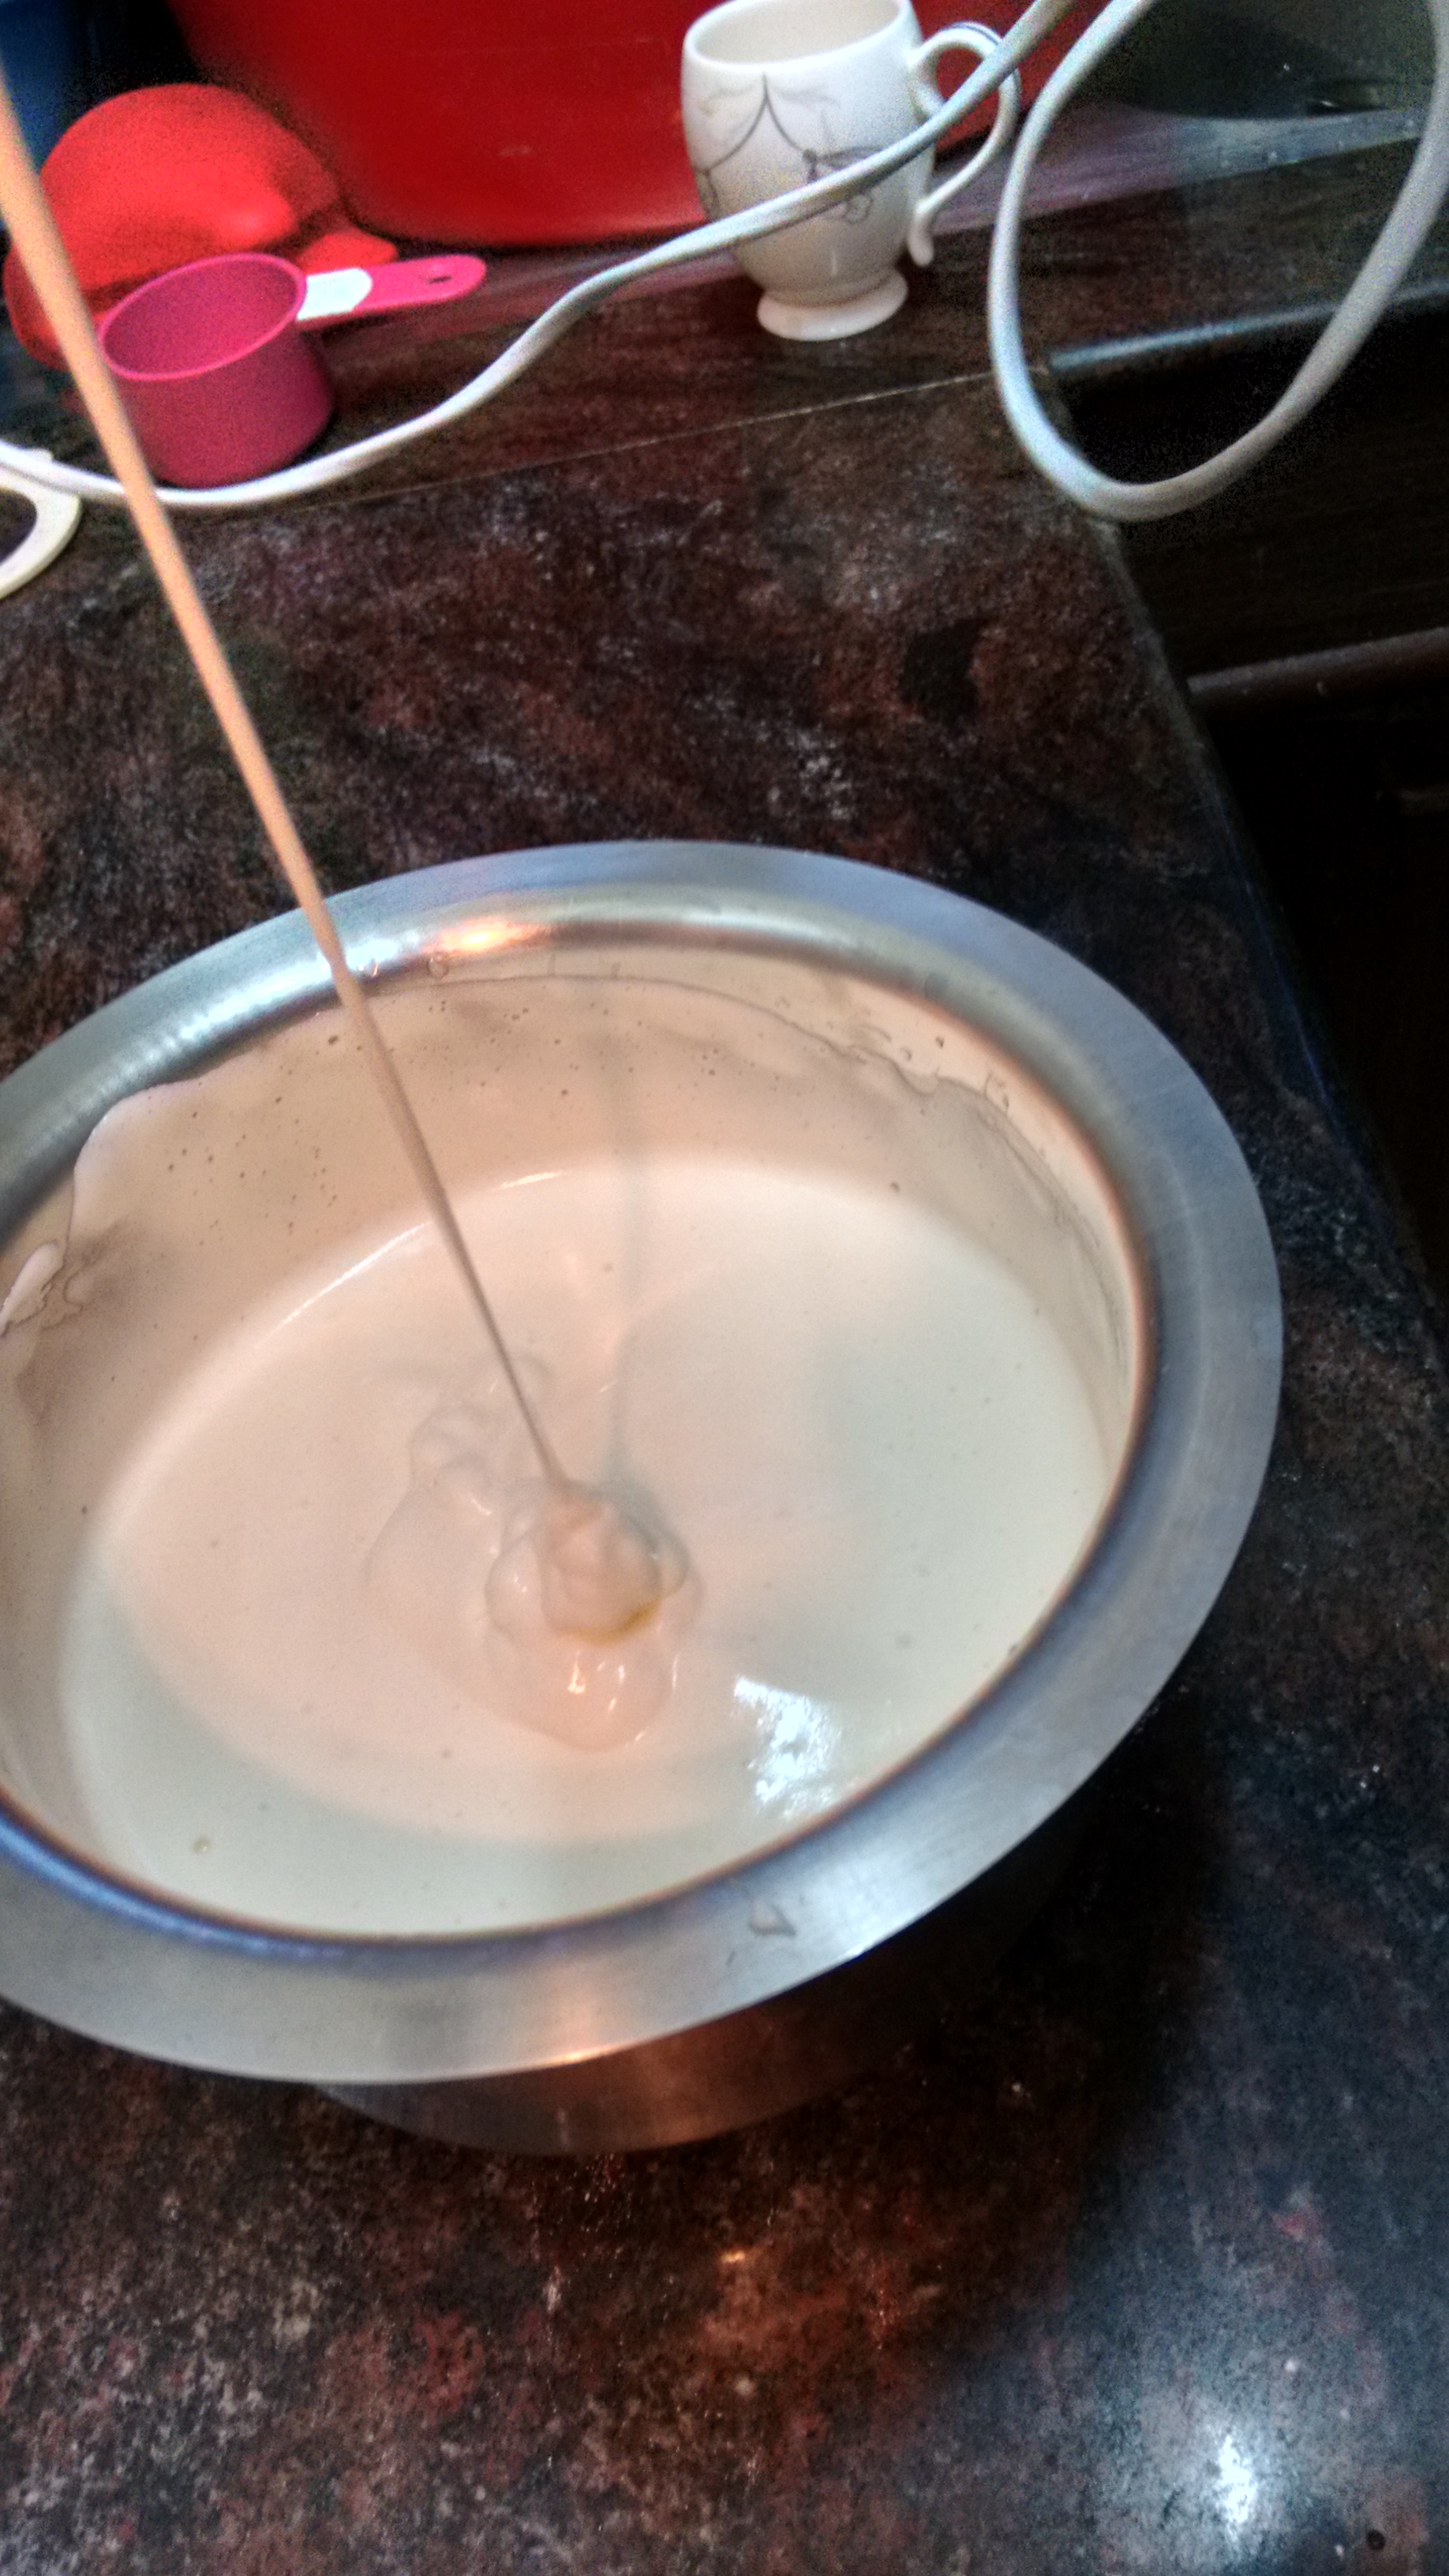
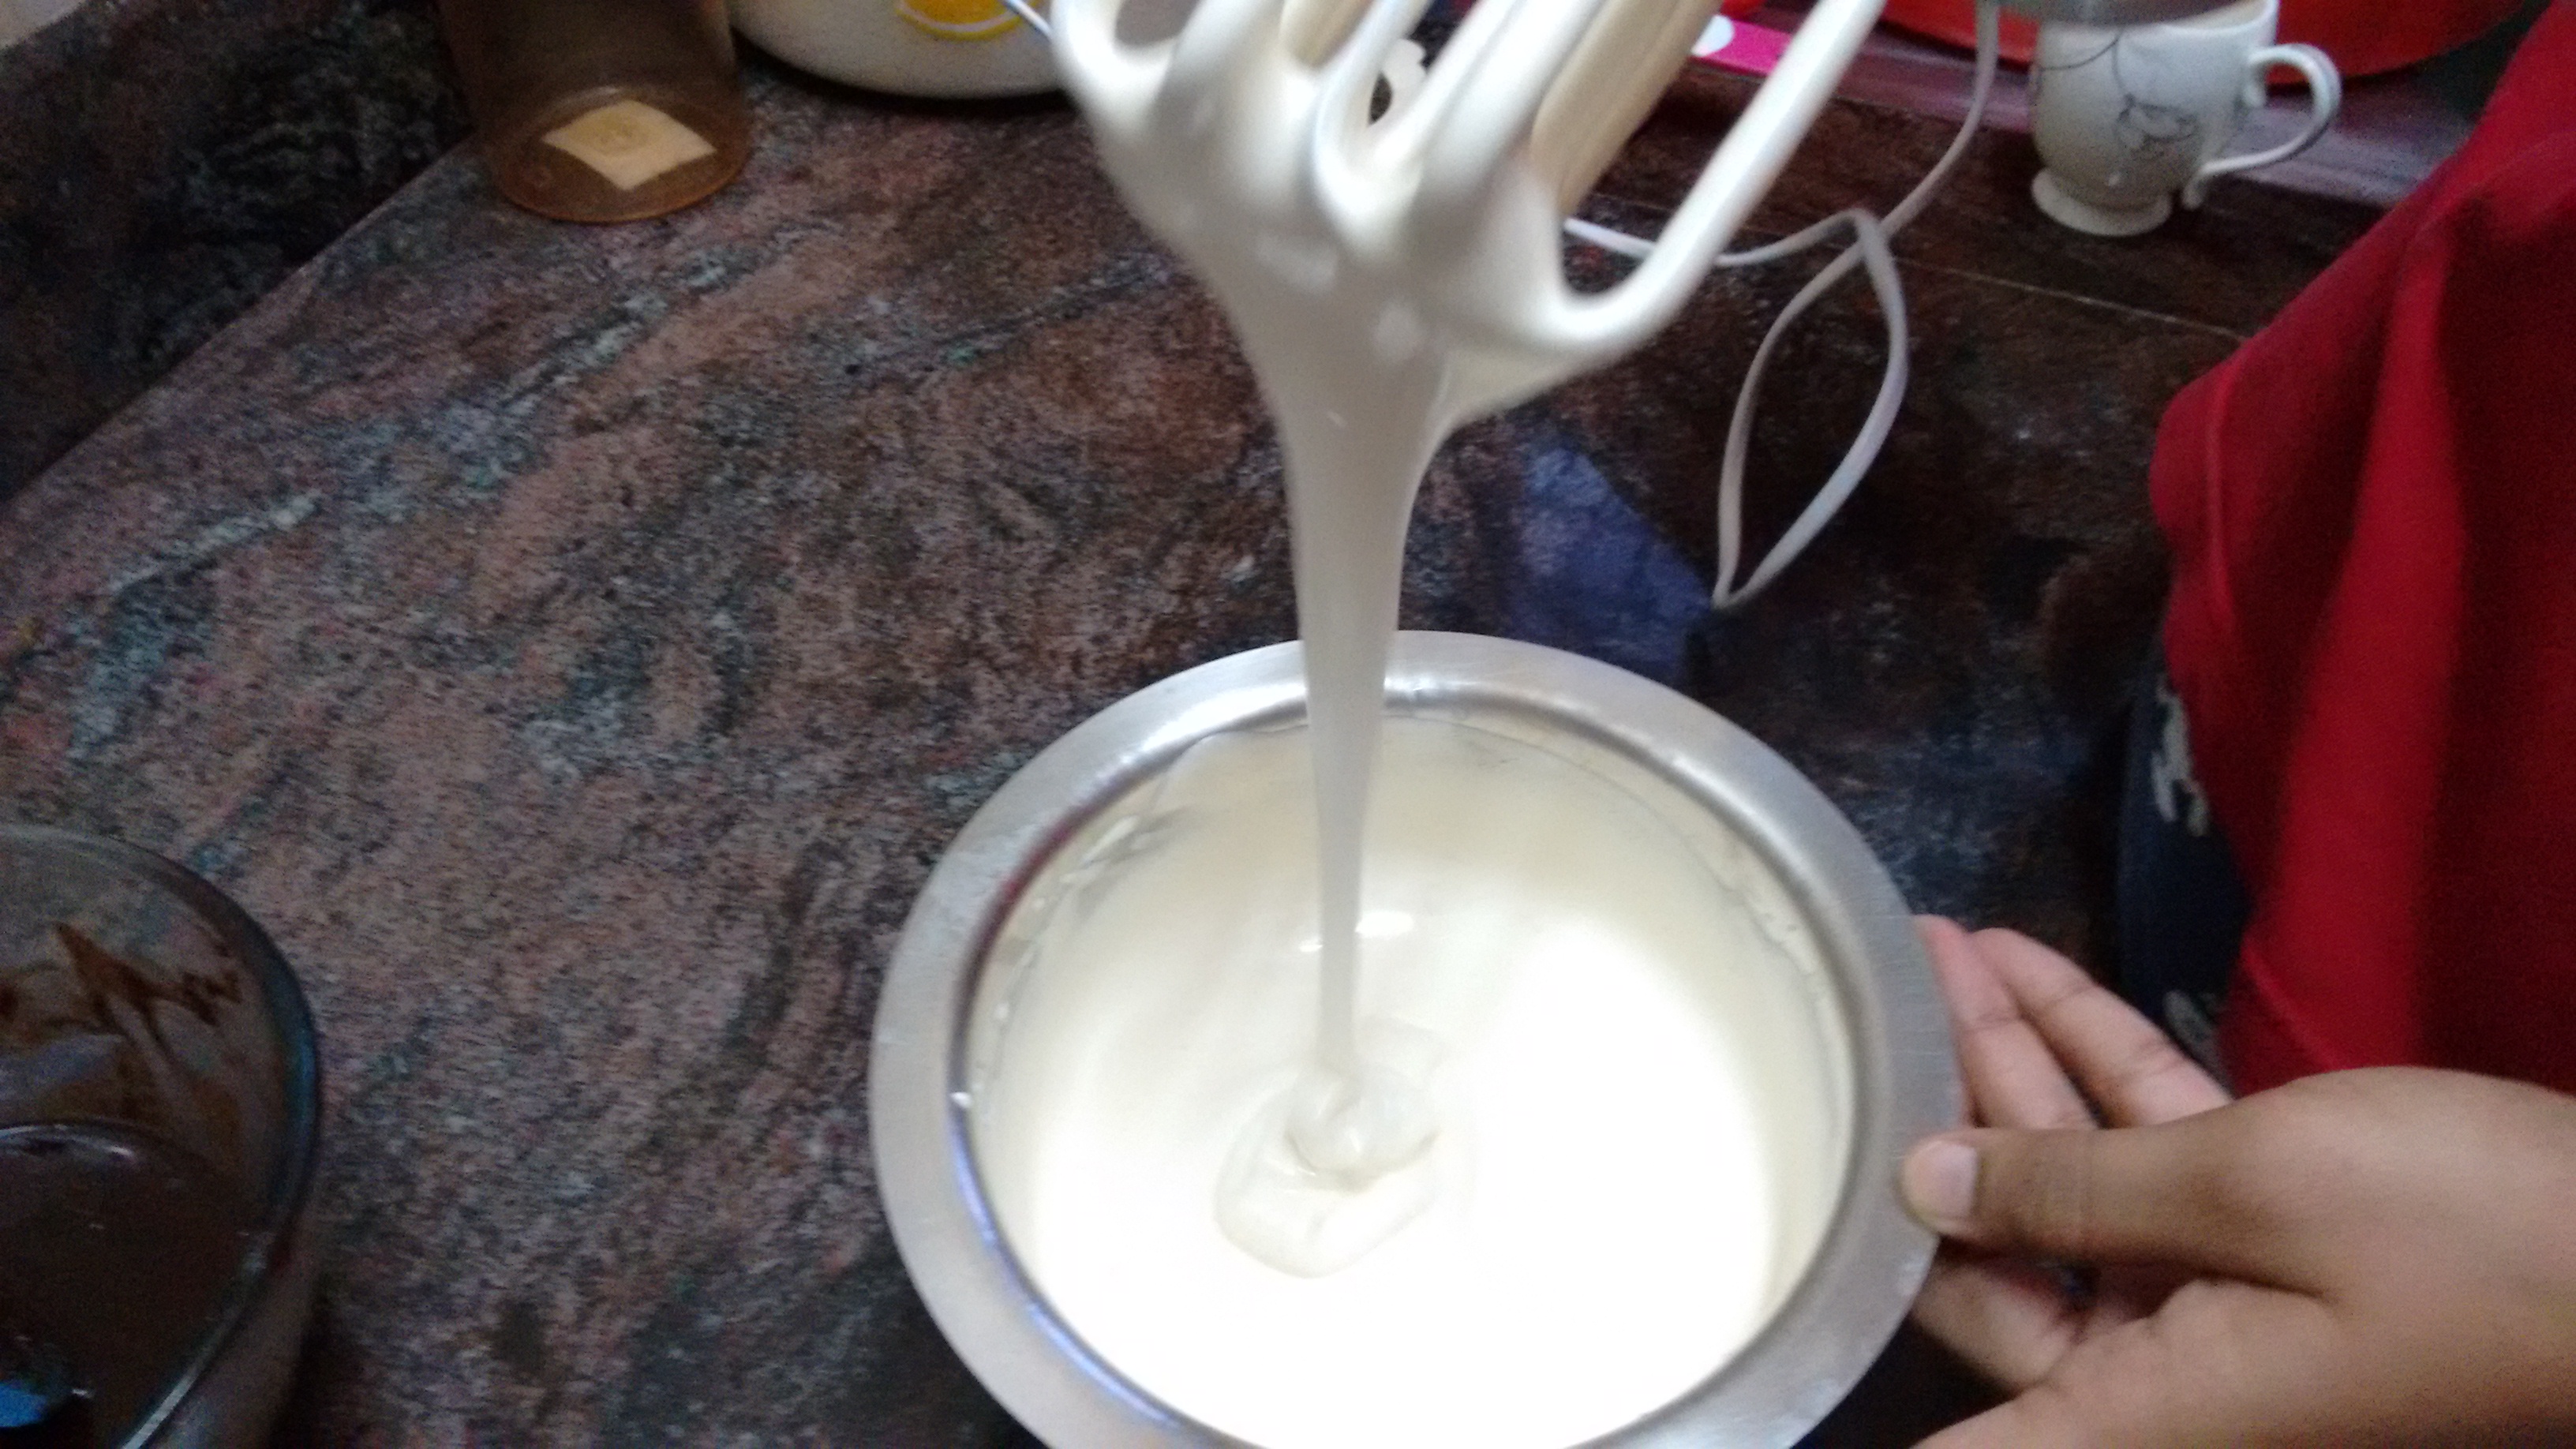
In the bowl of a standing mixer, combine the eggs, sugar, and vanilla extract and whisk using the whip attachment until the mixture reaches the thick ribbon stage.
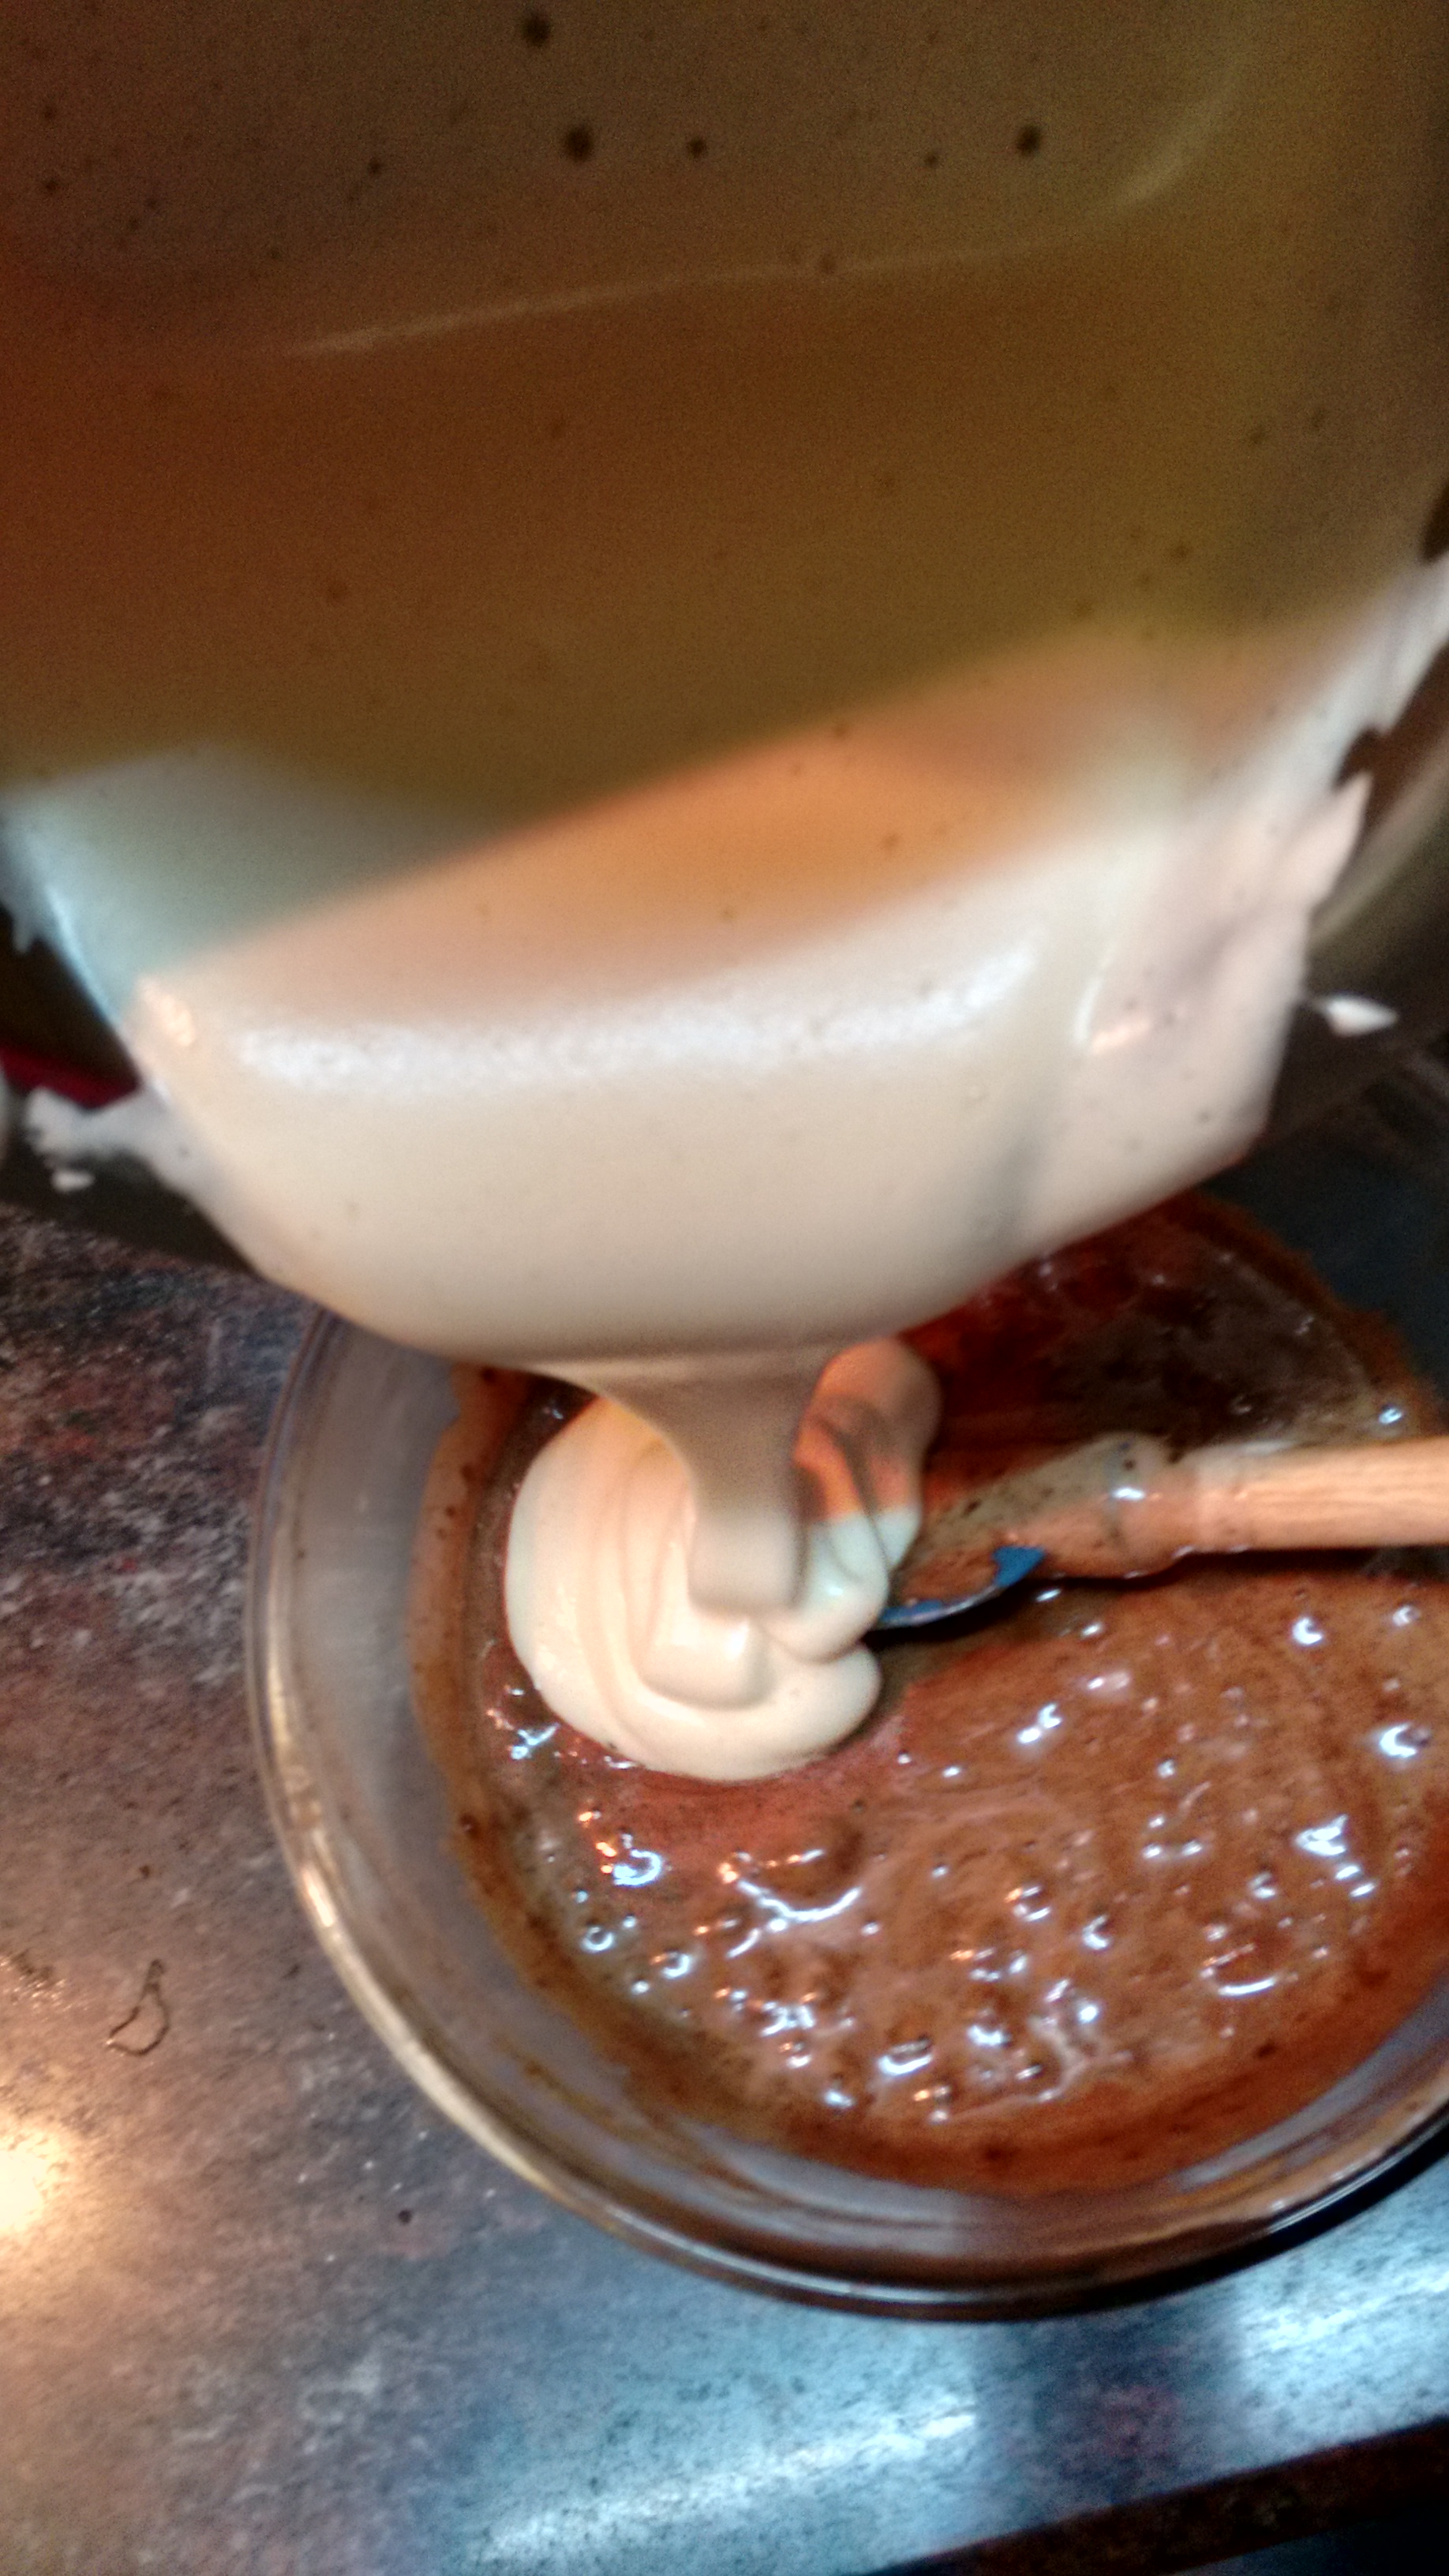
Fold the egg mixture into the chocolate mixture three-quarters of the way.
Combine the cocoa powder and hazelnut flour and fold them into the chocolate mixture.
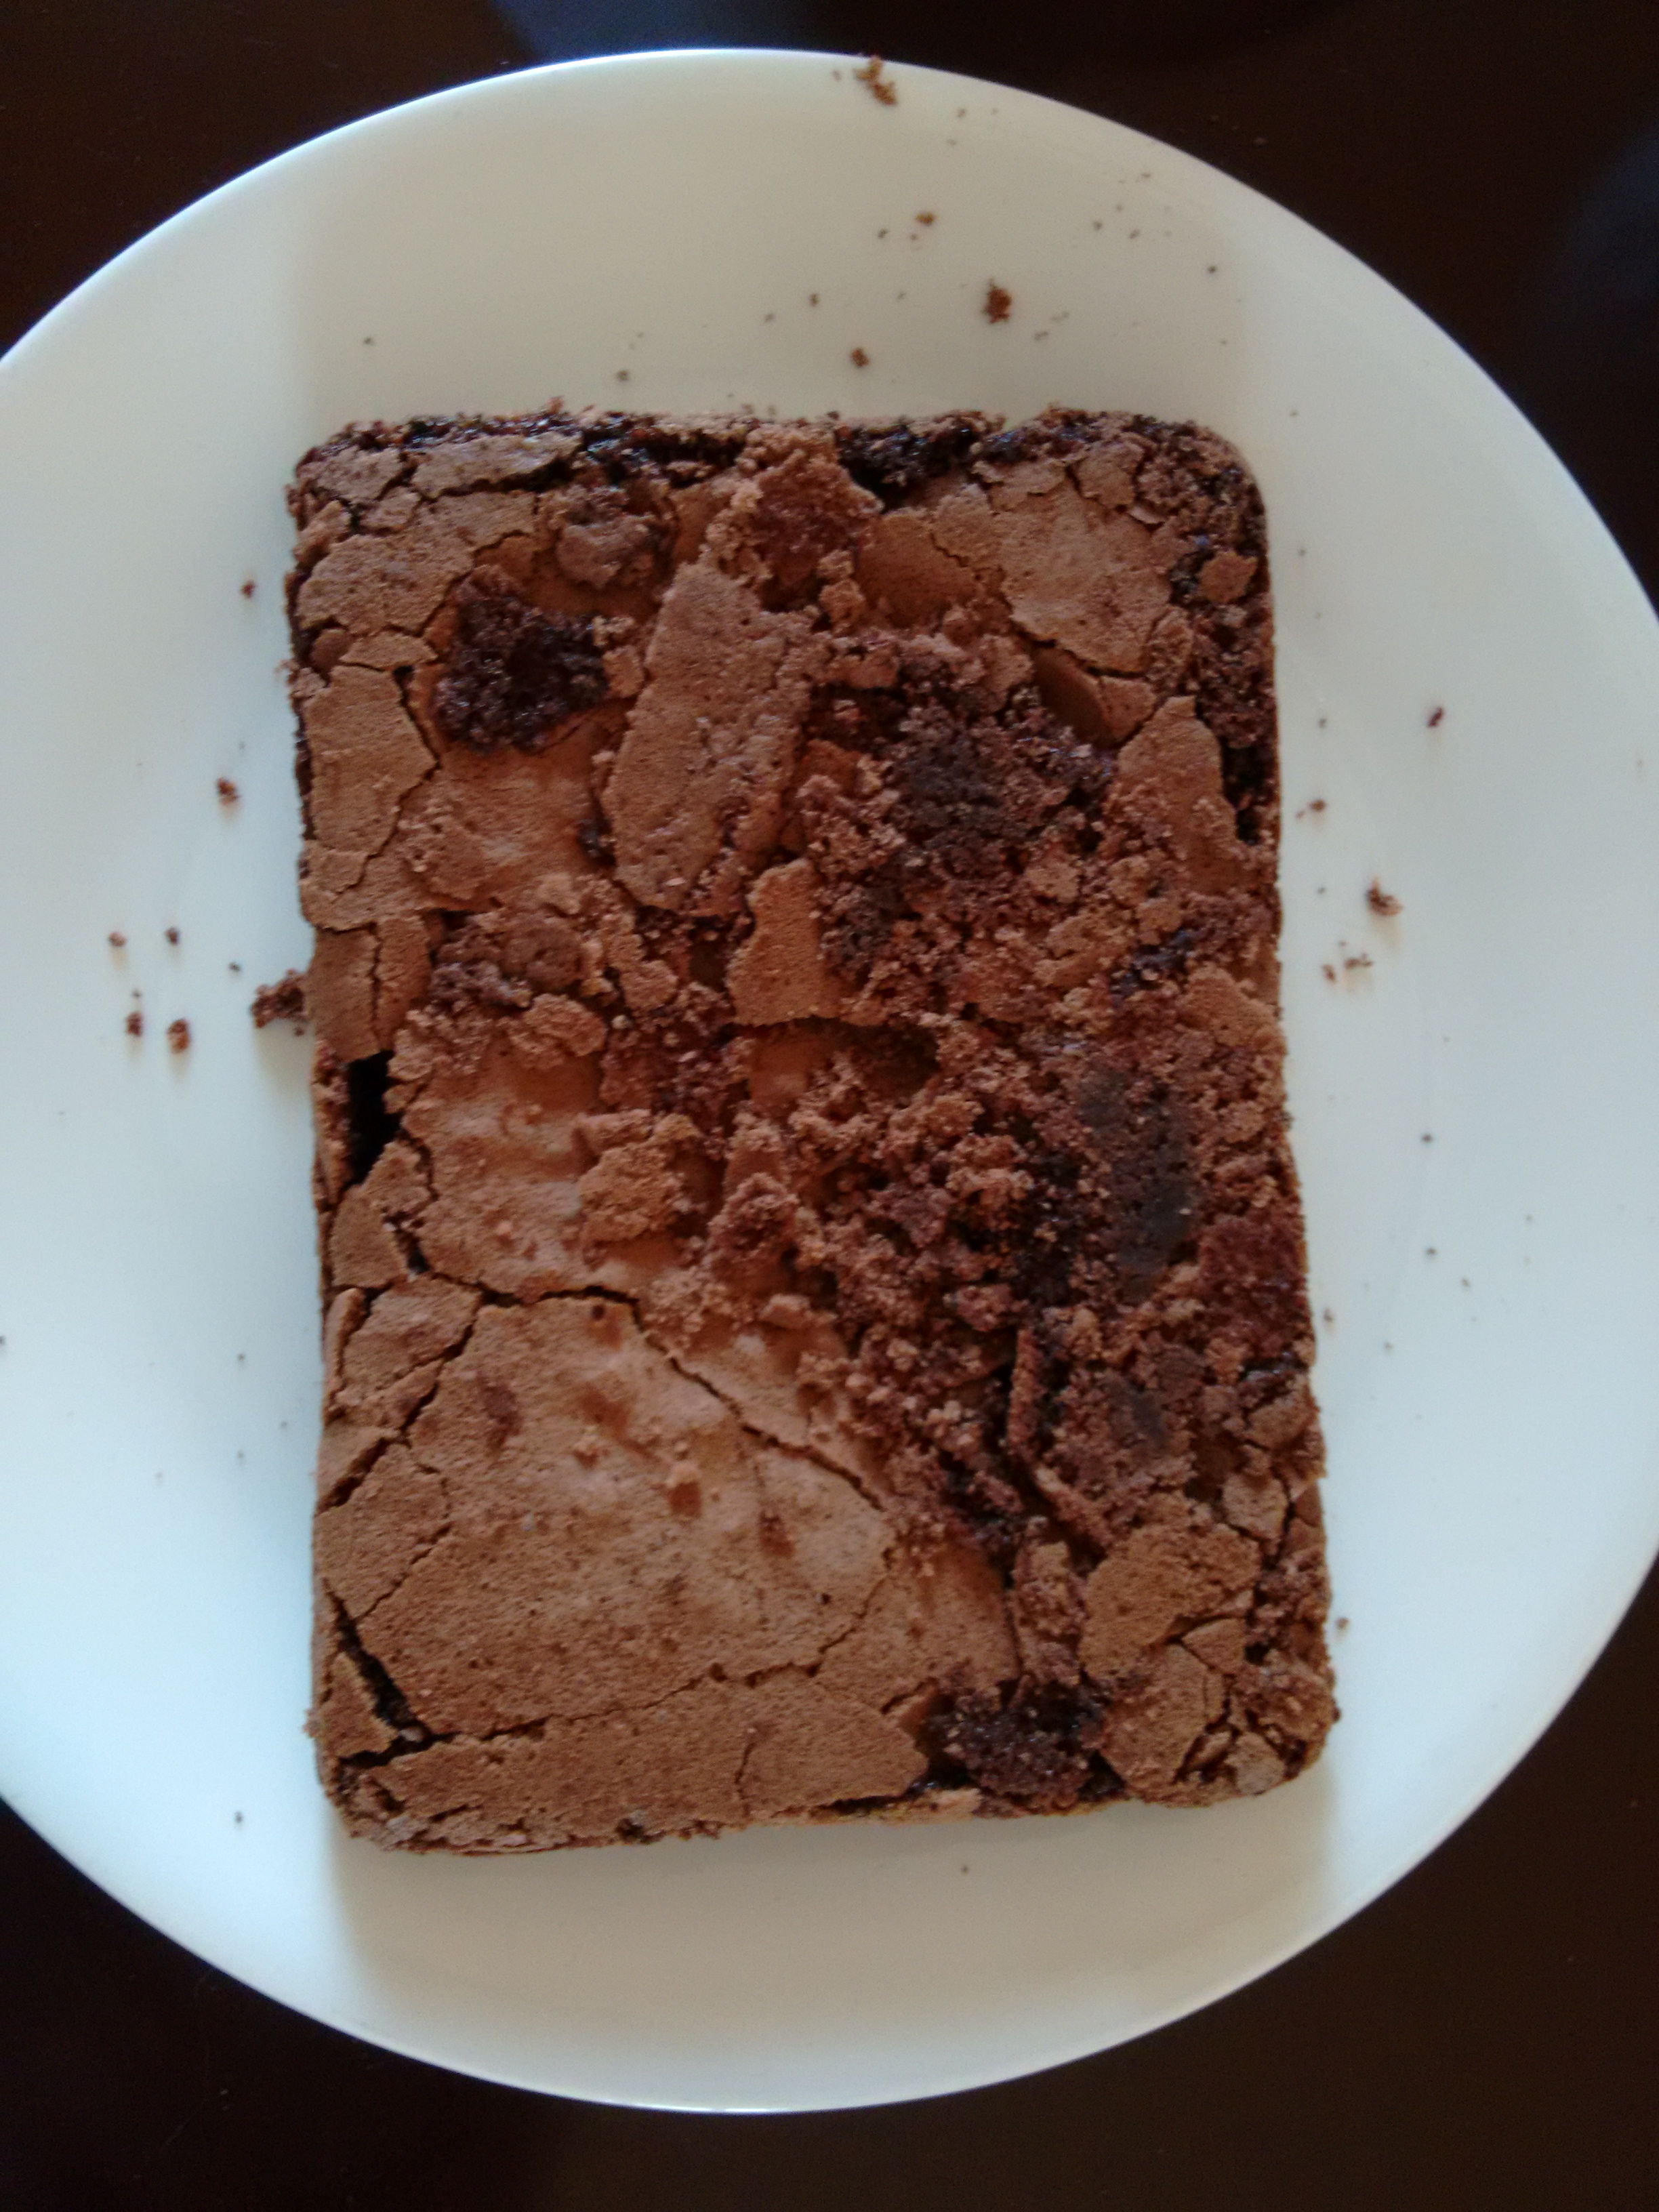
Dispense the cake batter onto each quarter-sized sheet tray. Bake the cake for 6 minutes, rotate the trays, and then bake them for another 6 minutes, checking for doneness.
Remove the cakes from the oven and allow them to cool.
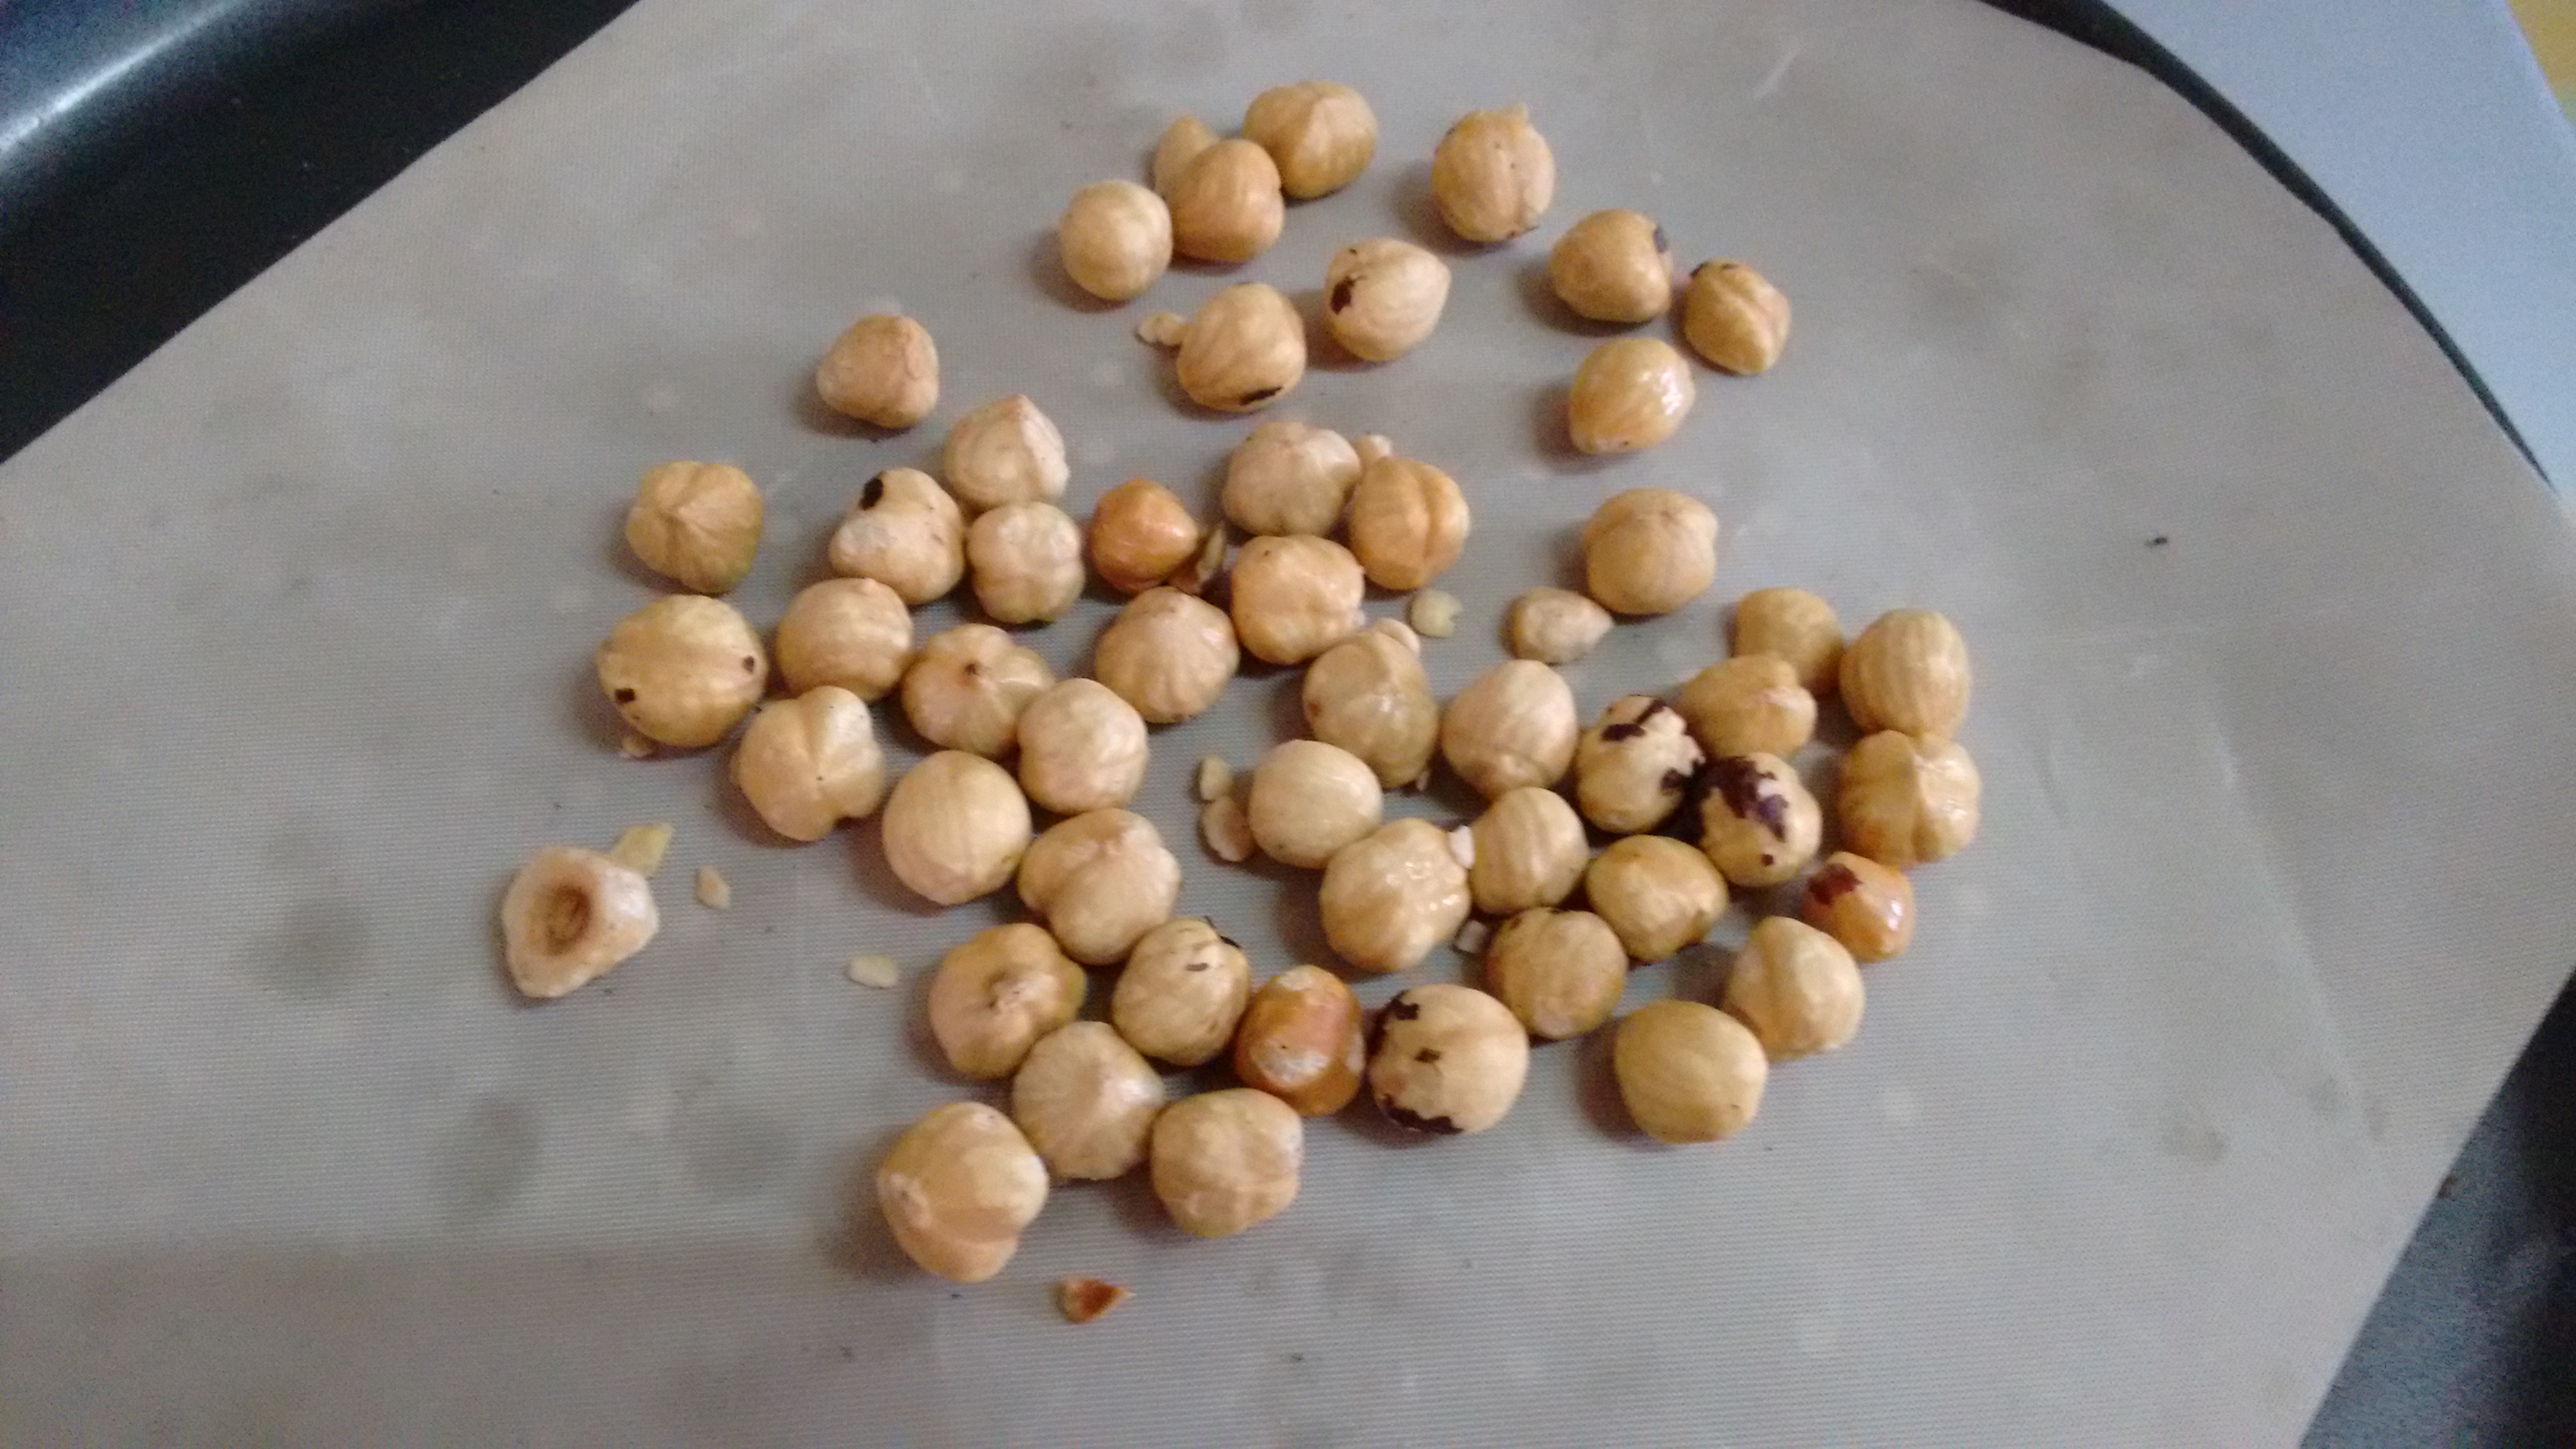
Hazelnut paste
113 grams roasted hazelnuts
1 1/2 tablespoons egg whites
100grams powdered sugar
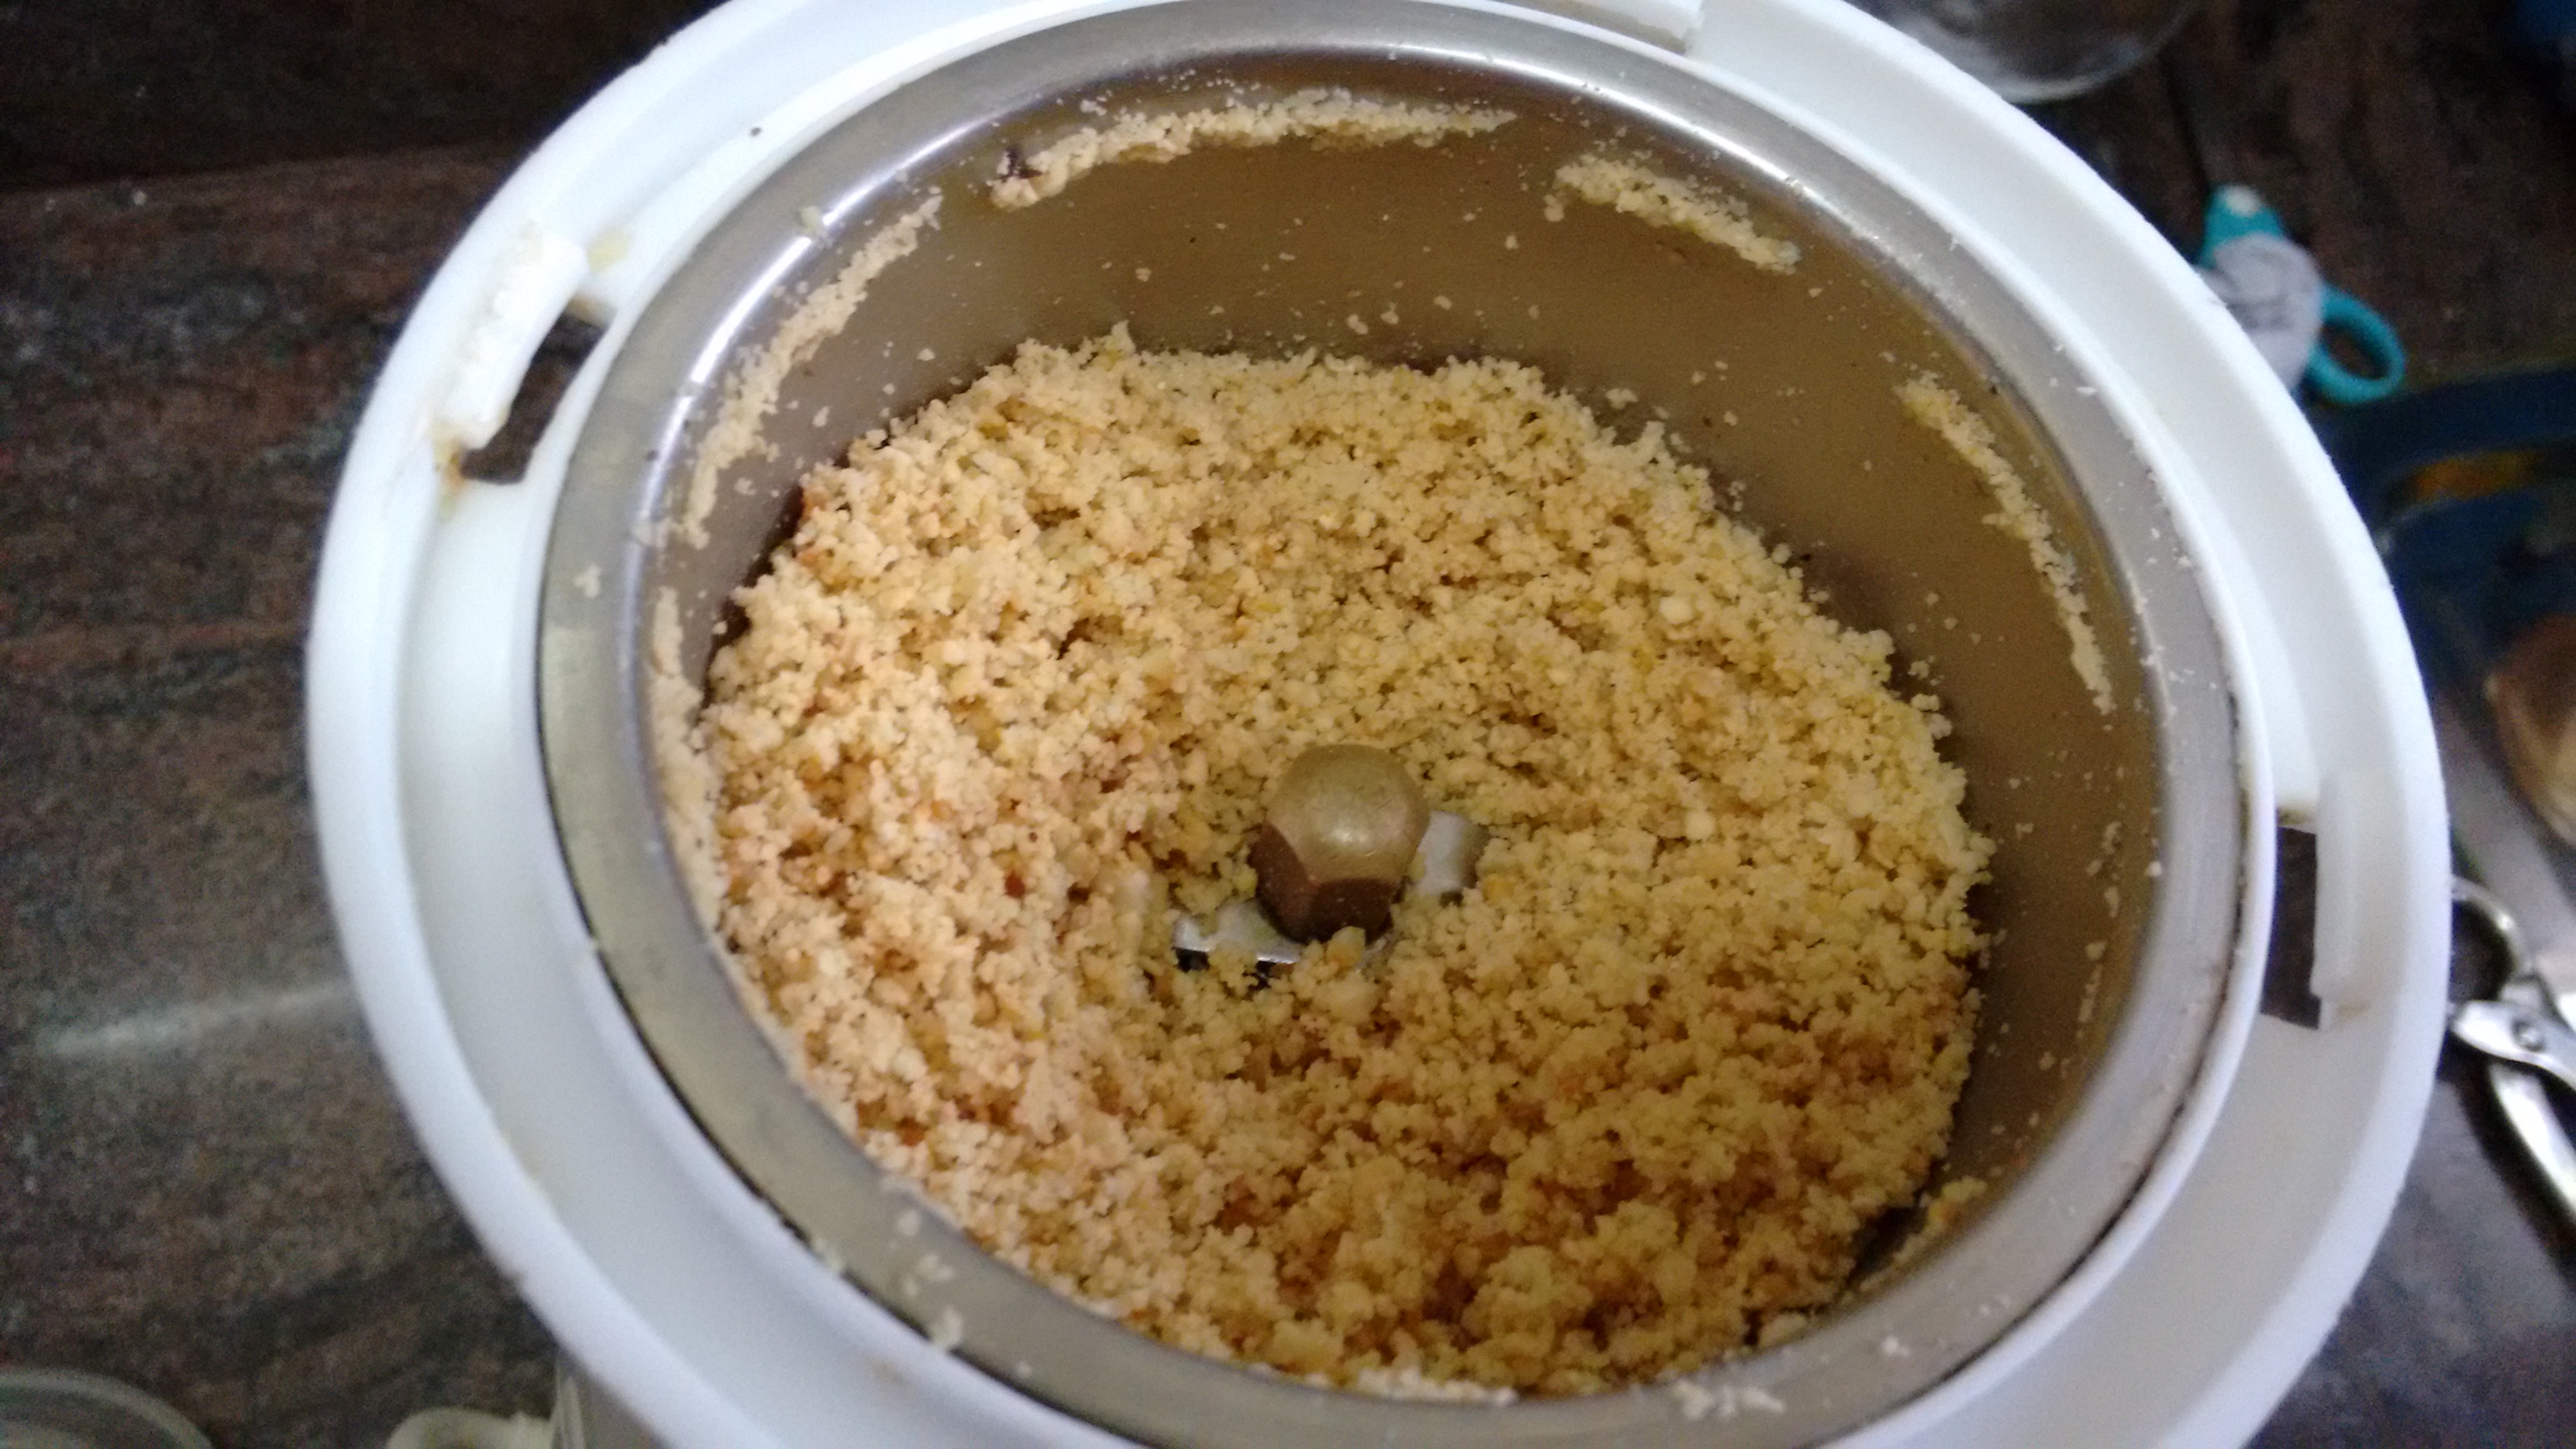
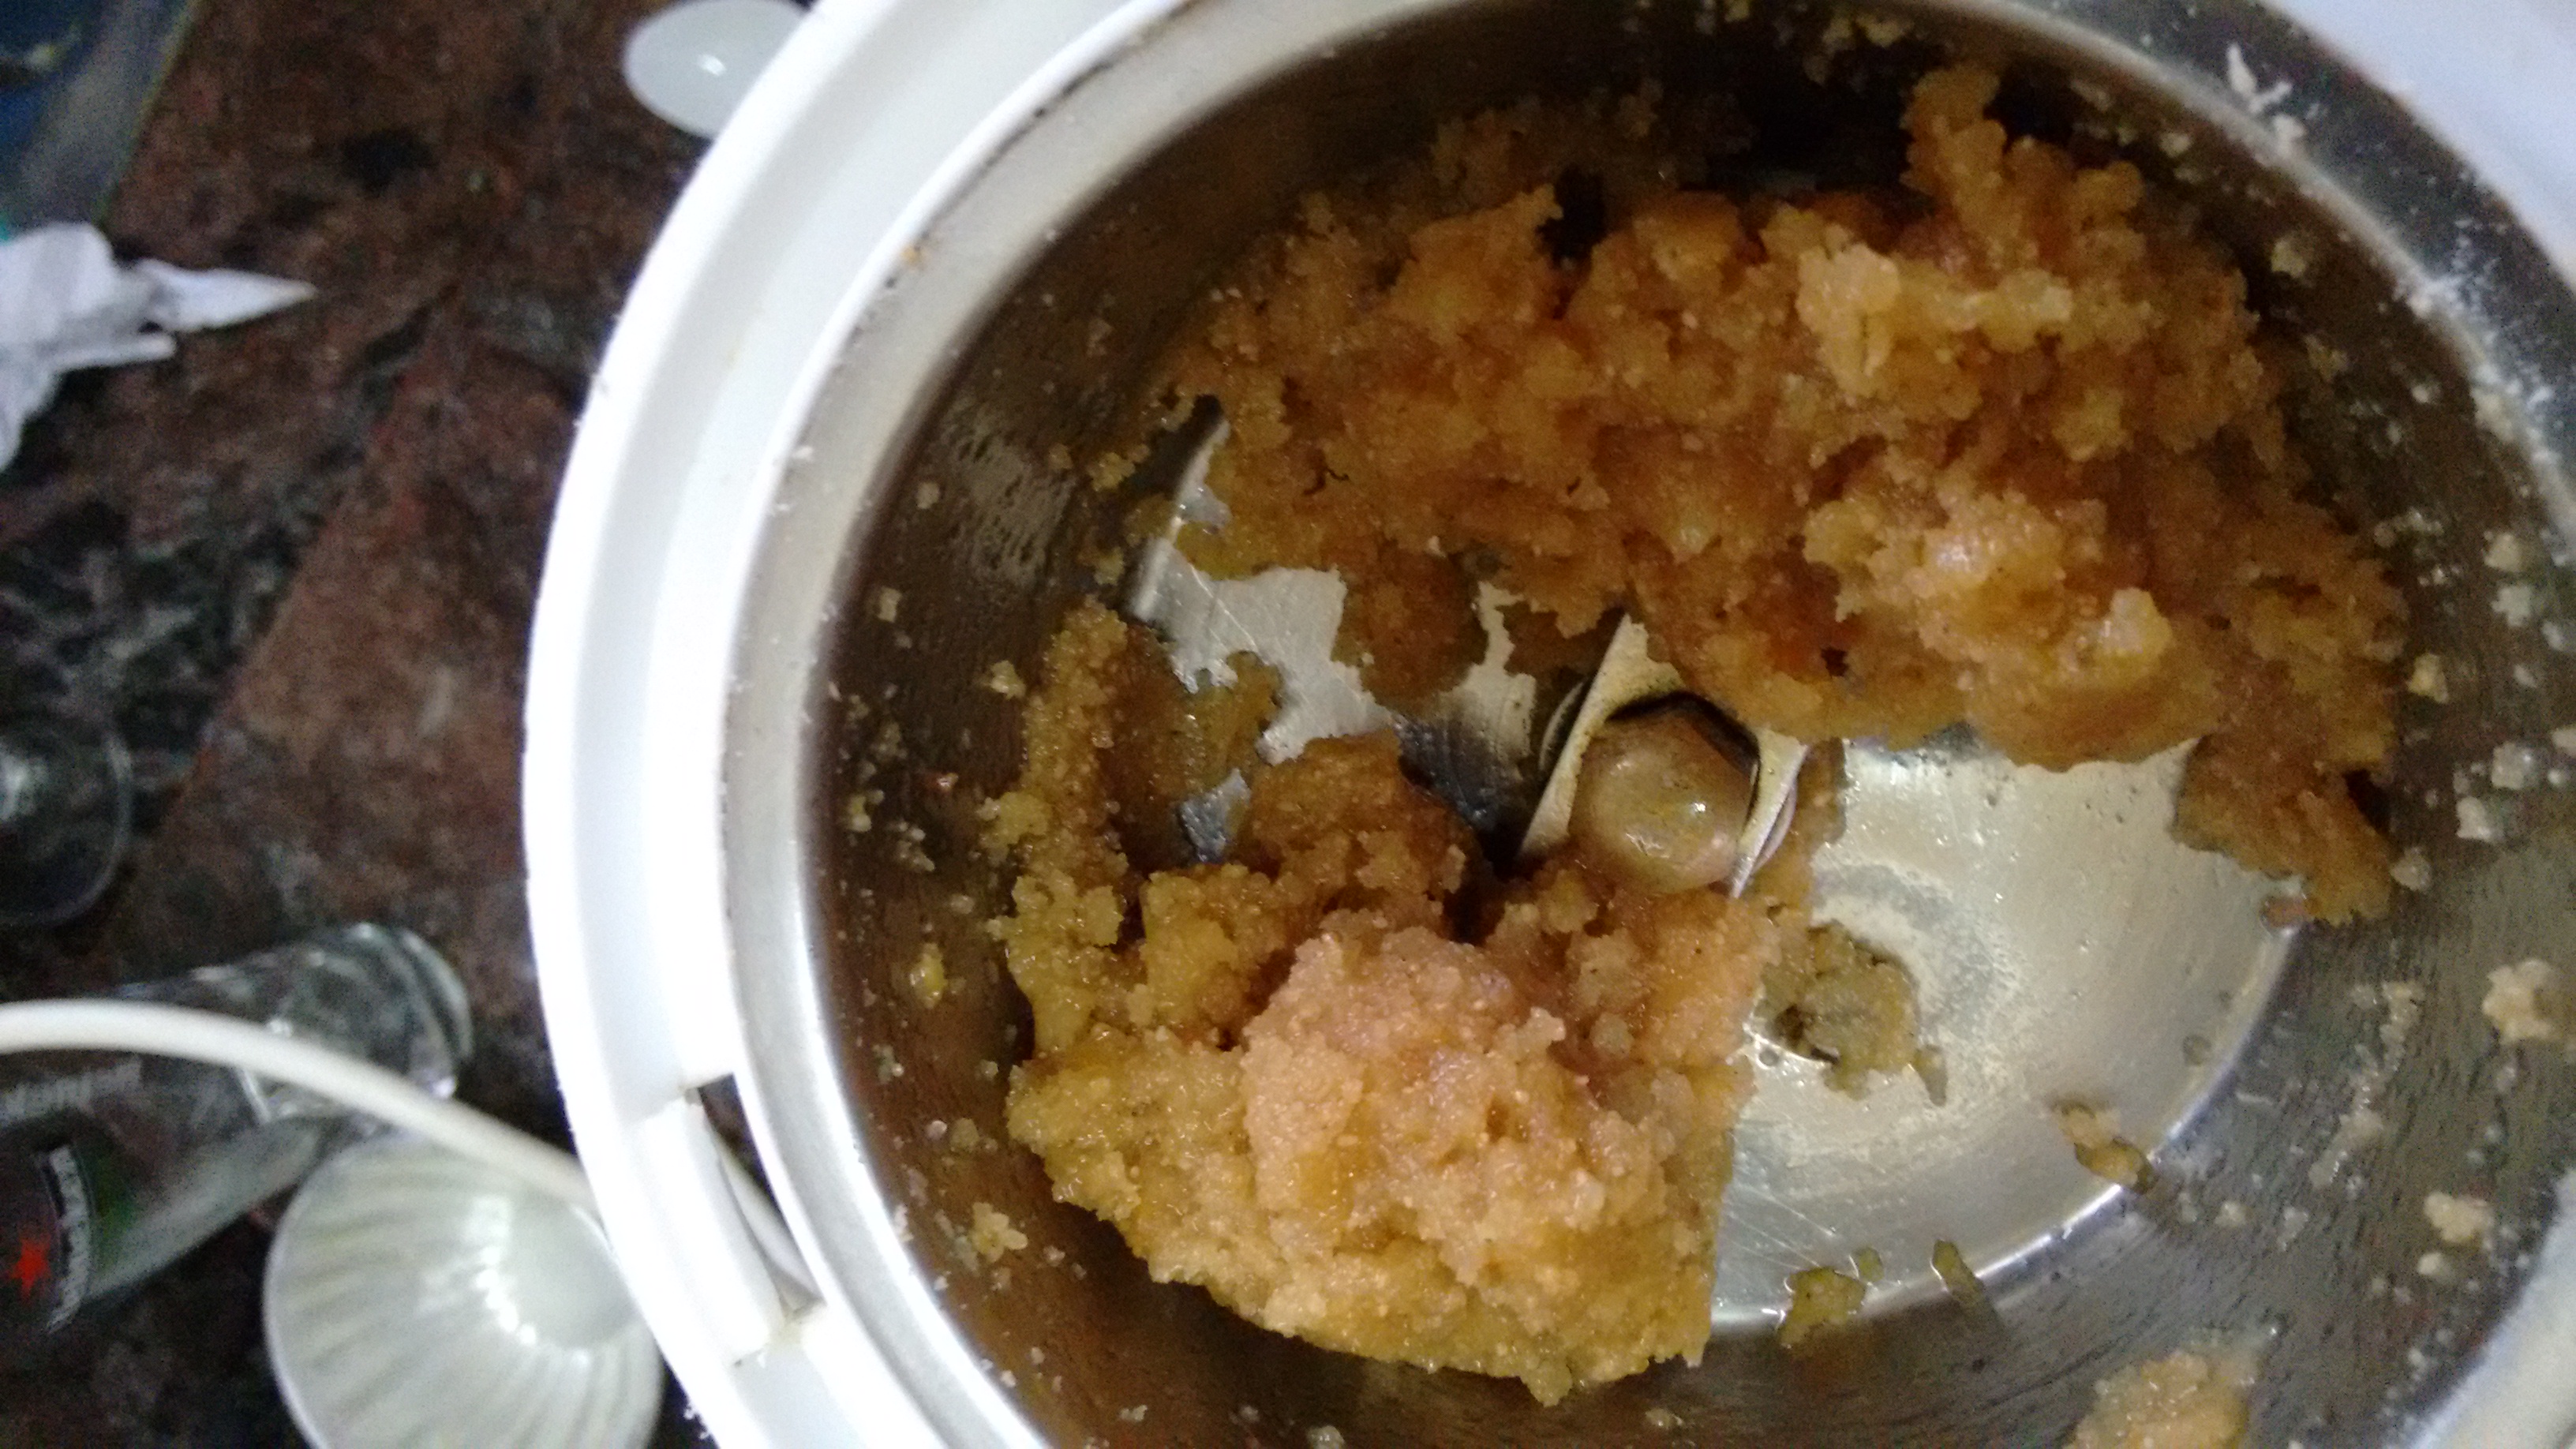
1/2 teaspoon hazelnut liqueur (optional) In a food processor or blender, finely grind the nuts until mealy (in batches, if necessary). Add the egg whites, powdered sugar, and liqueur and blend until fully combined and a paste forms. Remove the paste and store, tightly wrapped in plastic, in the refrigerator. It will keep for up to 2 weeks. Makes 13 ounces.
Angel Food Cake
125 grams sifted cake flour
80 grams butter
300 grams granulated white sugar
360 ml egg whites, at room temperature (from about 12 large eggs)
1 teaspoon cream of tartar
1/2 teaspoon salt
1 tablespoon fresh lemon juice
2 teaspoons pure vanilla extract
1/2 teaspoon pure almond extract
Preheat oven to 180 C and place rack in center of oven. Have ready a 25cm two piece angel food cake pan.
In a large bowl sift together 150 grams granulated white sugar and the sifted cake flour.
In your electric mixer, with the whisk attachment, beat the egg whites until foamy. Add the cream of tartar, lemon juice, and salt and continue to beat until soft peaks form. Gradually beat in the remaining 150 grams granulated white sugar, a tablespoon at a time, until glossy stiff peaks form. Scrape down the sides of the bowl as needed. Beat in the vanilla extract and almond extract.
Sift the flour mixture over the egg whites (about one quarter of the flour mixture at a time) and gently but quickly fold the flour into the egg whites. You can use a large wire whisk or a large rubber spatula. (It is important not to over fold the batter or it will deflate.)
Pour the batter into the pan and run a metal spatula or knife through the batter to get rid of any air pockets. Smooth the top and bake in the preheated oven for about 40 – 45 minutes. The cake is done when a wooden skewer inserted in the center of the cake comes out clean and the cake springs back when gently pressed. The top of the cake will have cracks.
Immediately upon removing from the oven invert the pan. Suspend the pan by placing the inner tube on the top of a wine bottle or flat topped glass. Allow the cake to cool for about 1 1/2 hours.
When completely cool, run a metal spatula or knife around the sides of the pan to loosen the cake and then remove the cake from the pan. Next, run a metal spatula or knife along the bottom and center core of the pan and remove. Place on your serving plate.
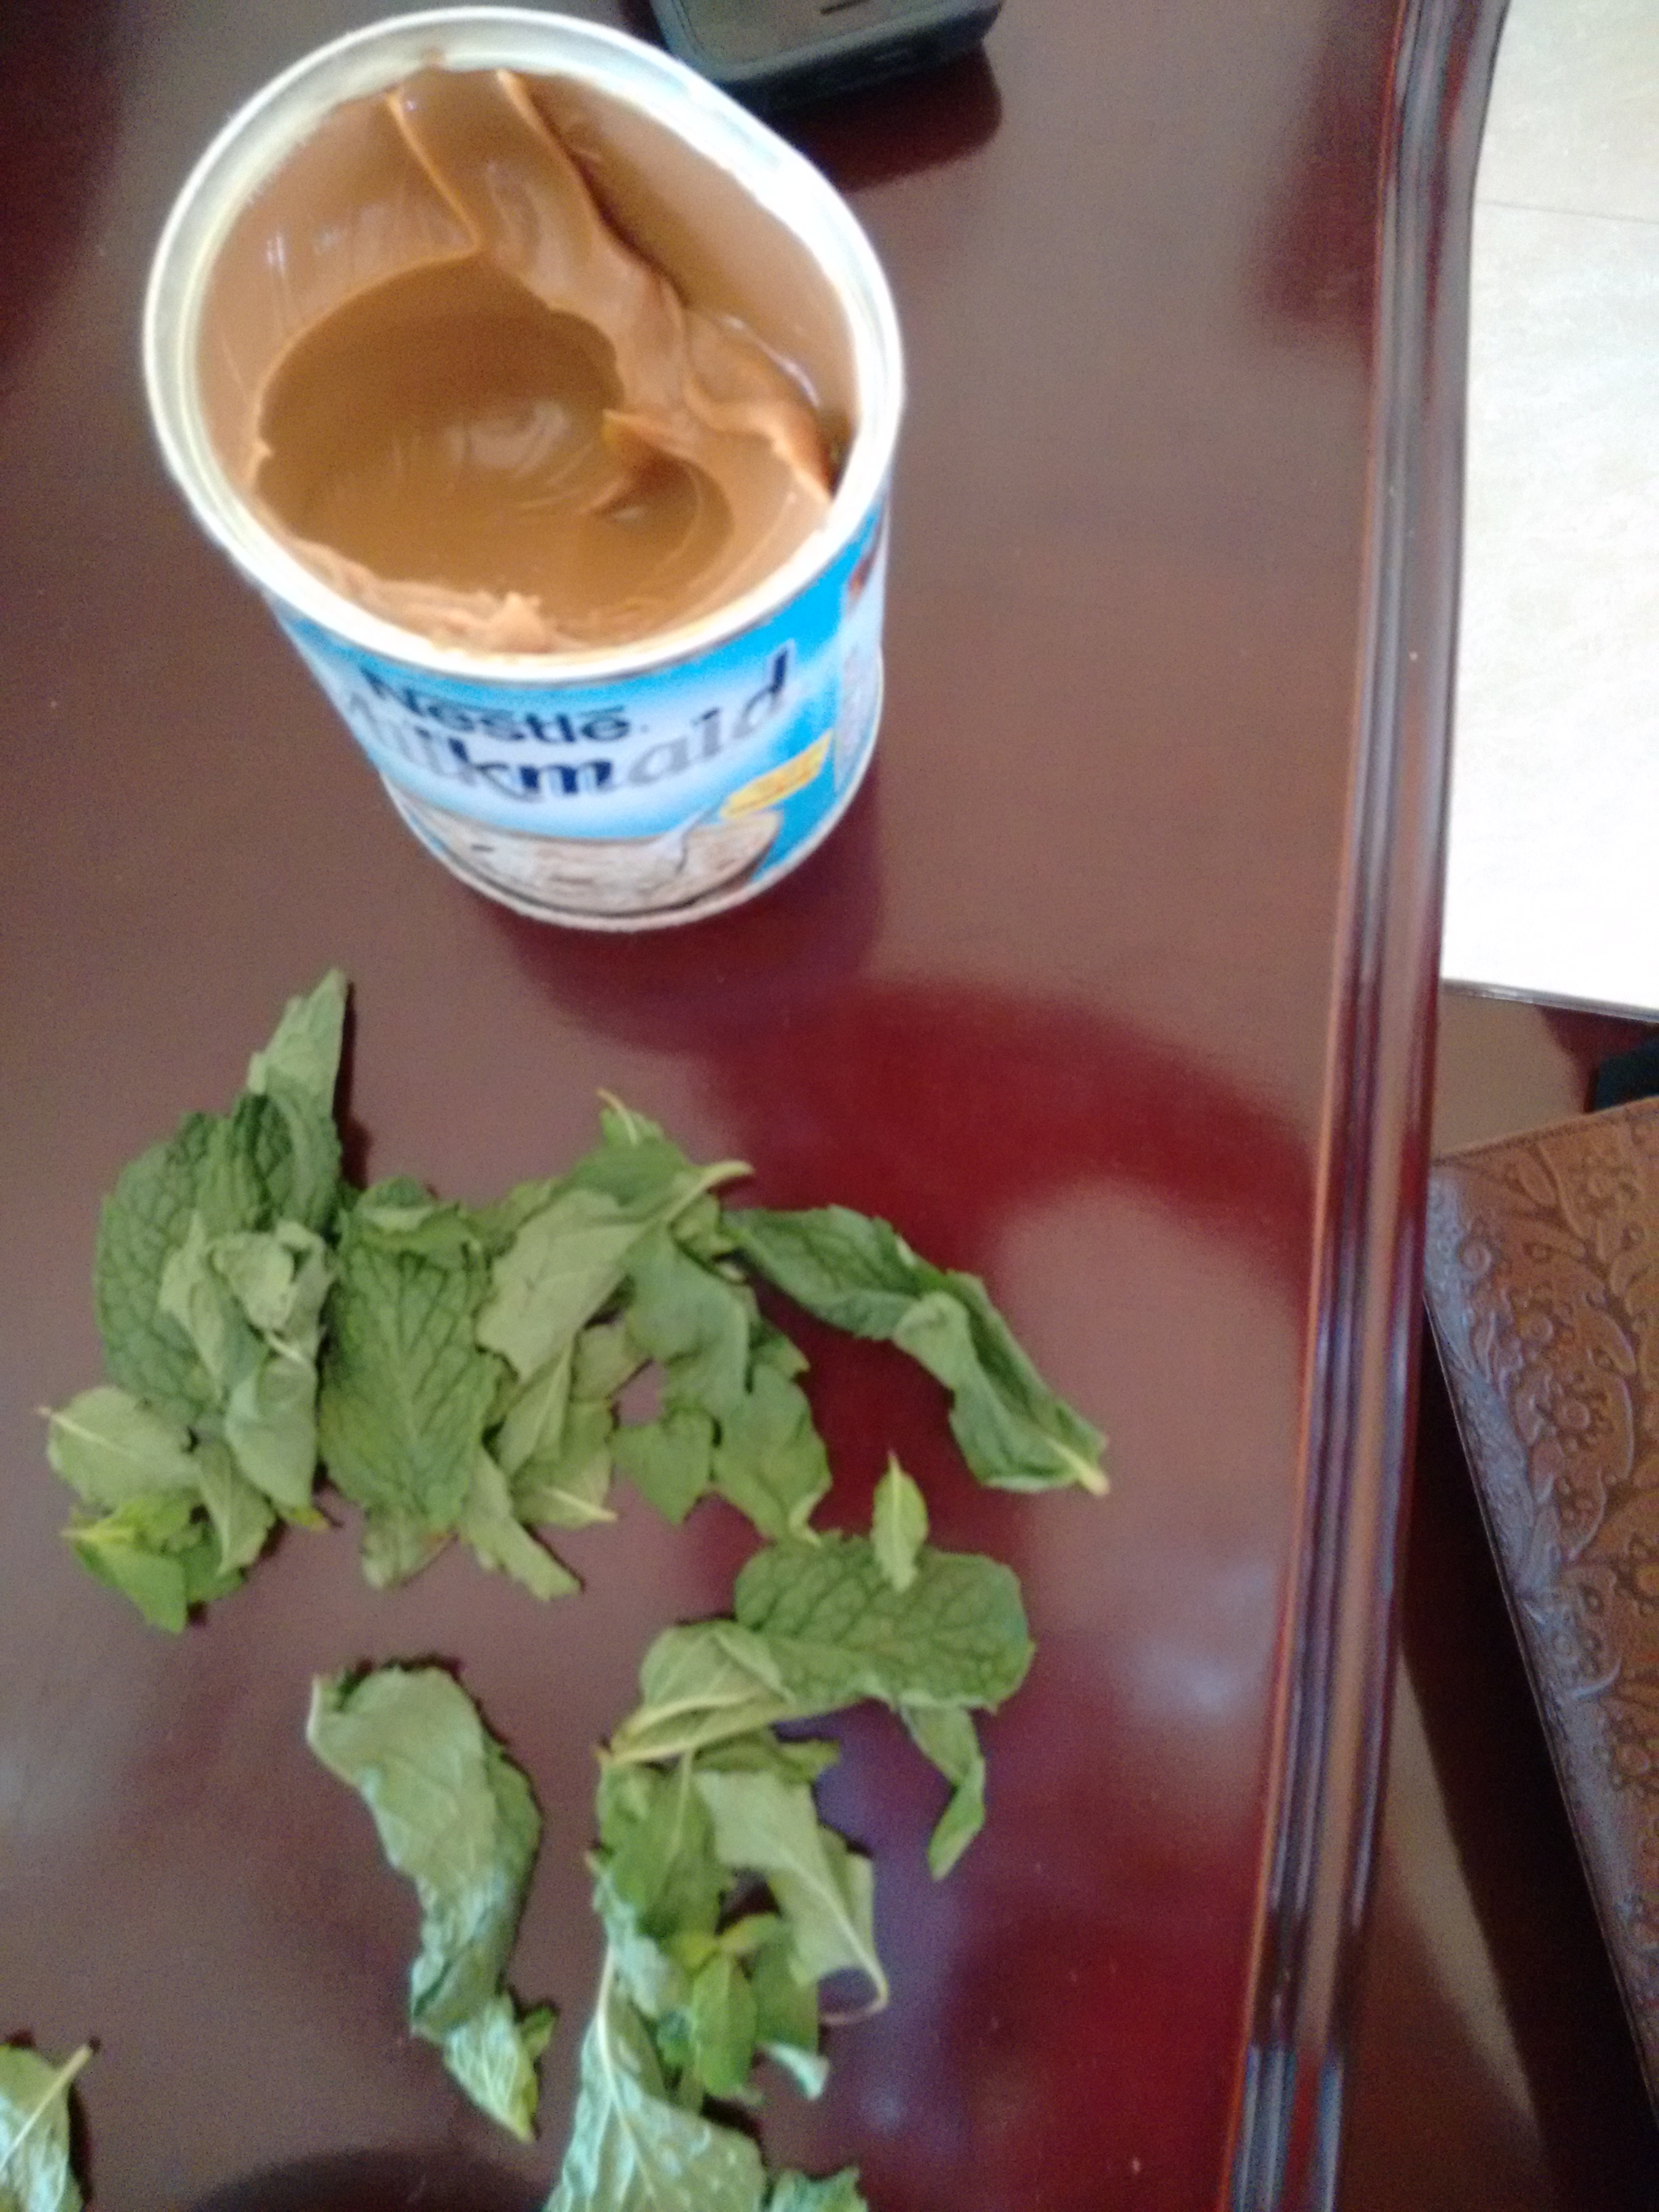
Dulce De Leche
Place an unopened tin of sweetened condensed milk into a pot. Cover with water, make sure it is completely immersed. Simmer for 2 hours. I used my induction for doing this, I left it at 140 for 2 hours and kept adding some water to keep it immersed as the water evaporated.
Assemble
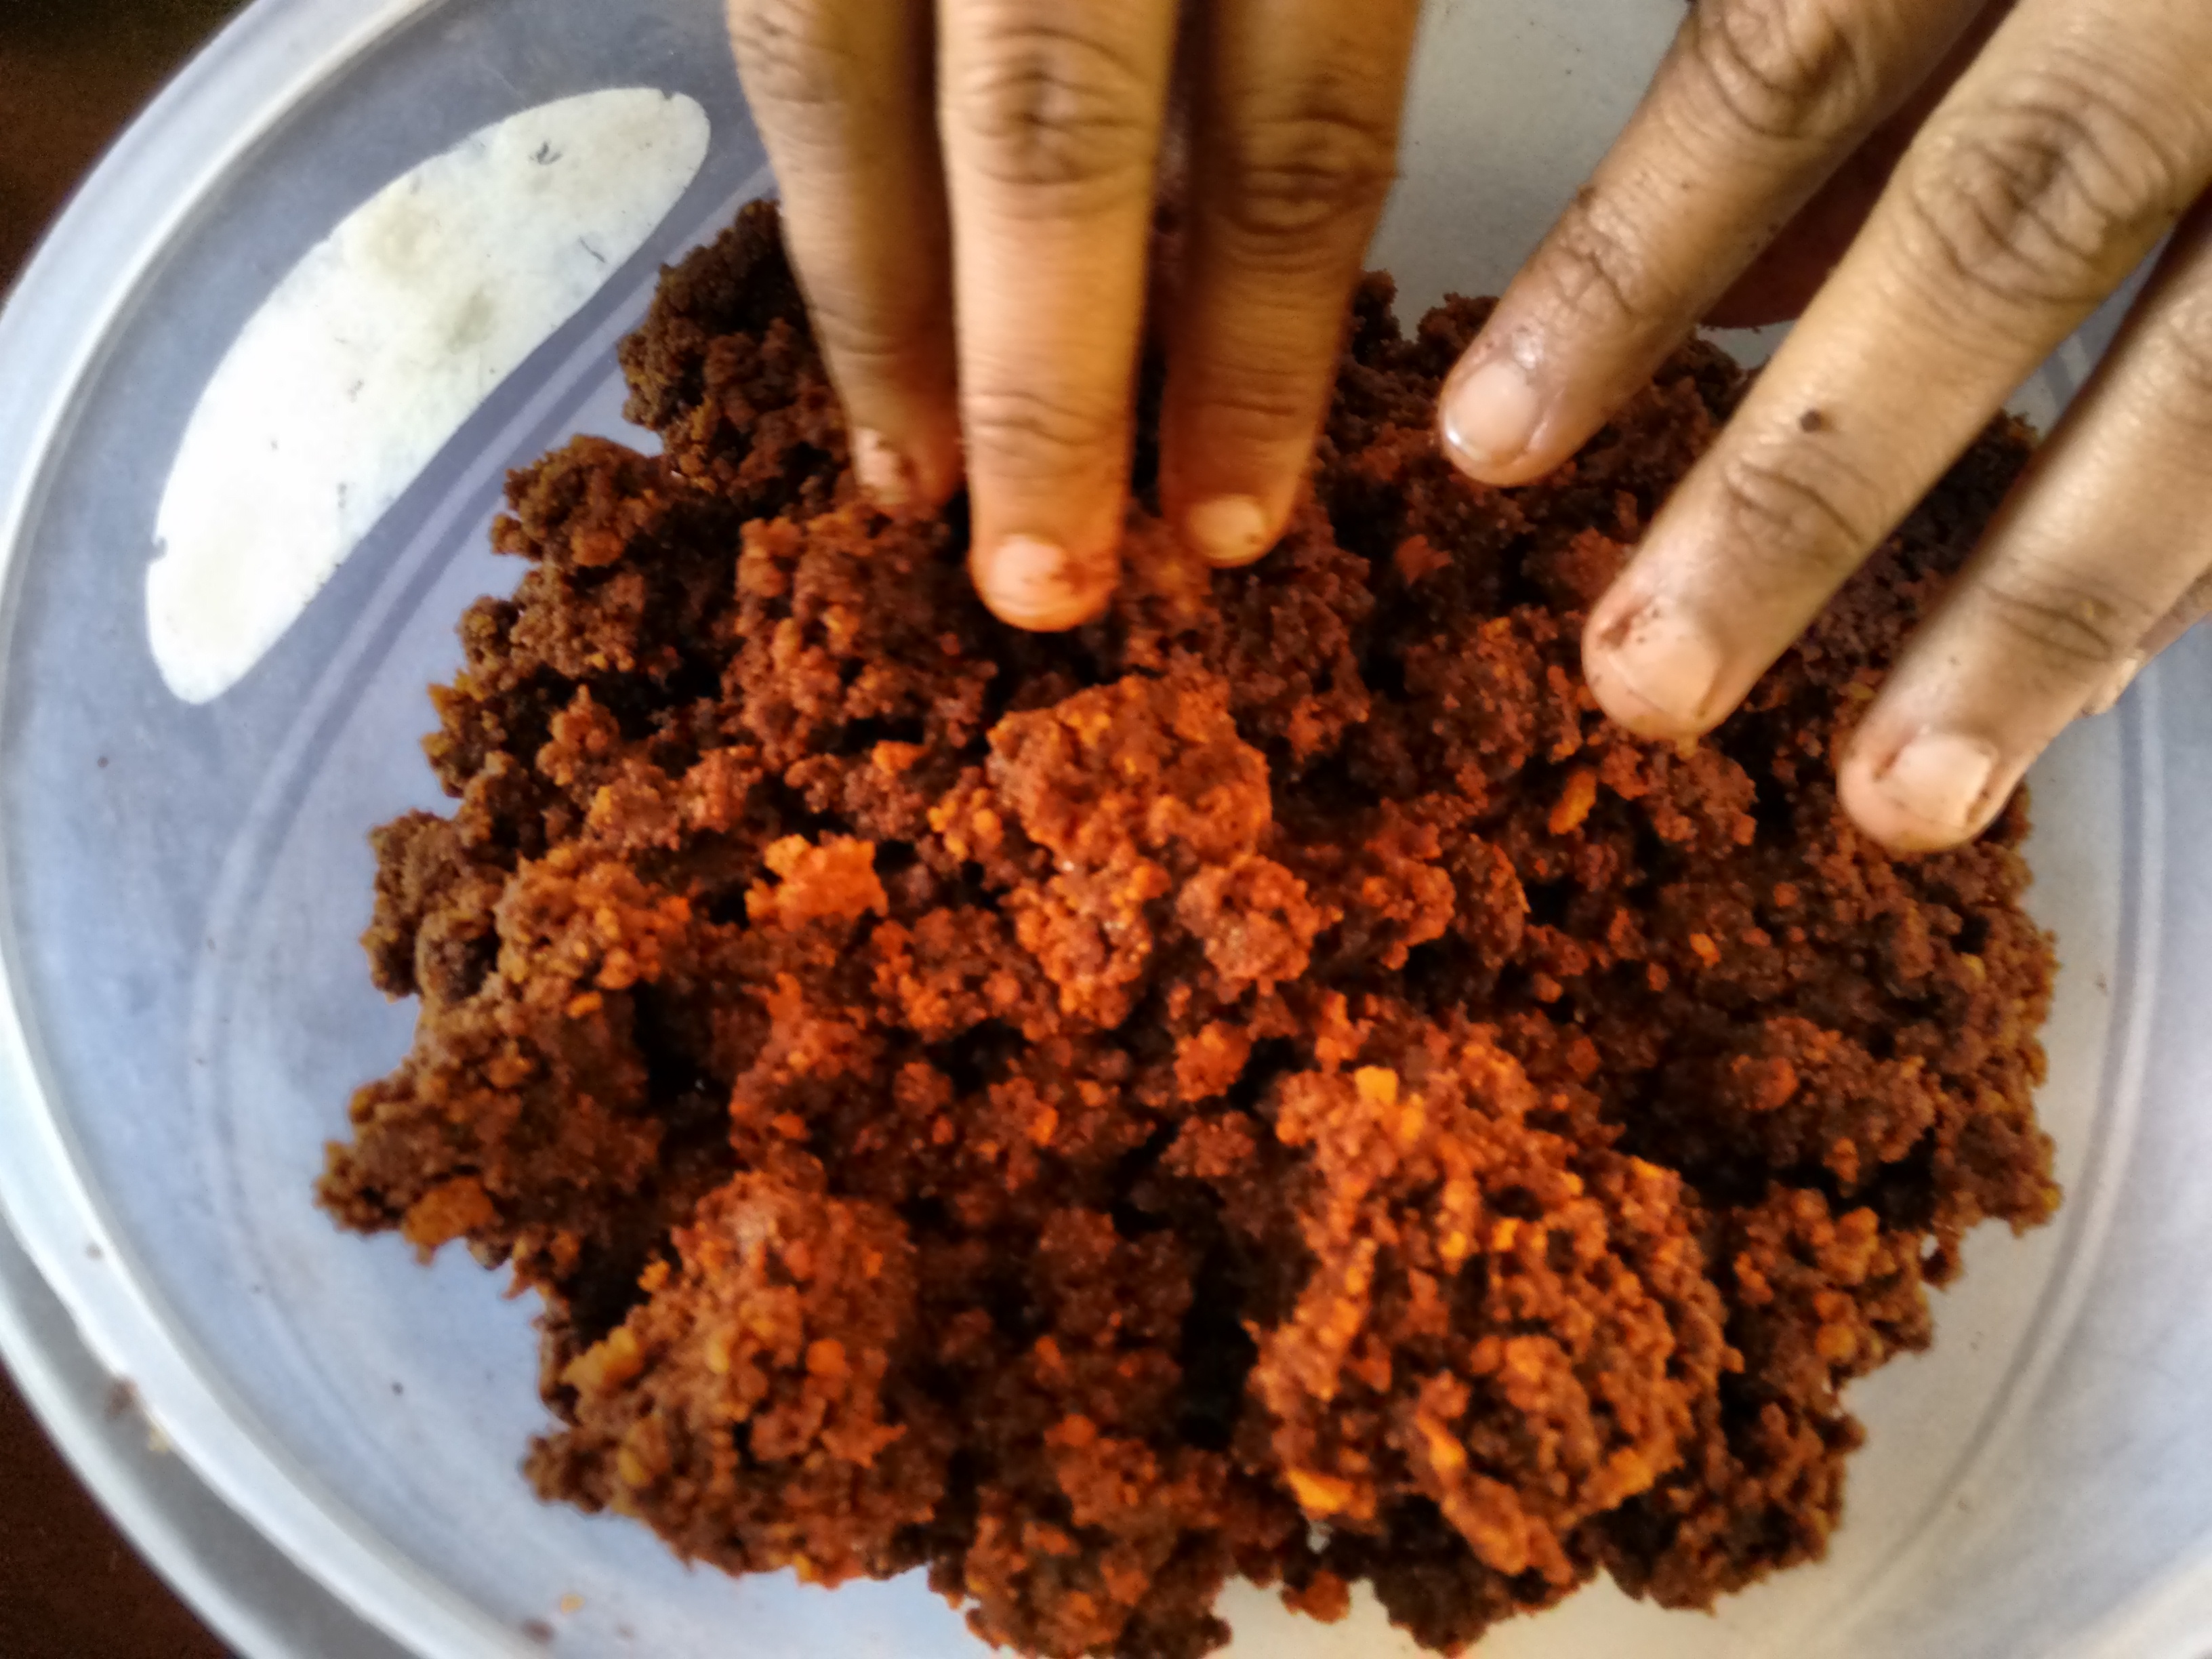
Crumble hazelnut cake and ginger cake first. depending on the dryness of this mixture add angel food cake little by little such that you can hold the mixture together. Not too soggy, not too dry, else they will fall apart, especially when dipped.
Roll the mixture into golf ball sized round. Place the cake balls on a parchment or wax paper lined baking sheet. After forming the cake balls, cover the baking sheet with plastic wrap and place in the refrigerator until they are firm.I was a little lazy so I formed a few slabs too.
Melt the Dulce De Leche with some mint leaves in a double boiler. We are doing this just so that the Dulce De Leche is pliable. Be very very careful with the mint, It is very easy for the mint to diminish all other flavors. Use mint wisely.
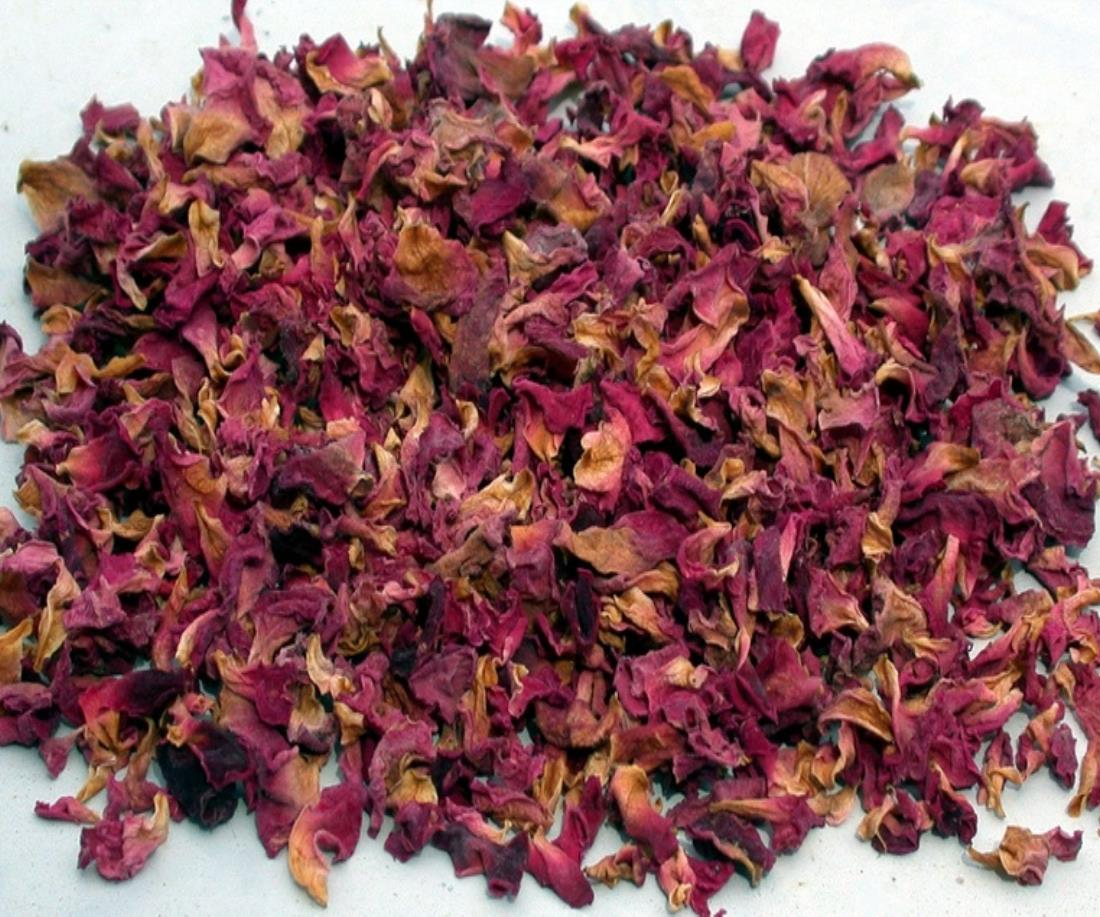
I was at The Art of Living Foundation visiting my friend. There is a stall near the entrance gate which sells various things. While, I jumped at the Aloe Vera sapling almost immediately, bought it. As my eyes veered across I saw a packet of rose petals, hmm I thought to myself ” I could make something “, I bought the organic rose petals too. Some days later, viola – Baked Alaska.
Pre-heat the oven to 180C. Line the base of a loaf tin with baking parchment.
I added a third of black treacle too.
Place the golden syrup, butter and sugar in a saucepan and stir over a medium-low heat until the butter has melted and the mixture is smooth
Set aside and allow to cool, then mix in the ginger, milk and eggs. Sift the remaining ingredients into a large bowl.
Make a well in the centre, then pour in the wet ingredients and mix thoroughly so that you get a runny mixture.
Pour the mixture into the prepared loaf tin and bake in the centre of the oven for 50-60 minutes, or until a skewer inserted into the centre of the cake comes out clean.
Remove from the oven and drizzle or brush the reserved stem ginger syrup over the loaf while it’s still hot.
Allow to cool for 10 minutes in the tin, then carefully lift the cake out with the lining paper and place on a wire rack. Peel away the baking parchment and leave to cool down completely.
Strawberry ice-cream
Ingredients
1 cup heavy cream
1/2 cup whole milk
3/8 cup granulated sugar
Table salt
5 large egg yolks
300-500 g fresh or frozen strawberries
I added some frozen raspberries too, just for kicks.
Clean and roughly chop the strawberries, put them into a bowl and sprinkle over the 2 tablespoons of caster sugar and leave them to steep and infuse with flavour.
Pour the milk and cream into a heavy-based saucepan, and add the vanilla pod, split down the middle lengthways. Bring the pan nearly to the boil and then take it off the heat and leave to infuse for 20 minutes.
In a large bowl whisk the egg yolks and the 3/8 cup sugar until thick and pale yellow. Take the vanilla pod out of the milk and cream and pour, whisking the while, the warm liquid over the yolks. Put the cleaned-out pan back on the heat with the cream, milk, egg and sugar mixture and stir the custard until it thickens, then take it off the heat and pour it into a bowl to cool.
Puree the strawberries in a processor, and when the custard is cool fold in the lemon juice and strawberry puree. Whip it out every hour for 3 hours as it freezes and give it a good beating in the processor. That gets rid of any ice crystals that form and that make the ice cream crunchy rather than smooth.
1 cups whole milk
1 cups heavy cream
2 large egg yolks
1/4 cup sugar
1/2 teaspoon vanilla extract
1 teaspoon rose water
3 Tablespoons rose petal jam (homemade)
Bought pectin from cake and baking institute. This is the jam I made
Heat the cream and milk over medium heat, stirring, for 8-10 minutes. In a bowl, mix together the egg yolks, sugar, vanilla and rose water. Add 1/4 cup of the hot milk to the eggs, stirring as you pour so the eggs won’t curdle when heated.
Reduce the heat to medium-low and slowly pour the egg mixture into the saucepan while stirring. Cook, stirring constantly, until the mixture thicken a little.
Remove from heat and stir in the jam and huckleberry syrup (if you found some please let me know) until all melted and blended. Cool completely either in an ice bath or the fridge overnight.
Whip it out every hour for 3 hours like the strawberry ice cream.
Italian meringue
120 g caster sugar
2 large free range egg whites
Lemon Juice
To make the meringue put the sugar and 2 tbsp water into a medium heavy-based saucepan and dissolve over a medium heat, stirring once or twice. When the liquid is clear, increase the heat and boil for three minutes. (Or the liquid registers 120C on a sugar thermometer).
In the meantime, whisk the egg whites with a squeeze of lemon juice in a clean, grease-free bowl, using a hand held electric whisk , until they form soft peaks.
With the beaters still whirling, slowly pour the hot syrup down the side of the bowl and continue beating on full speed for 10 minutes to a firm, glossy meringue. Set to one side.
ASSEMBLE!
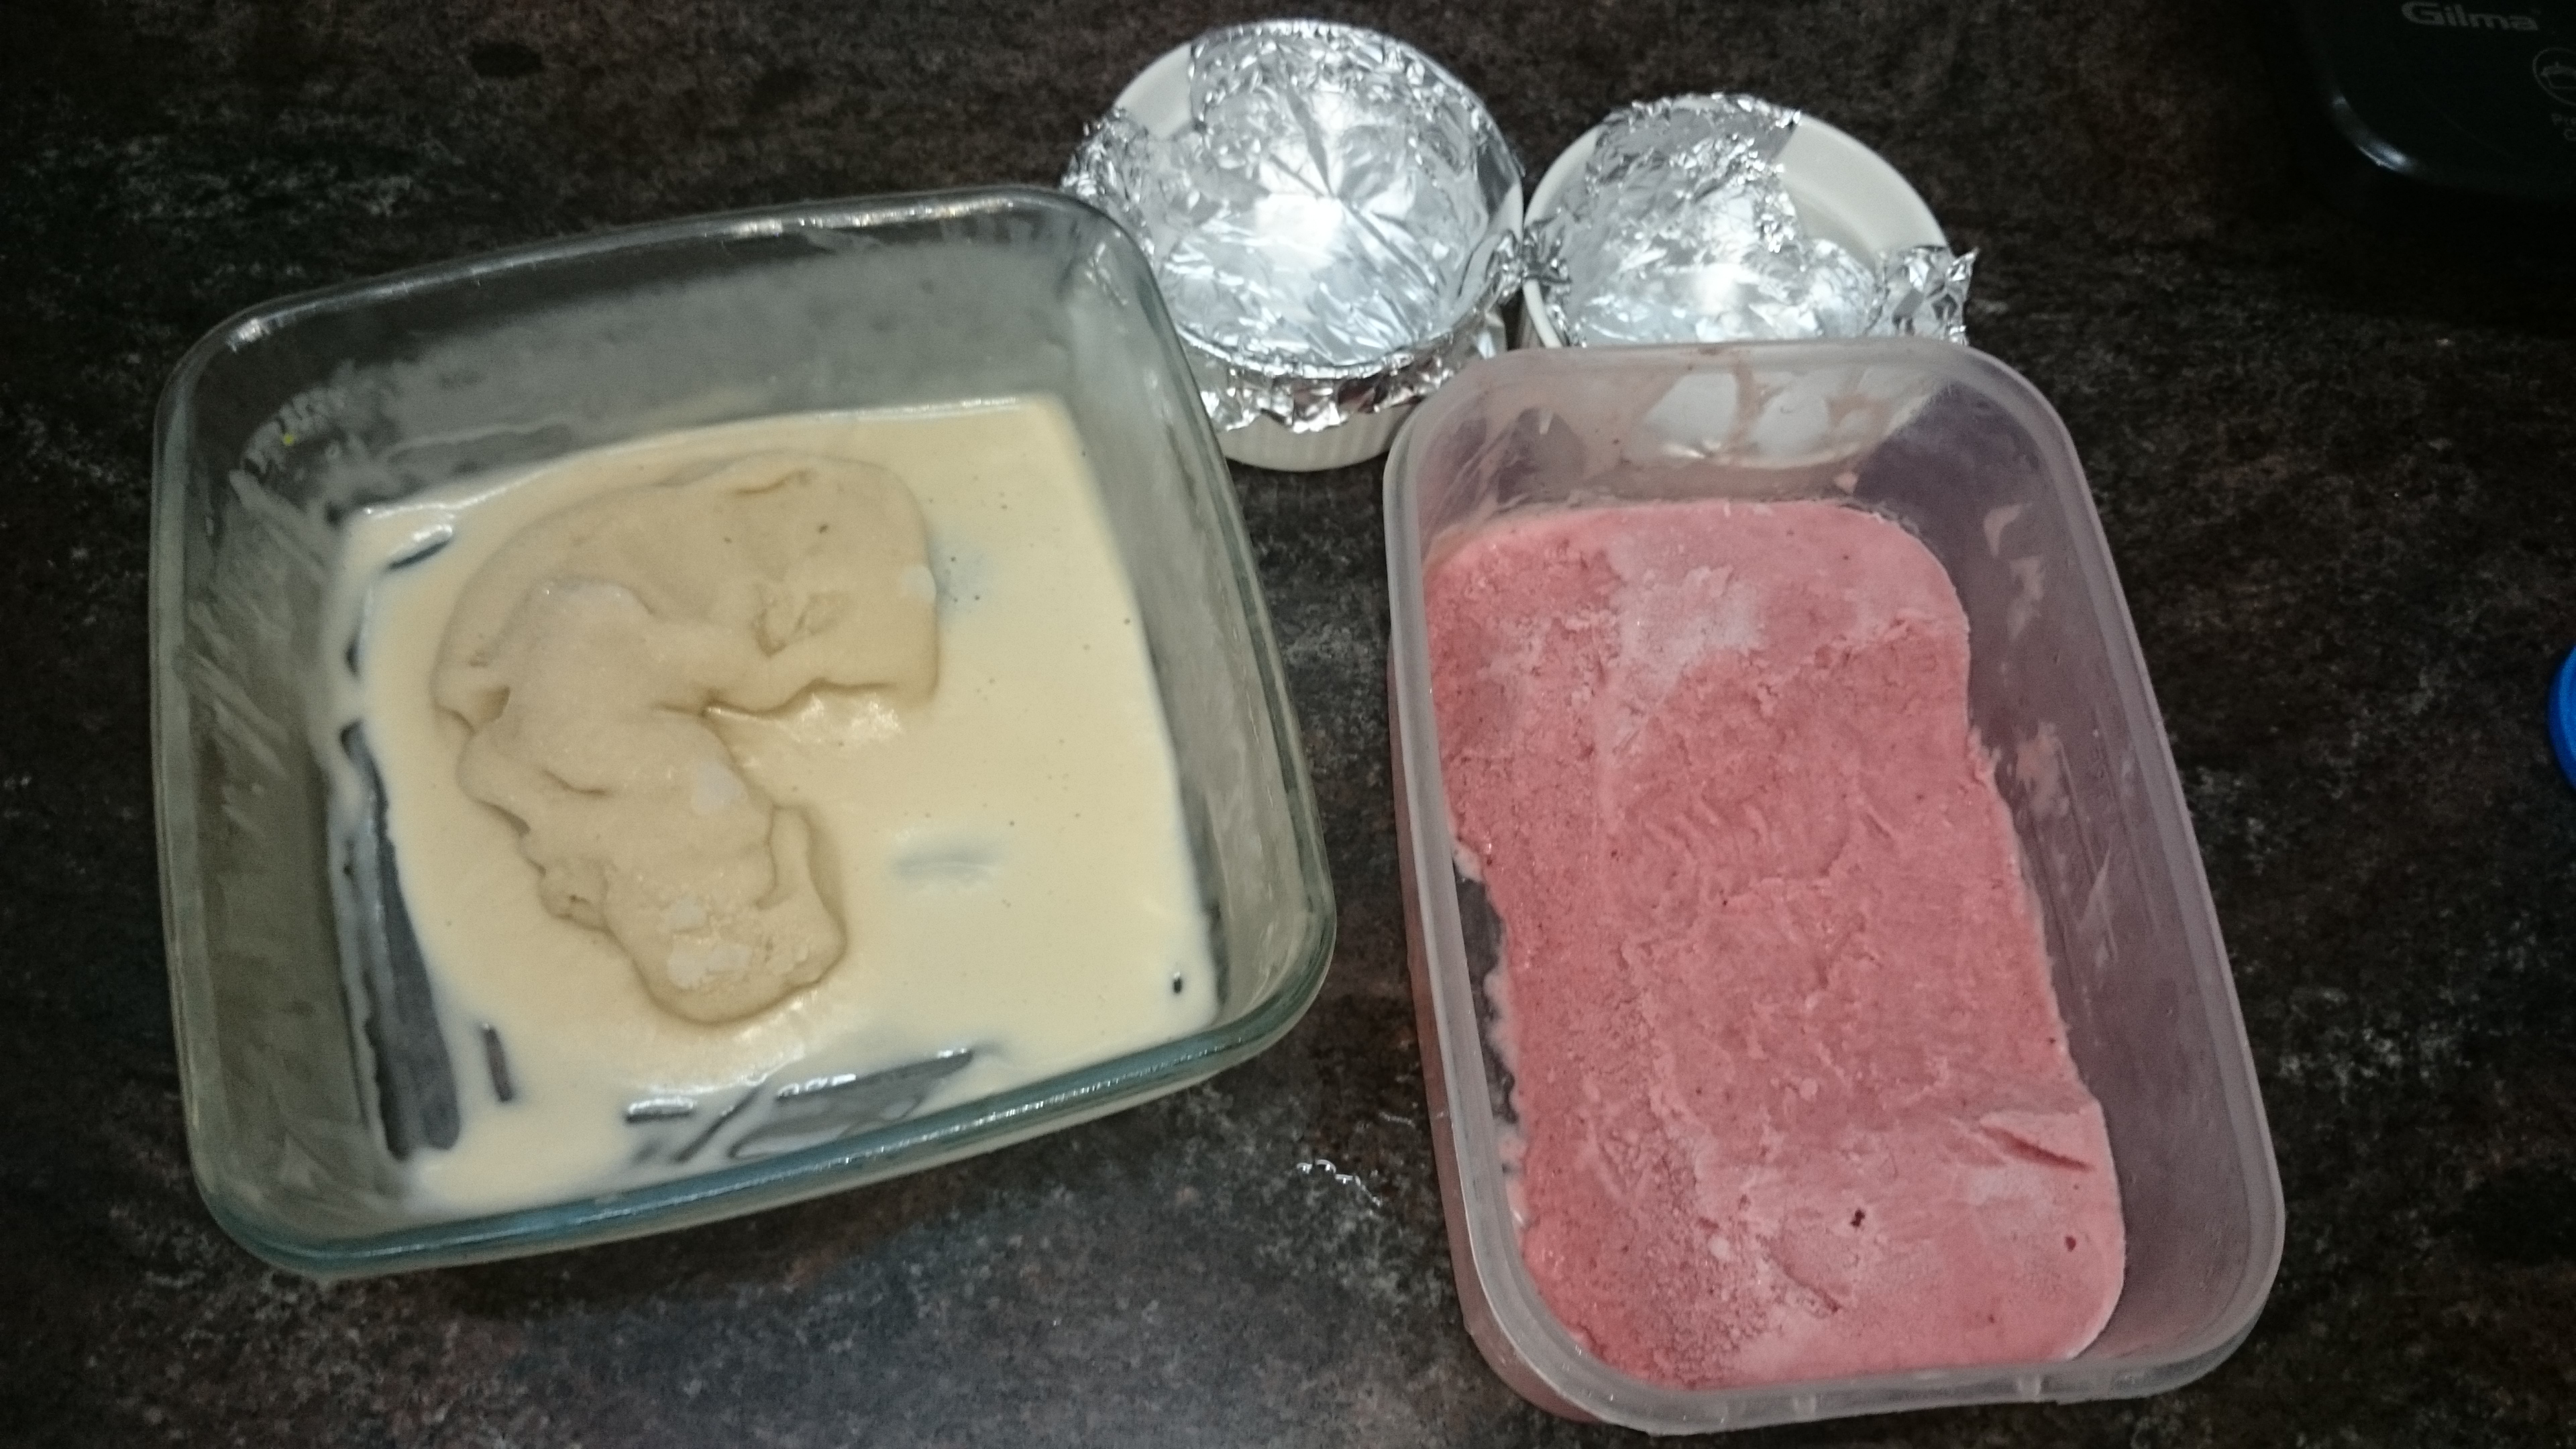
Take 2 ramekins, line them with cling film and spoon the 2 ice creams and freeze them
Cut out discs (same size as the ramekins) from the ginger loaf. Place 1 disc on a tray, place the rose ice cream on the disc. Add some toasted pistachios. Place the strawberry ice cream on top, then top with a plain sponge disc.
Quickly cover the top and sides with the meringue, swirling it attractively. Repeat to finish the rest of the Alaskas, then place, uncovered in the freezer until ready to serve.
Place each Alaska on a serving plate and wave a cook’s blow-torch lightly and quickly over each meringue to colour. This only takes seconds – take care to avoid over-scorching. Serve at once.
I also made a dome, in which I had less rose ice cream , so its wasn’t well-balanced. Anyway here are the pictures.
Poh Ling Yeow ran out of custard and she stuck the empty puffs on the tower. “That Poh” said Matt Preston with a smirk. This is the only scene I remember from 2009 series 1 of Masterchef Australia.
I watch Masterchef it if I find it while zapping channels. But I could never forget Poh (sure, I have a crush on her). I wanted to make croquembouche since 2013.
Last week I was feeling hopeless in life and was trying hard to survive my boring work, I decide to make a very french dessert. YAY! the recipe and the pictures.
Ingredients
Choux pastry:
100 g butter
5 g sugar
132 ml full cream milk
5 g salt
106 ml water
132 g plain flour
4 eggs
Egg wash:
1 eggs
25 ml full cream milk
Method
Preheat oven to 190°C . Lightly grease 2 oven trays.
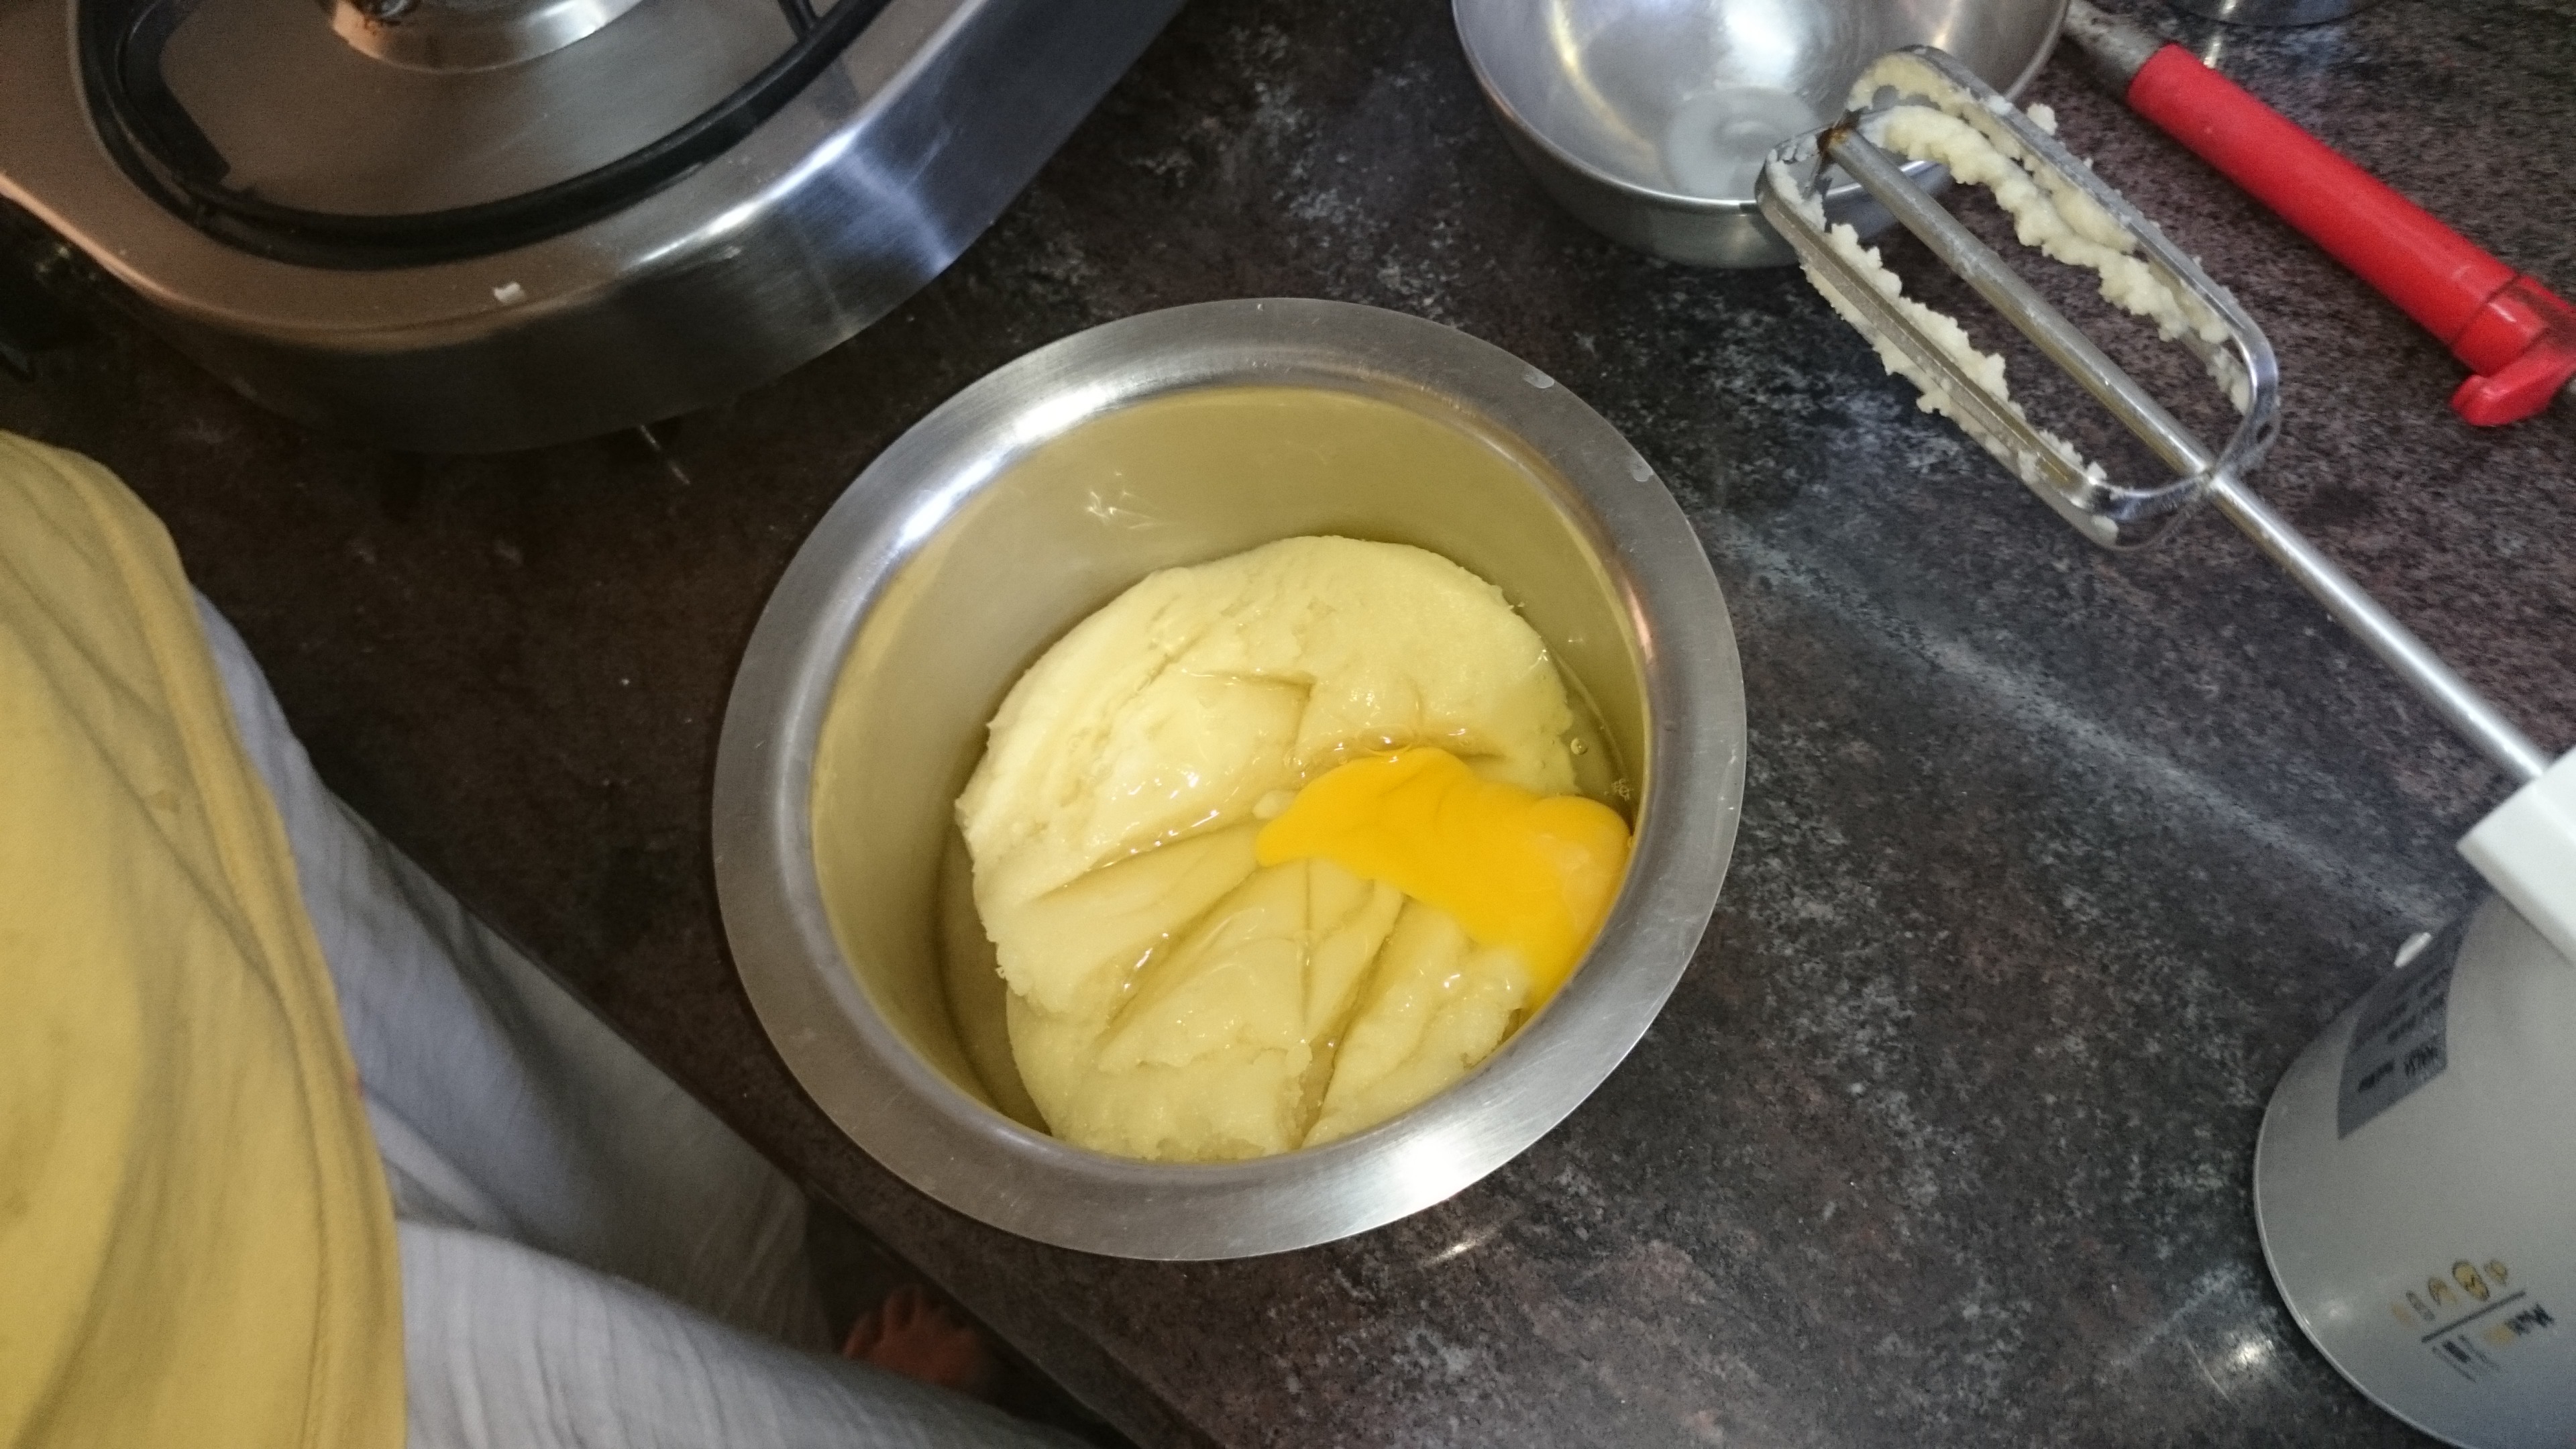
Place butter, sugar, milk, salt and water in a large wide-based saucepan and bring to the boil. Remove from heat and using a wooden spoon, quickly beat in the flour.
Return to heat and continue beating until mixture comes together and leaves the side of the pan. Keep beating for 1-2 minutes to cook out the flour. Remove from heat and cool slightly.
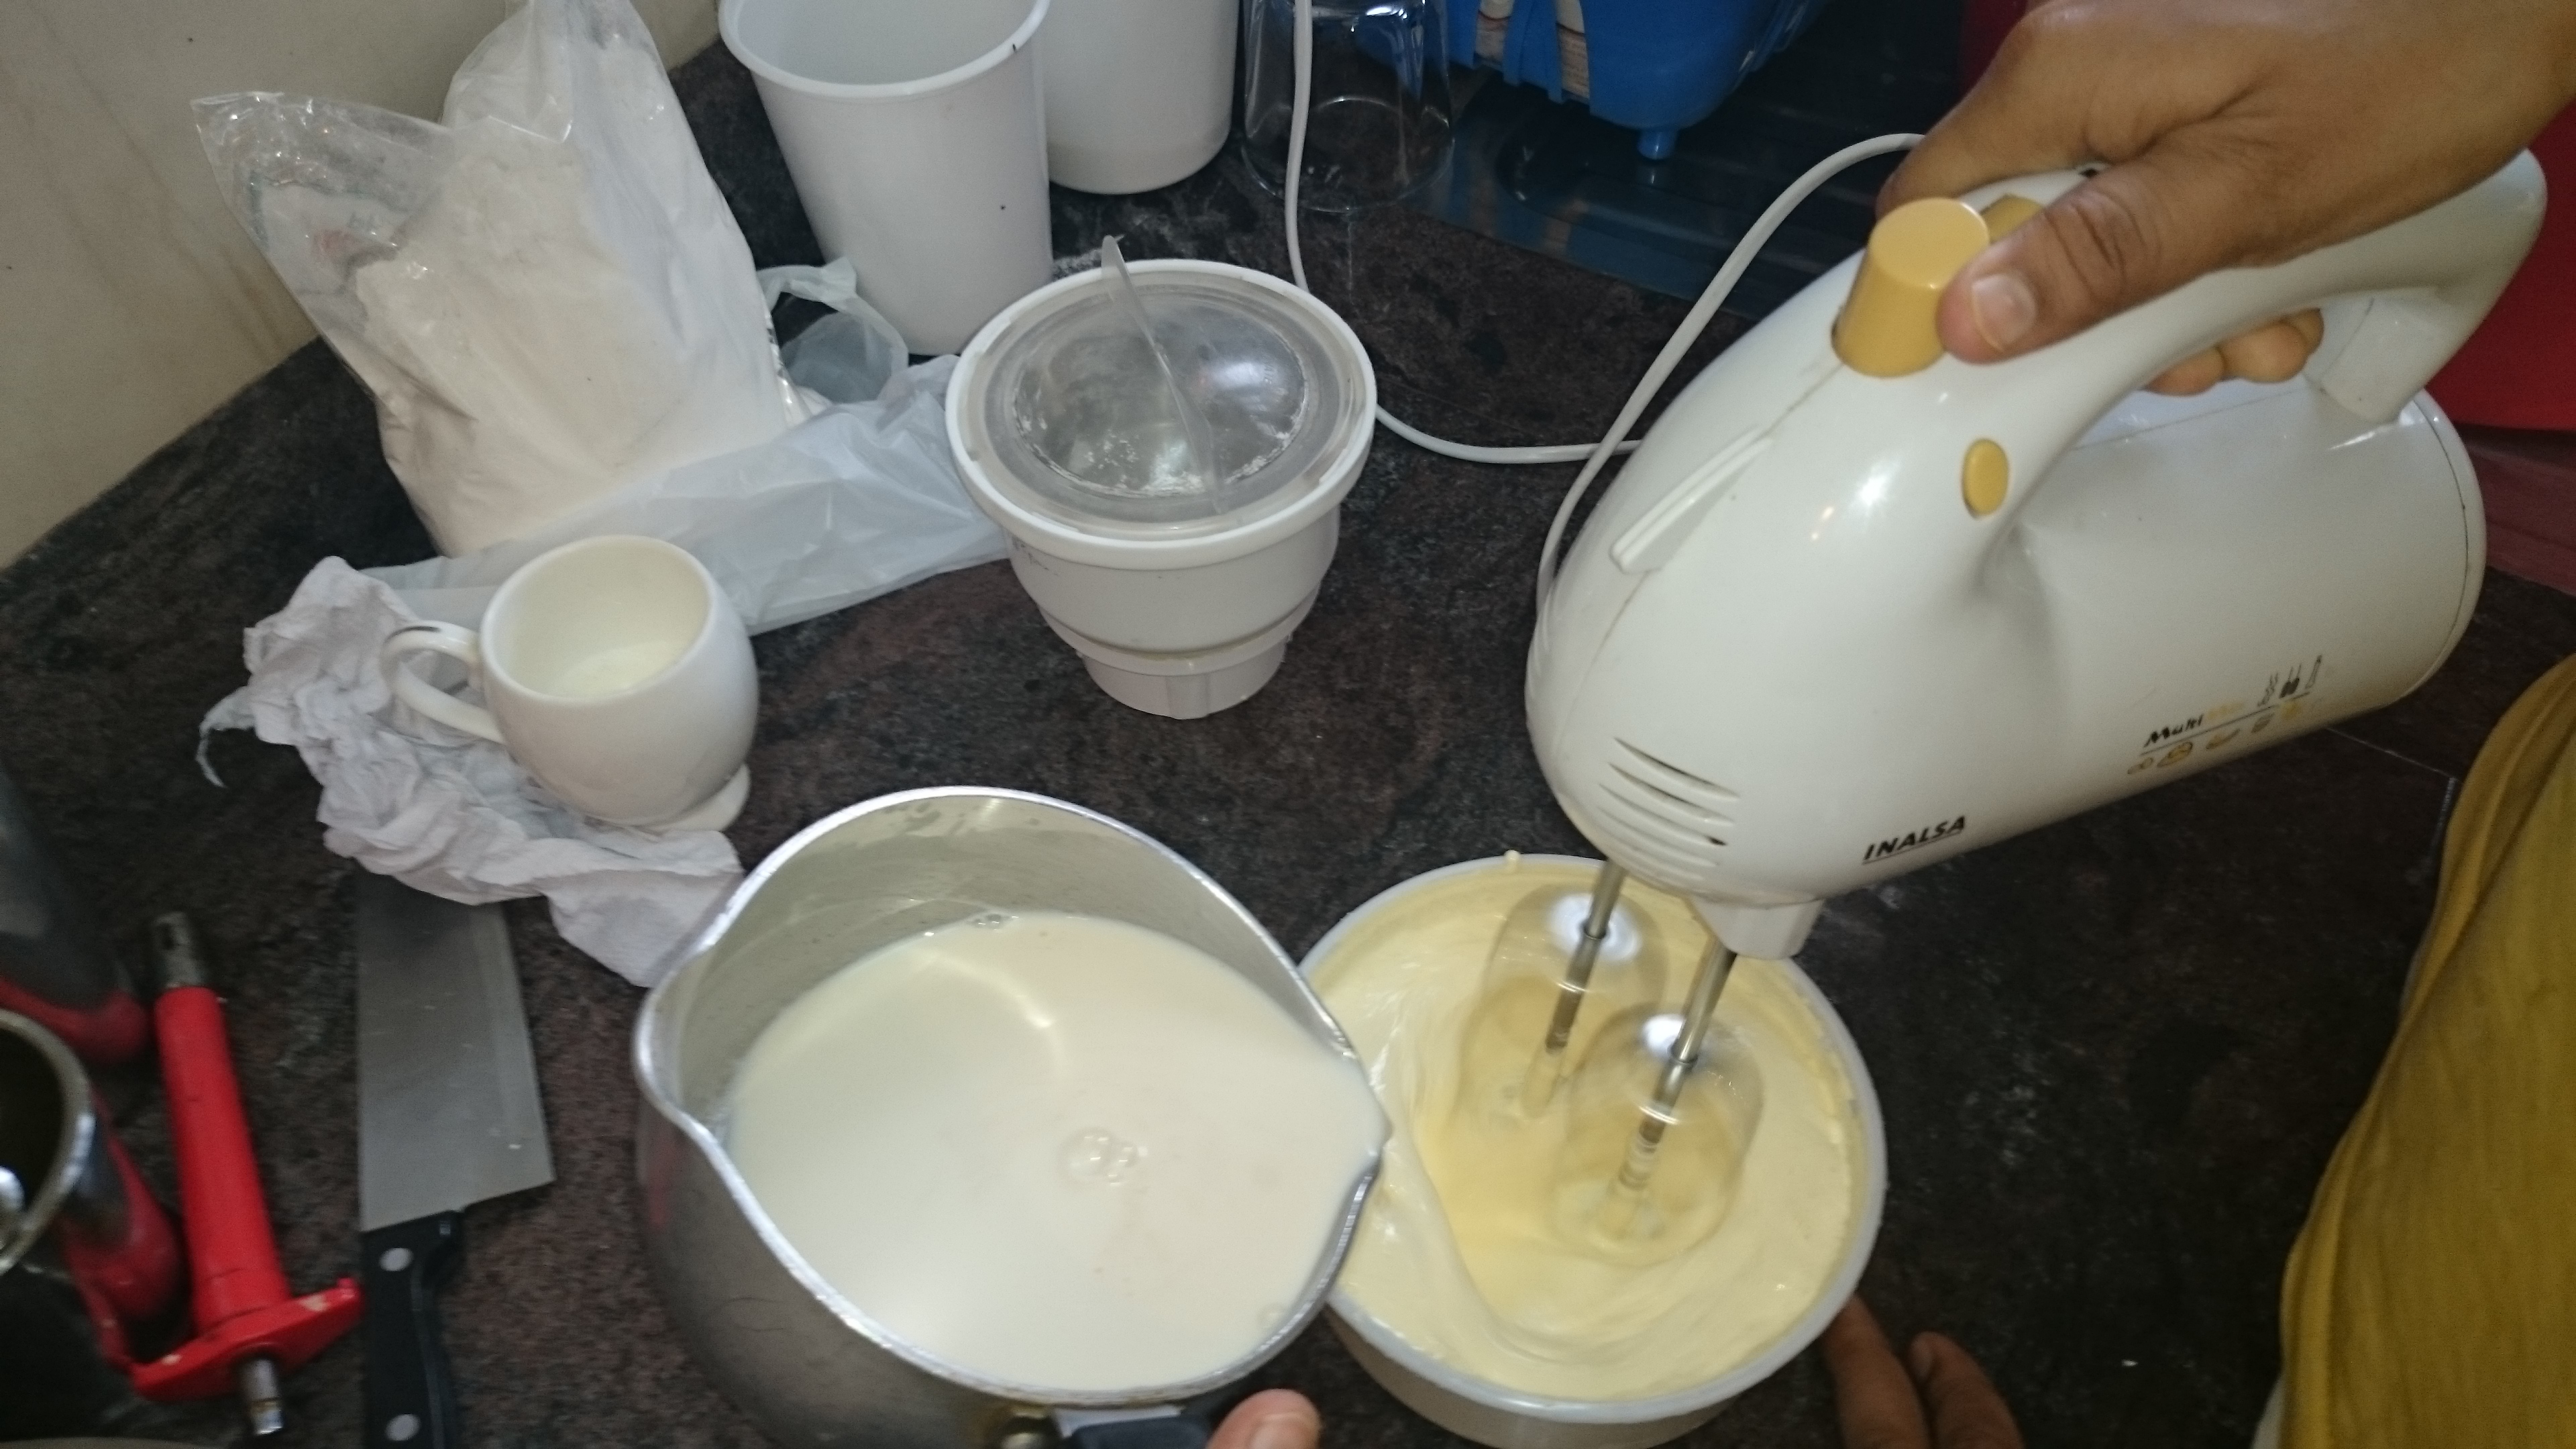
Transfer to a large bowl of a stand mixer. Using stand mixer, beat mixture to release any more heat.
Add eggs one at a time, beating well between each addition, until all the eggs have been added and mixture is thick and glossy. Beat for a few more minutes, or until thickened.
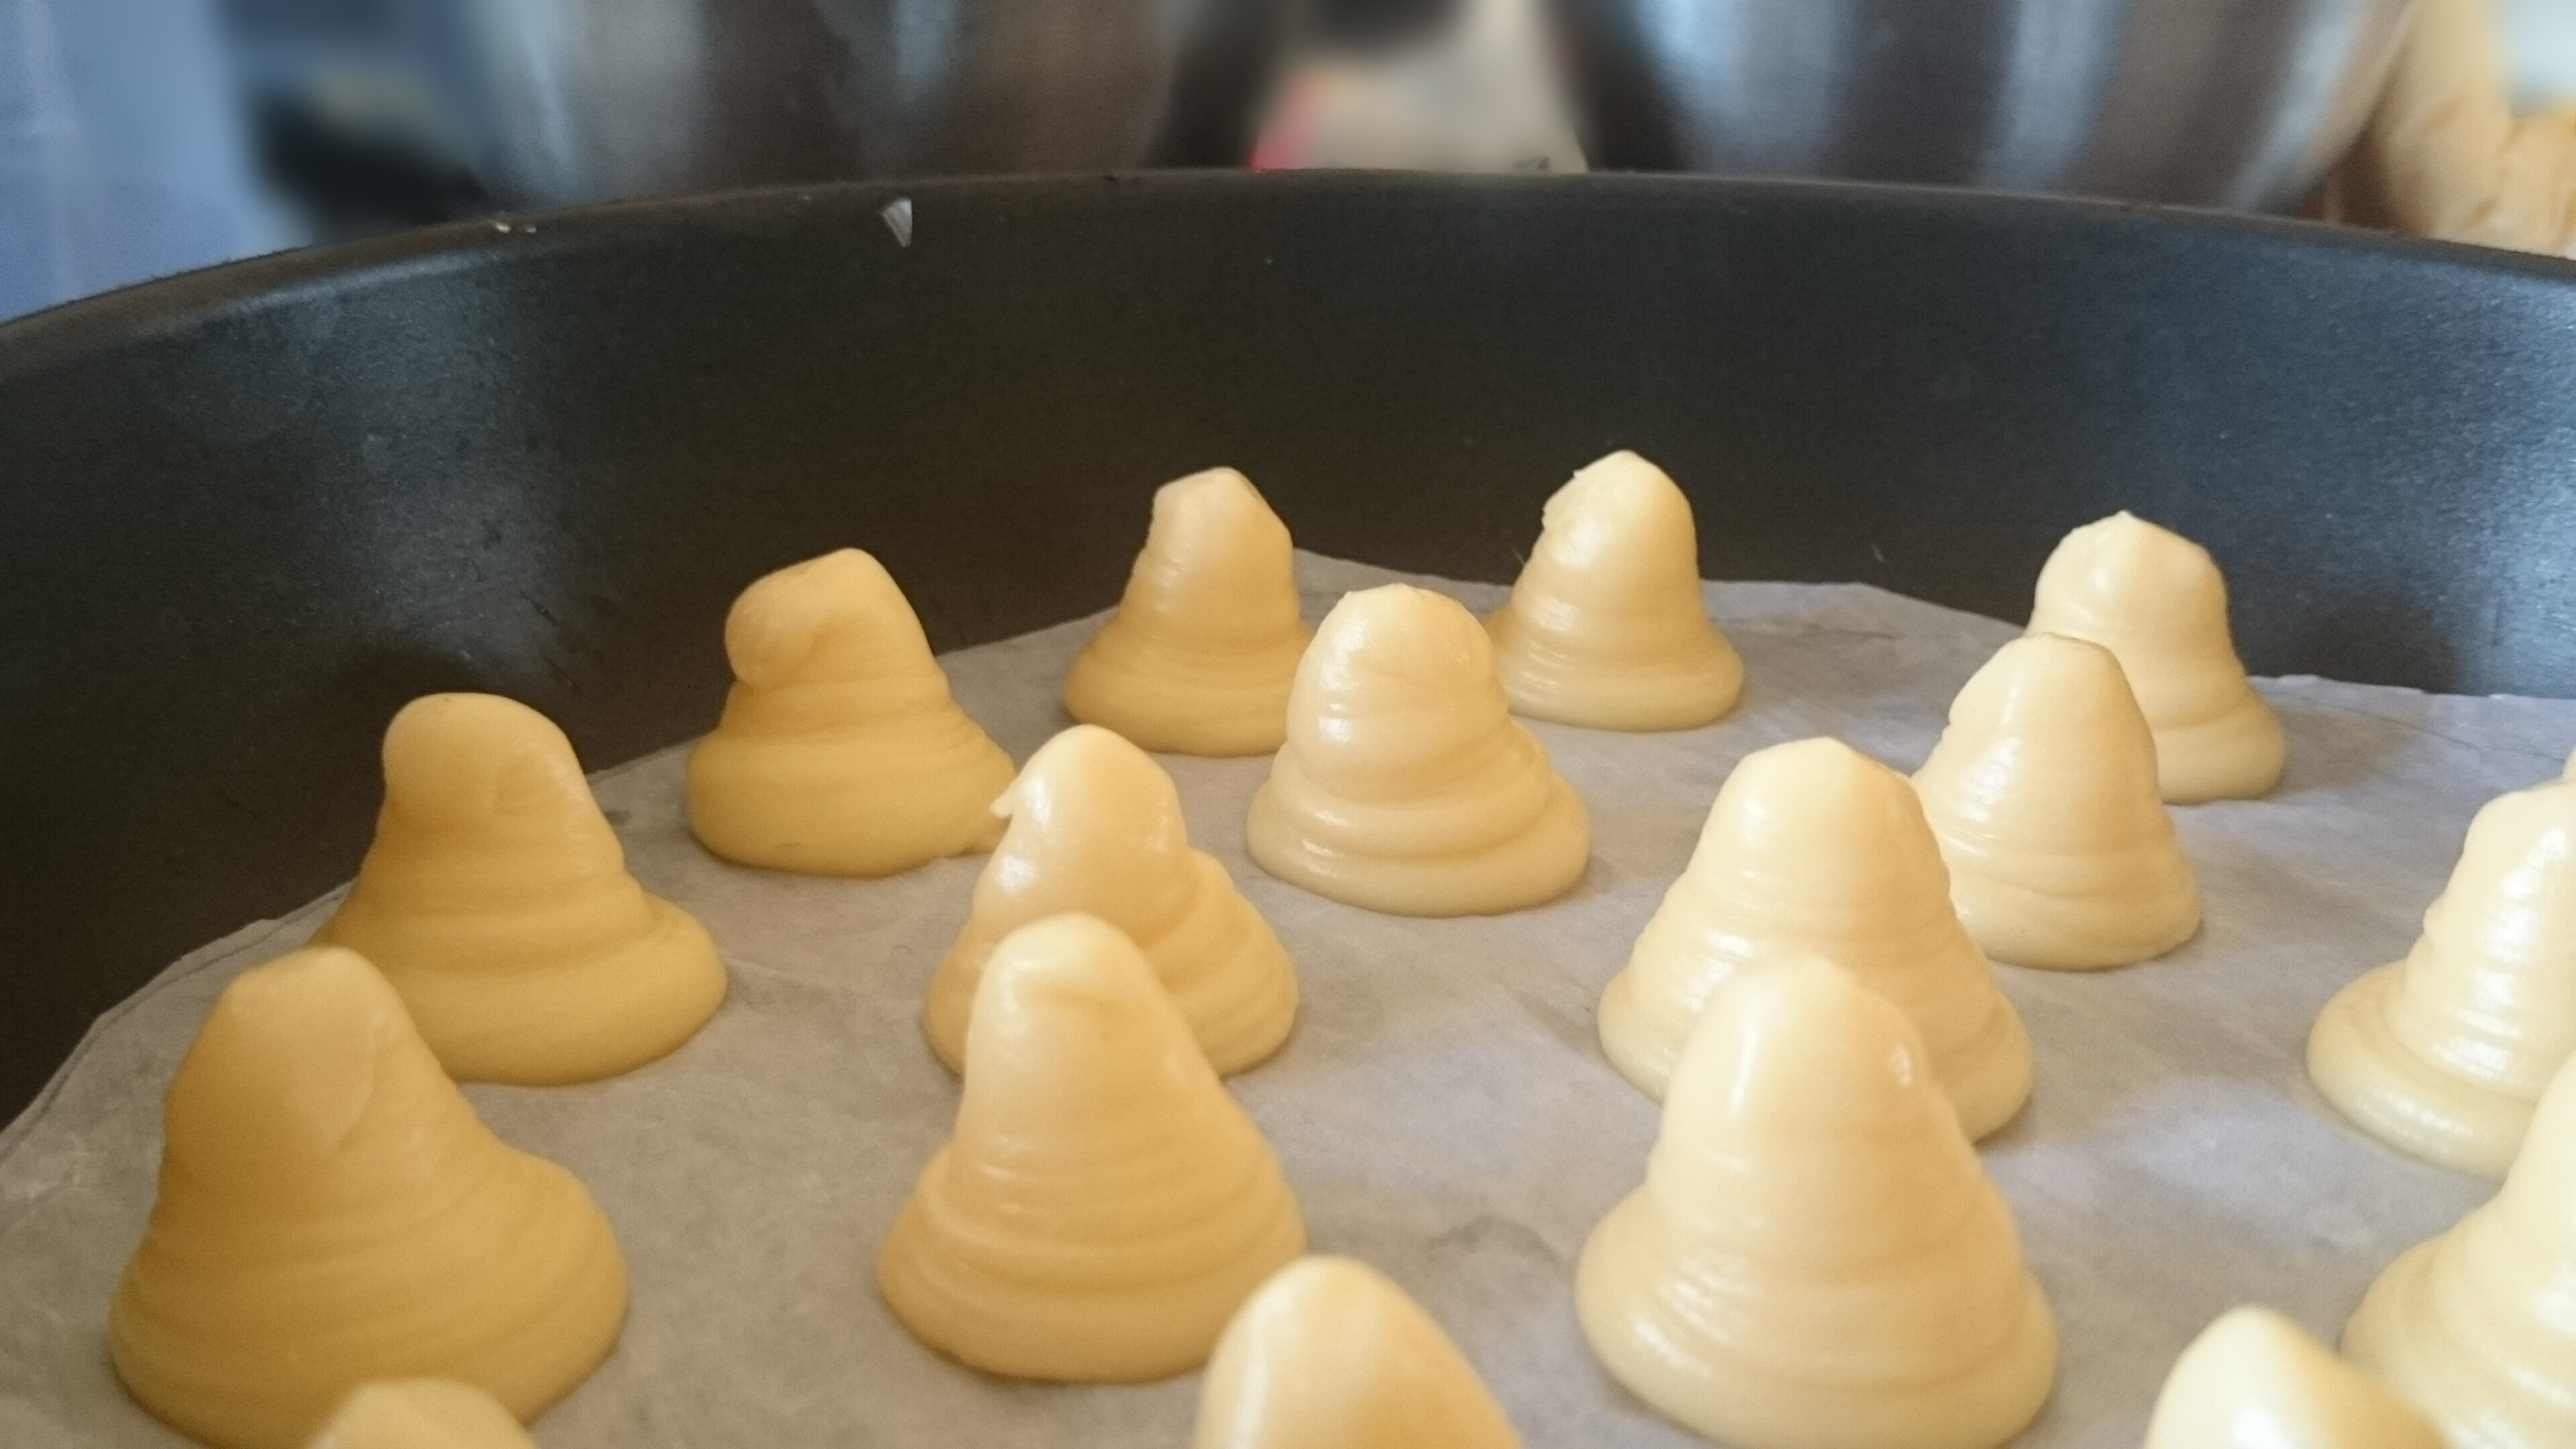
Spoon half the choux pastry batter into a large piping bag fitted with a 1.25-1.5cm round nozzle. Cover the remaining pastry with cling film.
Pipe mixture onto trays in mounds 3cm wide and 2cm high, leaving 5cm between each for spreading. Repeat with remaining choux pastry. Once you pipe them, they might have sharp tips.
nudge the top with wet finger. I made tiny cones, you could make them more flat if you want.
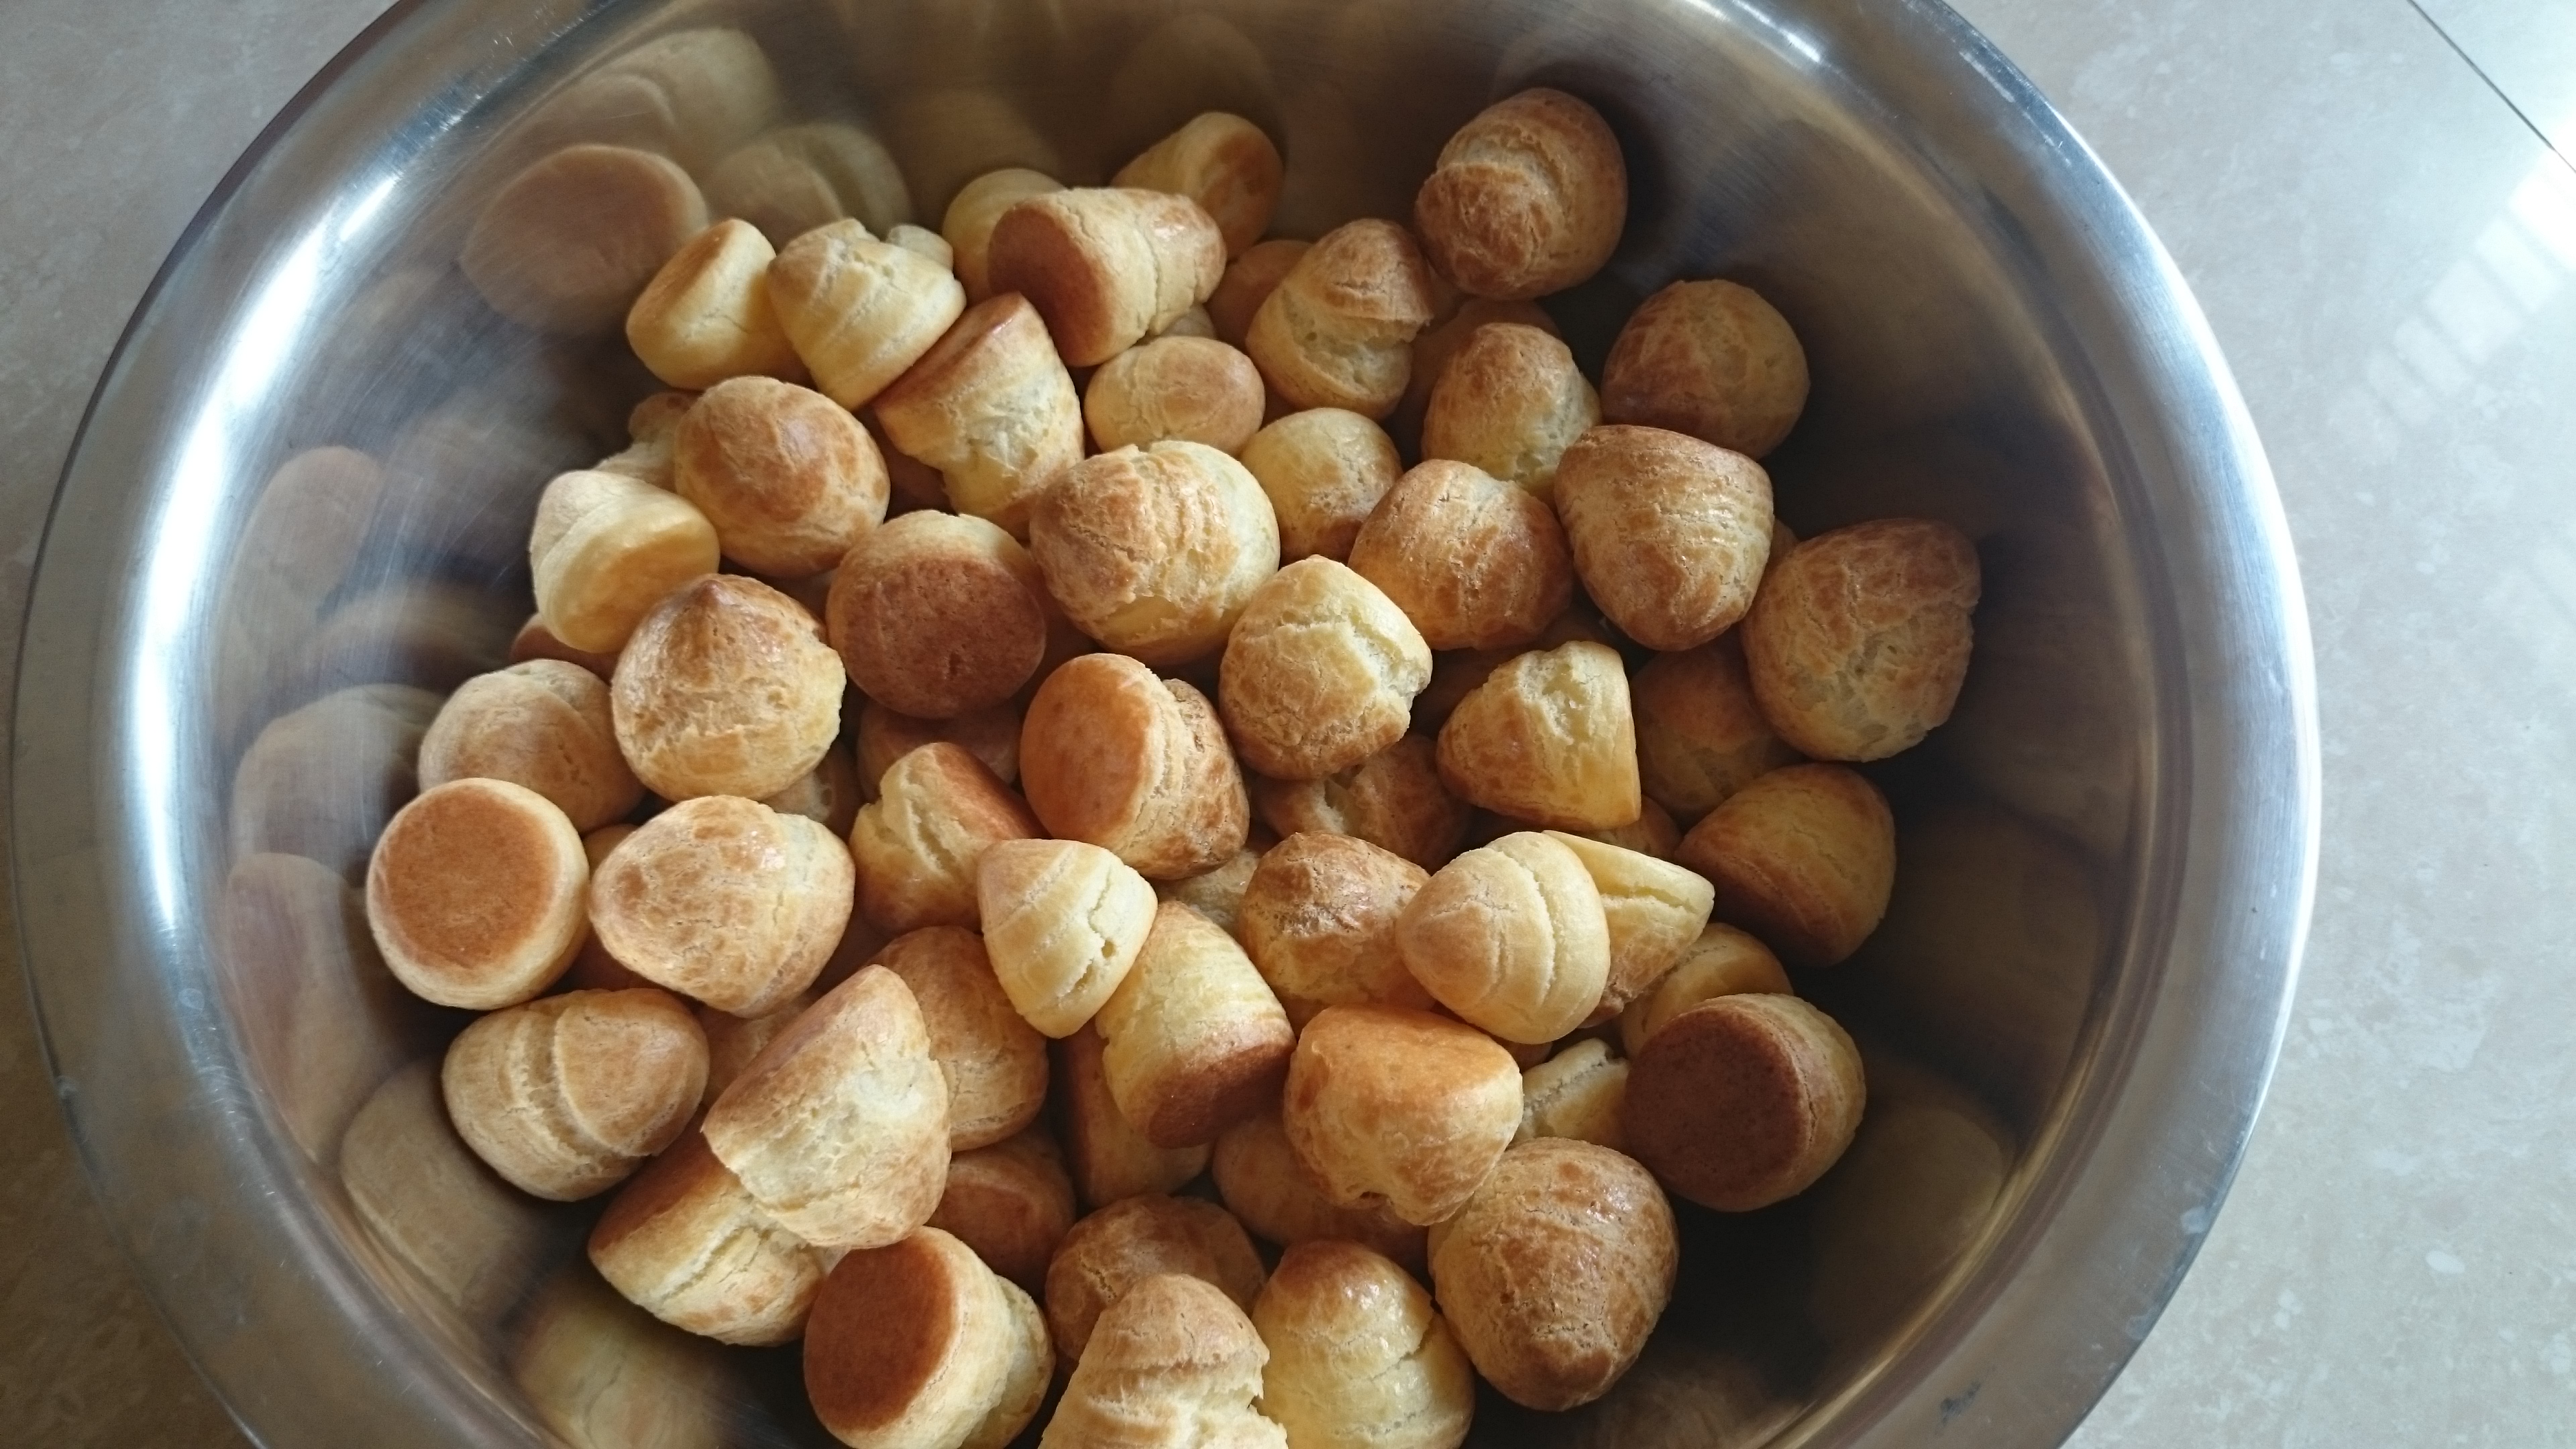
For the egg wash: Lightly whisk eggs and milk together and brush onto piped choux pastry. Bake for 25-30 minutes, until puffed and golden brown. They should feel firm and sound hollow when tapped on the base. Transfer puffs to wire racks to cool.
My brown weird looking pearls!
Crème patissiere:
425ml full cream milk
1/2 vanilla bean/extract/paste
110 g egg yolks
110 g caster sugar
43 g corn flour
43 g butter, diced, softened
For crème patissiere, stir the milk, vanilla bean seeds and beans in a think-based saucepan(Do NOT use a thin based steel bowl) over medium heat until almost boiling. Remove from the heat and discard the vanilla beans.
Meanwhile whisk yolks, sugar and corn flour in a bowl until thick and pale.
Using electric beaters fitted with whisk attachment, gradually whisk half the hot milk into the egg mixture. Return the egg mixture to remaining mixture in saucepan.
Whisk over a medium heat until custard boils and thickens ( it is thicker than regular custard, as starch is added). Dont freak out(like I did) when it thickens, it might look like it is curdling, whisk vigorously or just run the electric whisk while simmering.
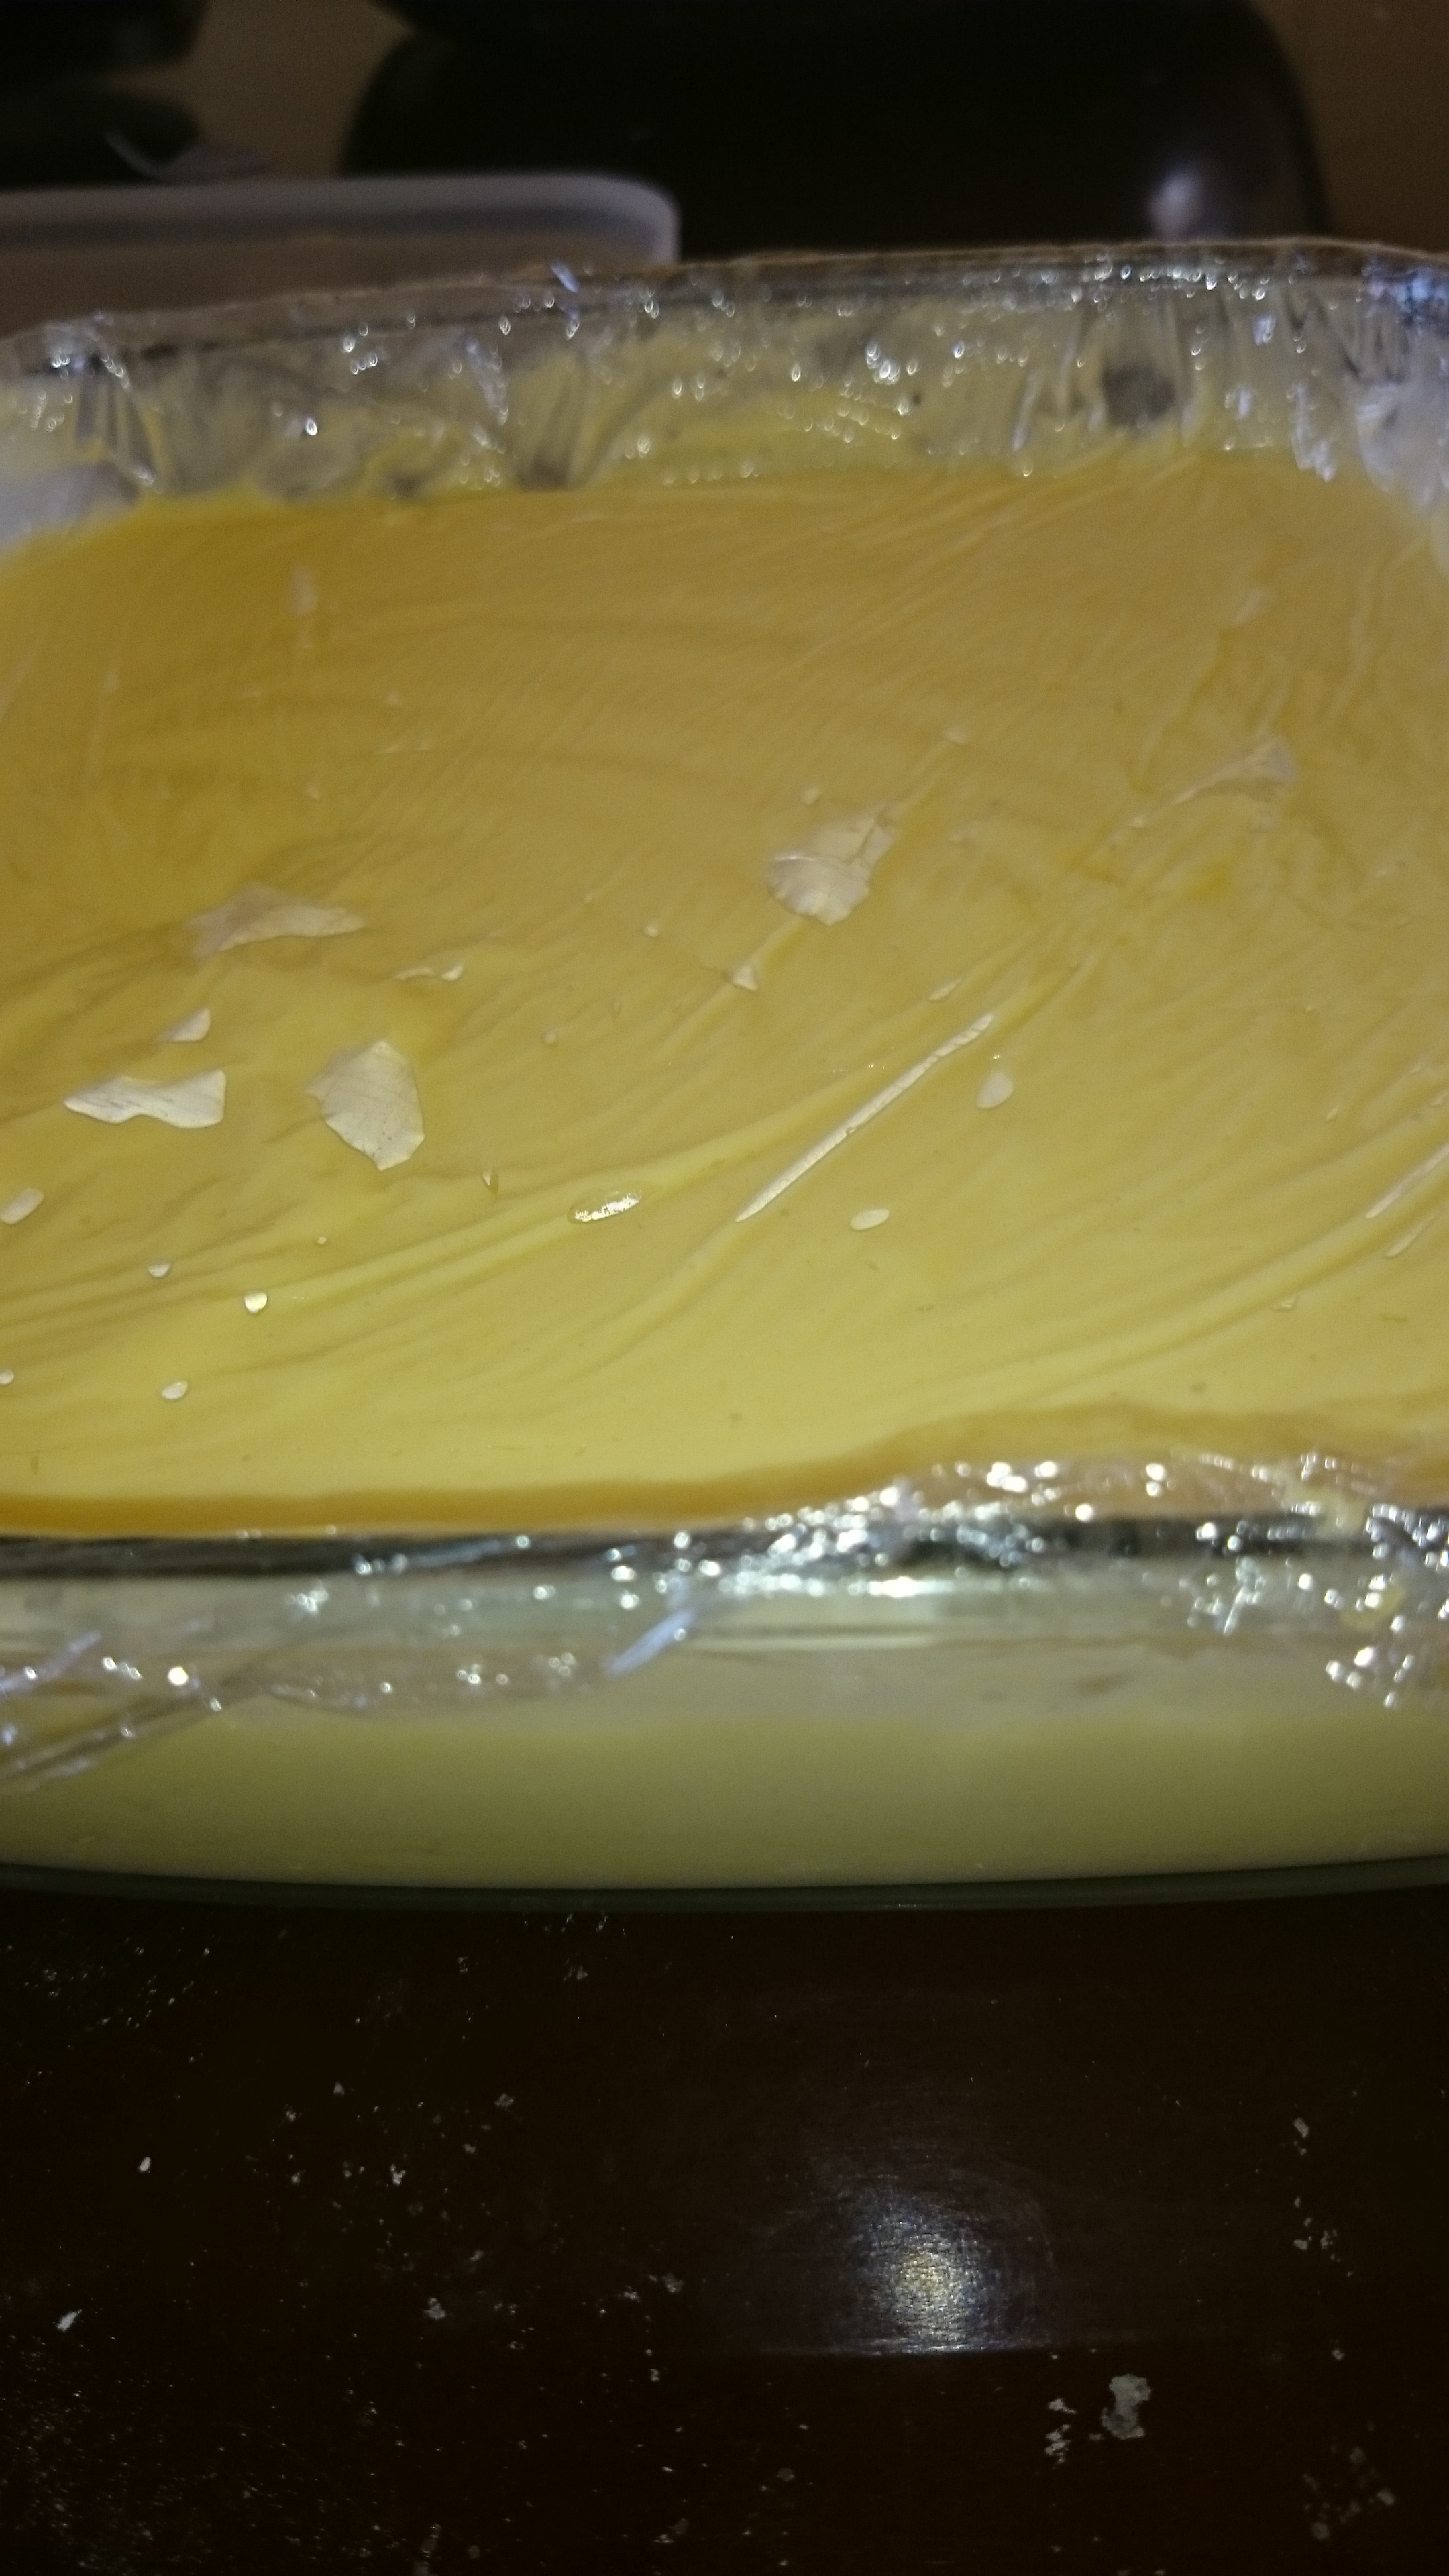
Spread over a 4cm deep oven tray to cool rapidly. Cover the surface of the custard with a sheet of baking paper to prevent a skin forming.
When mixture has cooled to 55°C, transfer it to a large bowl and stir through butter until completely combined. Cover with baking paper. Refrigerate to cool completely.
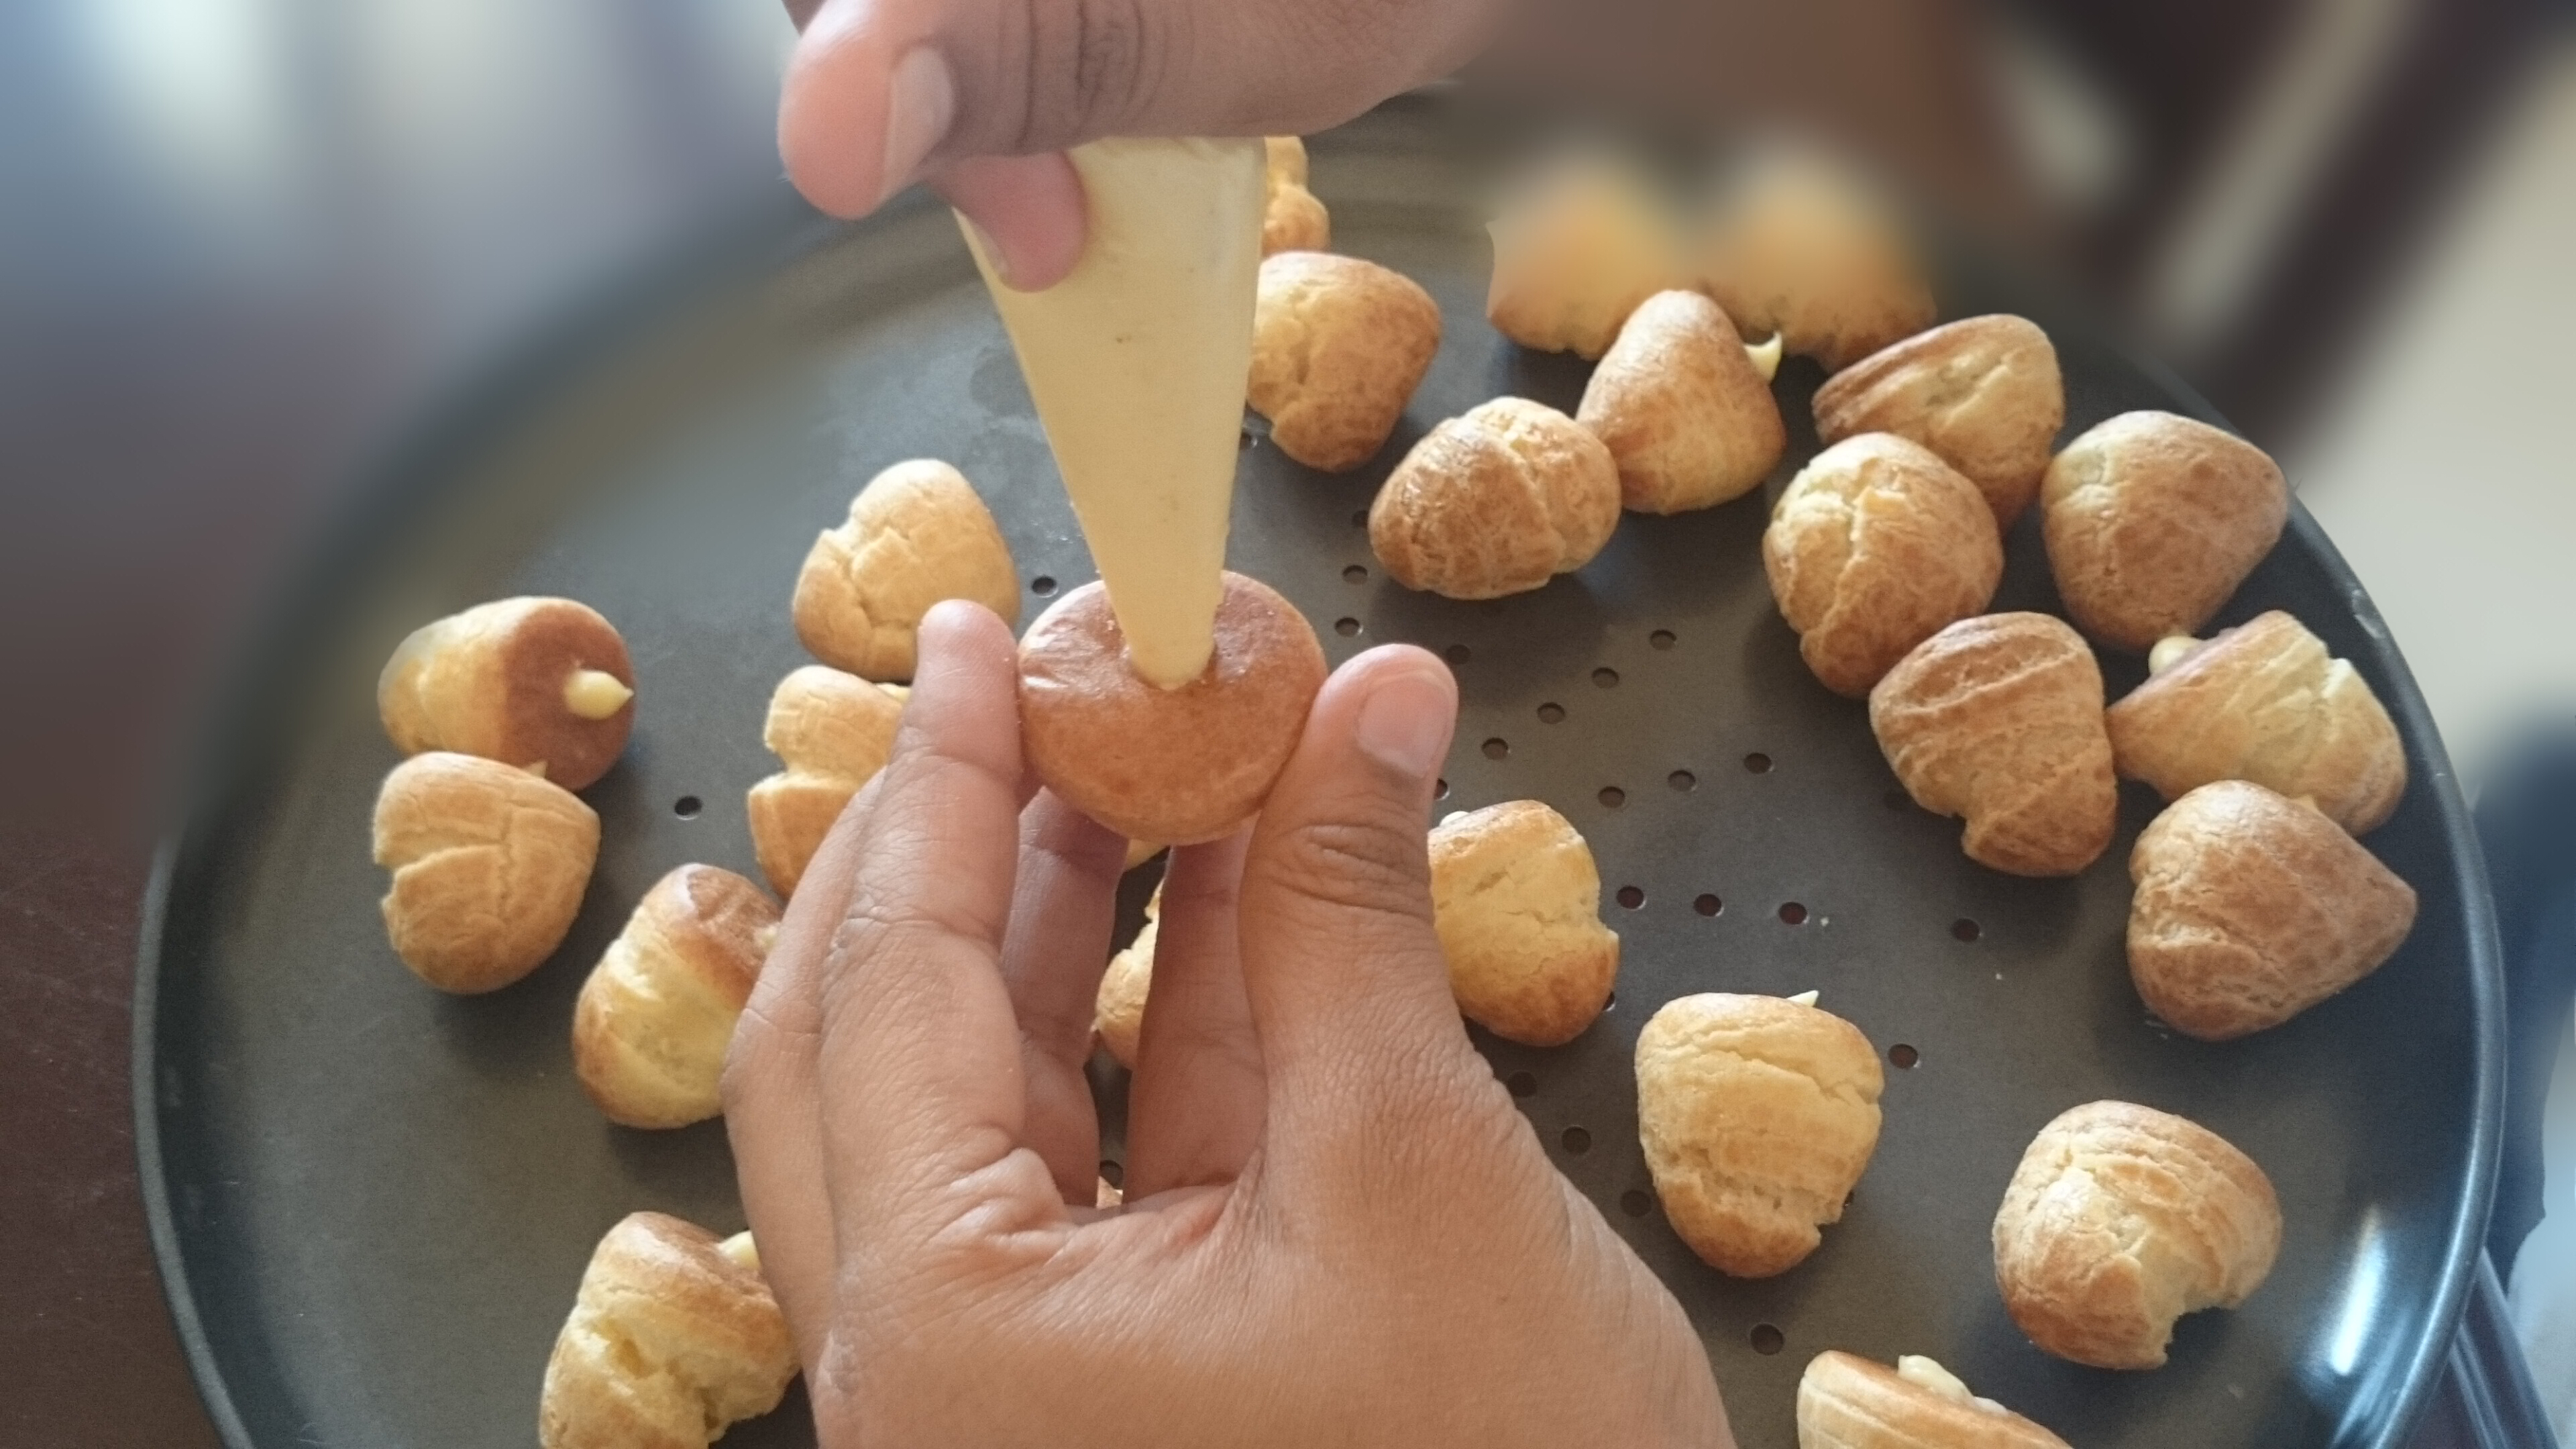
Spoon cooled crème patissiere into a piping bag with a 5-8mm nozzle.
Poke a small hole in the base of each puff and fill with crème patissiere.
Caramel:
250 g white sugar
75 ml water
100 ml liquid glucose
Place sugar and water in a saucepan (use a pan with more surface area and less depth if you can), place over medium heat and cook without boiling until sugar dissolves. Bring to the boil without stirring.
Add glucose, cook until mixture is caramel in color. Remove from heat and dip base of pan in a large bowl of cold water to cool slightly.
A little darker than 1st image is also fine. Avoid re-heating caramel too many times as it becomes too brittle. Something between the above 2 colors is good.
Work carefully and quickly with the caramel.
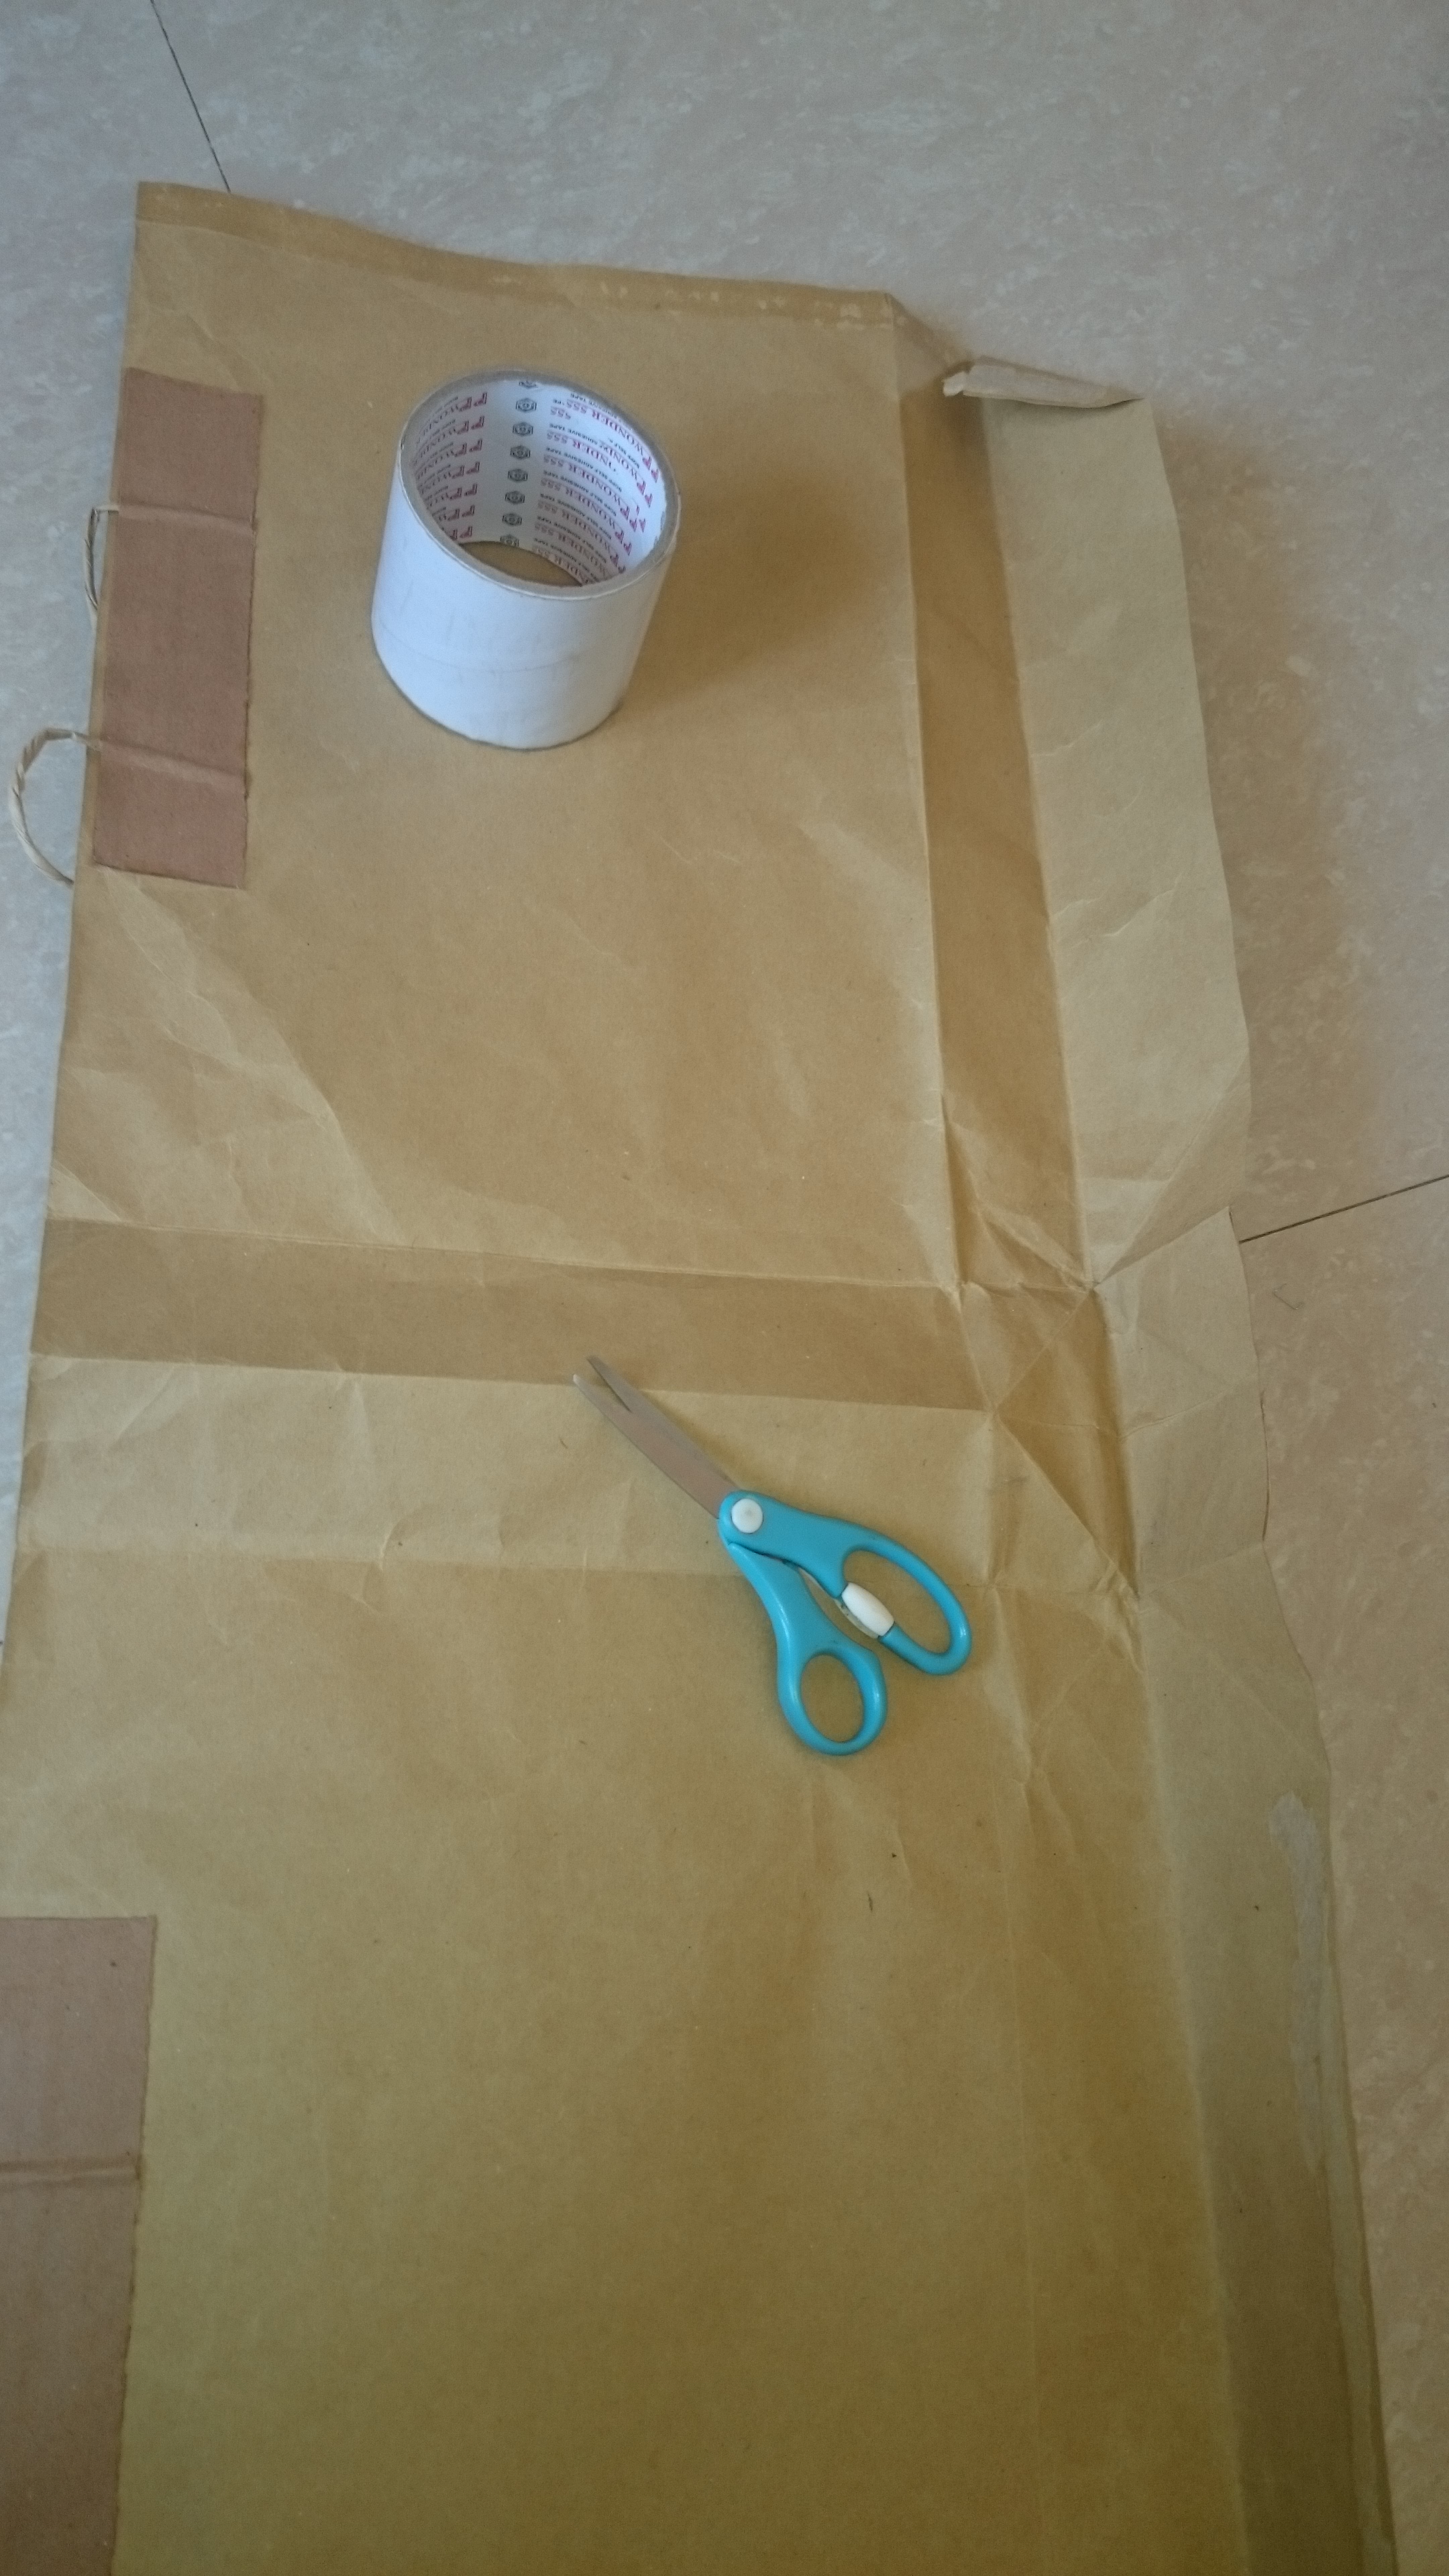
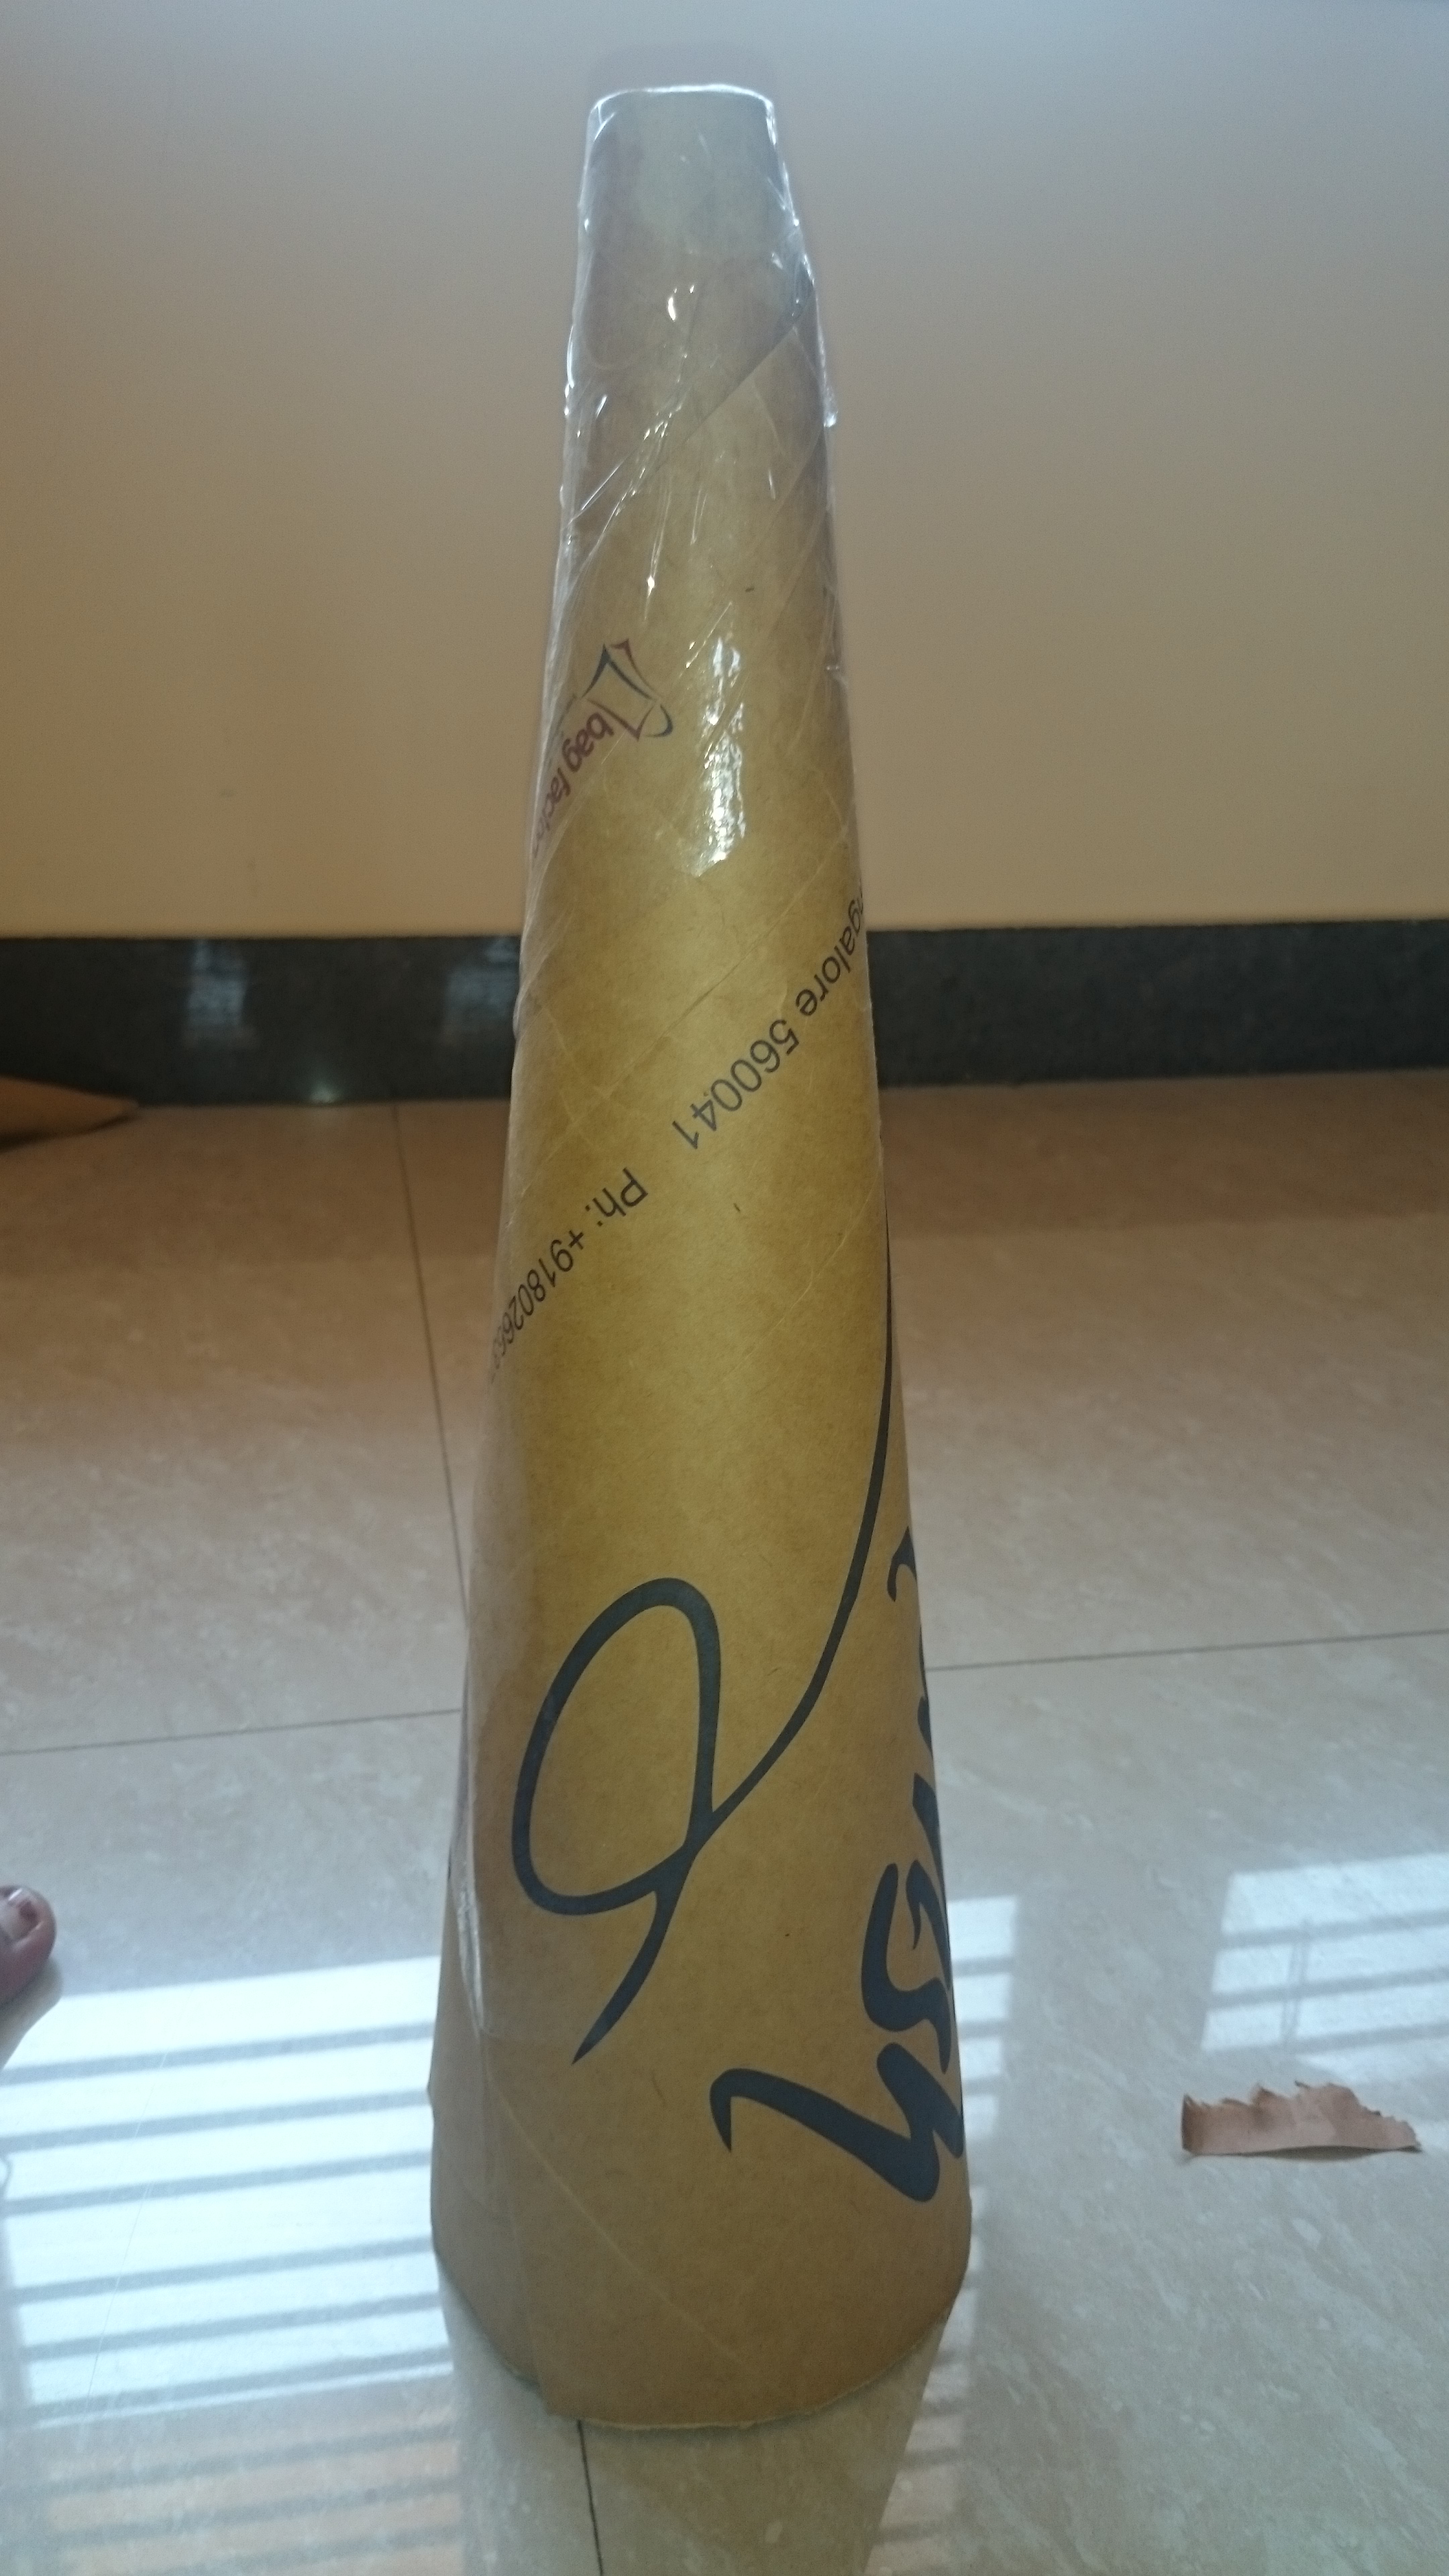
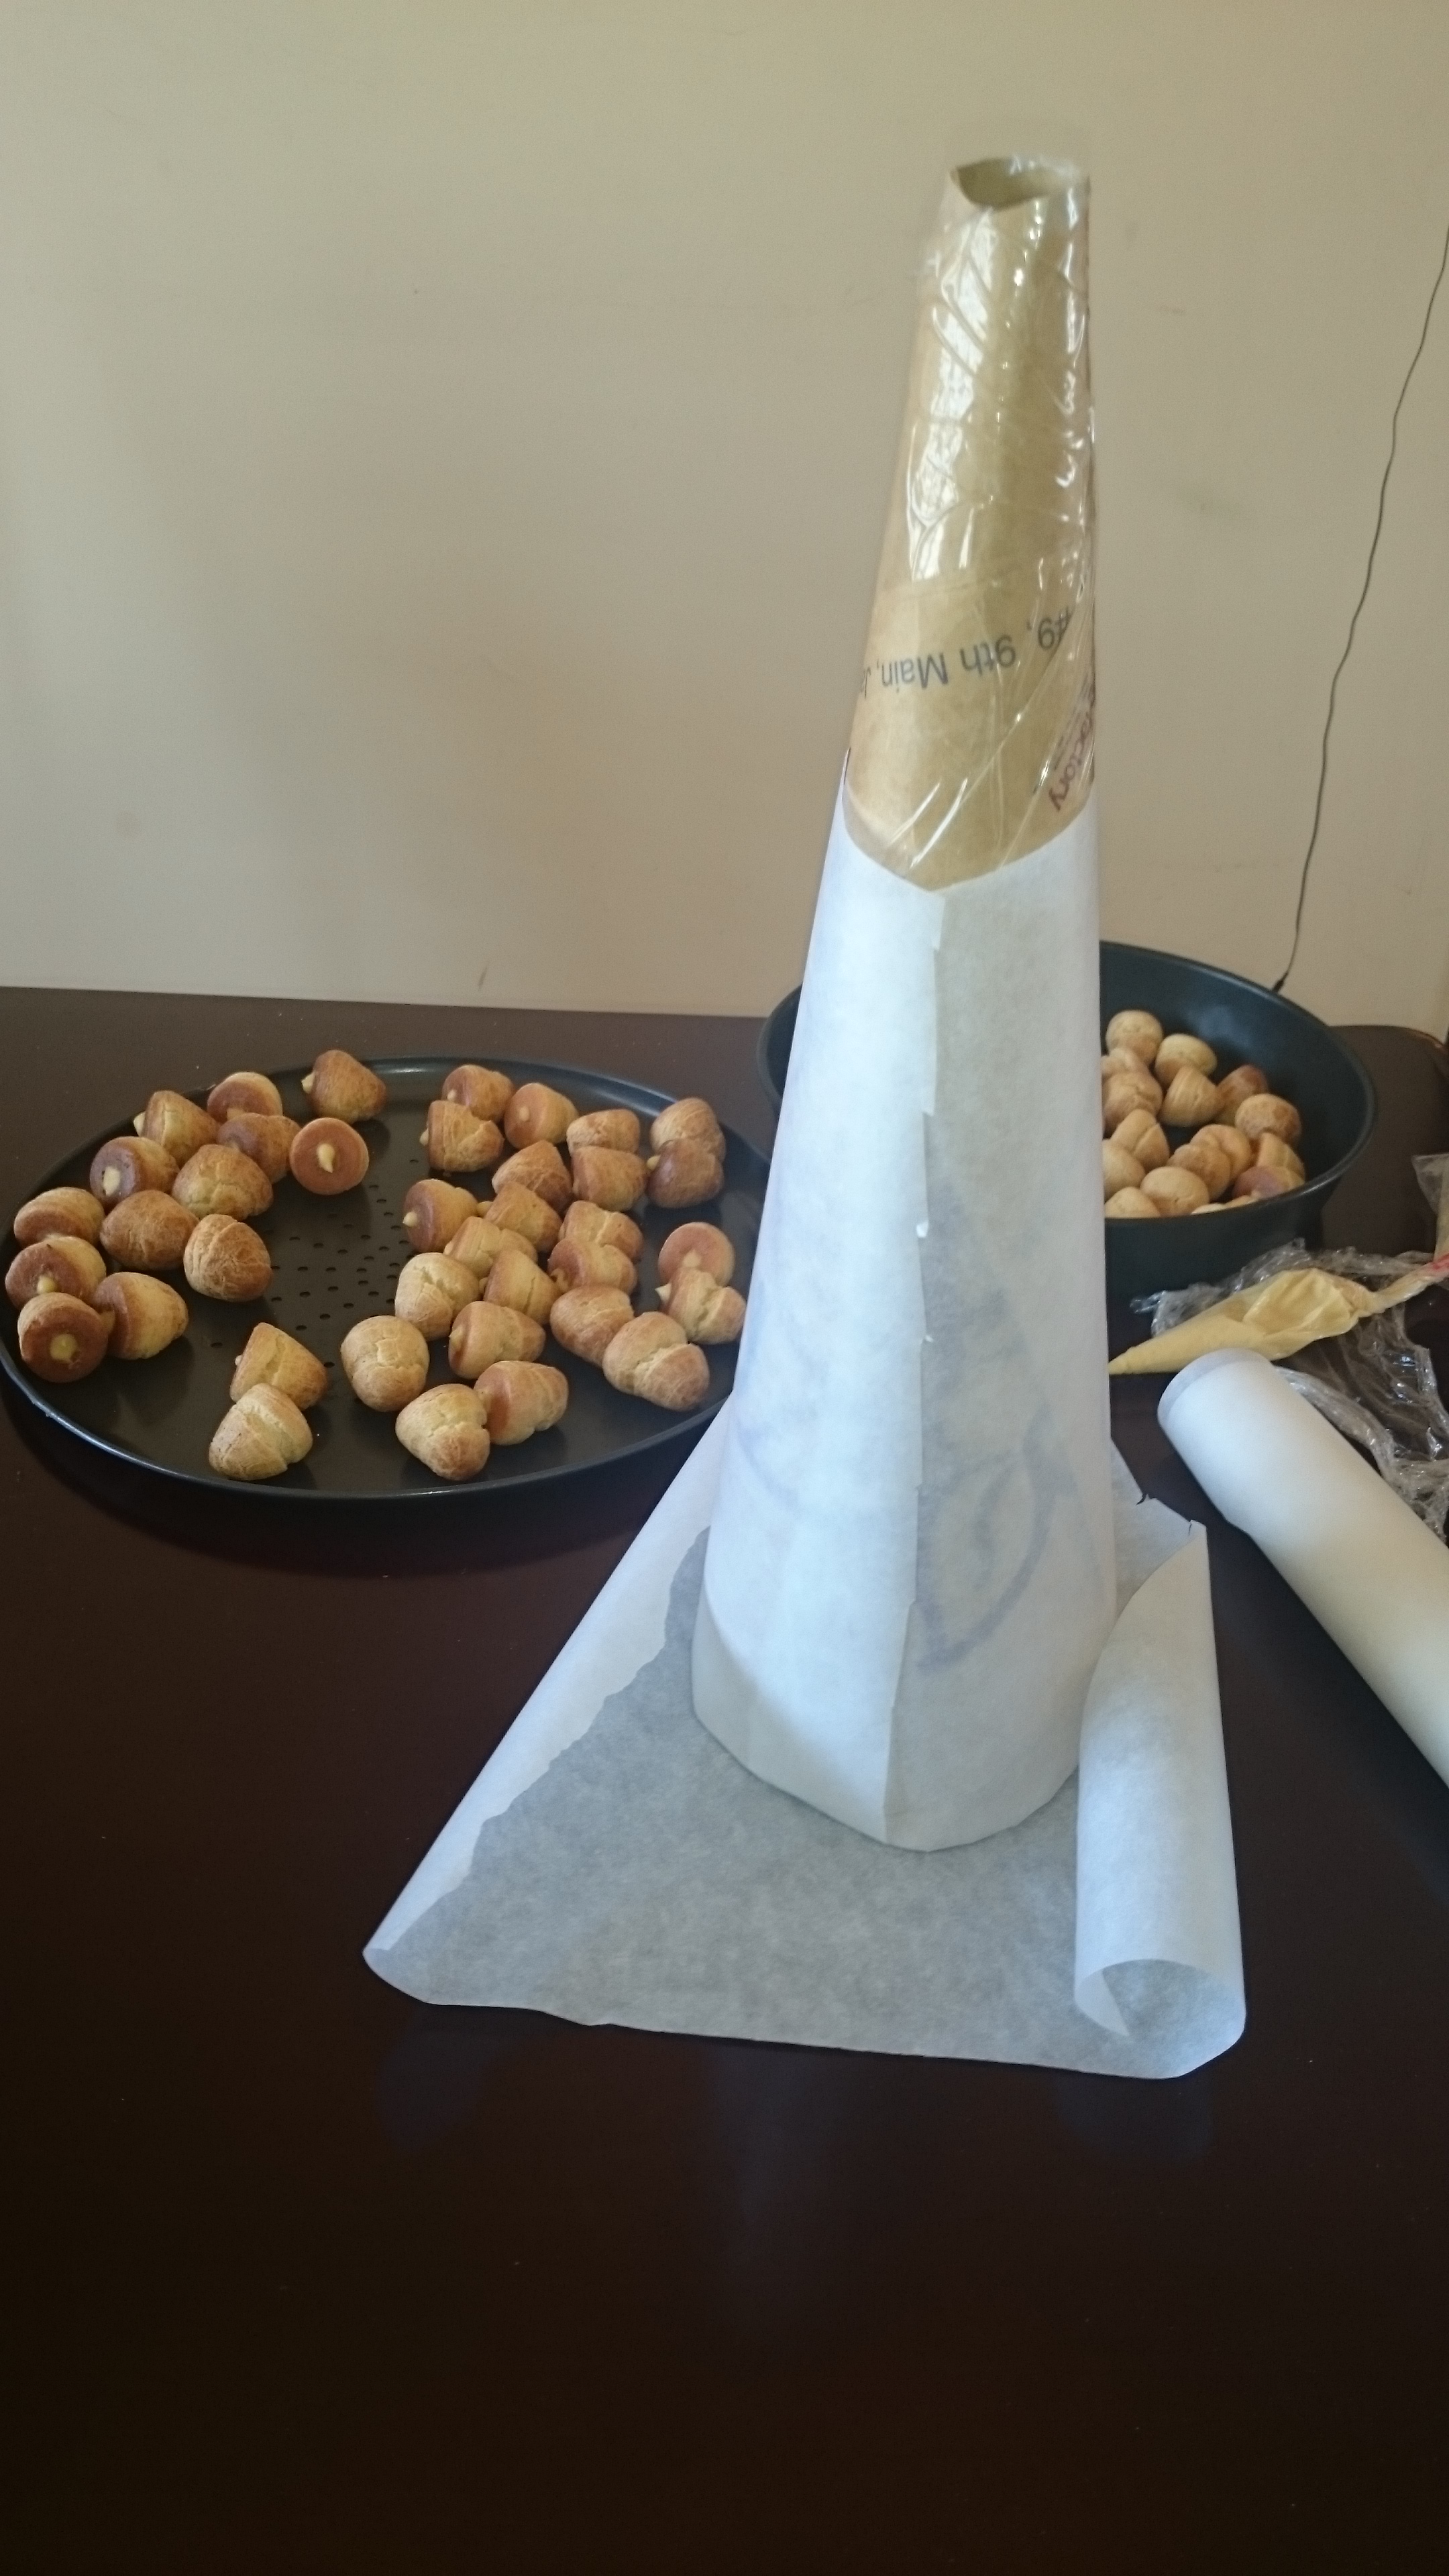
I made a cone at home using a paper bag and covered it with parchment. But ended up not using it.
Assemble
Dip the top of each filled puff in a little caramel and place on a tray, caramel-side up, to set. Reserve one undipped puff for the tip.
Working one at a time, dip the sides of the puffs into the caramel and place on a parchment in a circle. Continue dipping and adding balls until it almost looks like a cone. Leave to set.
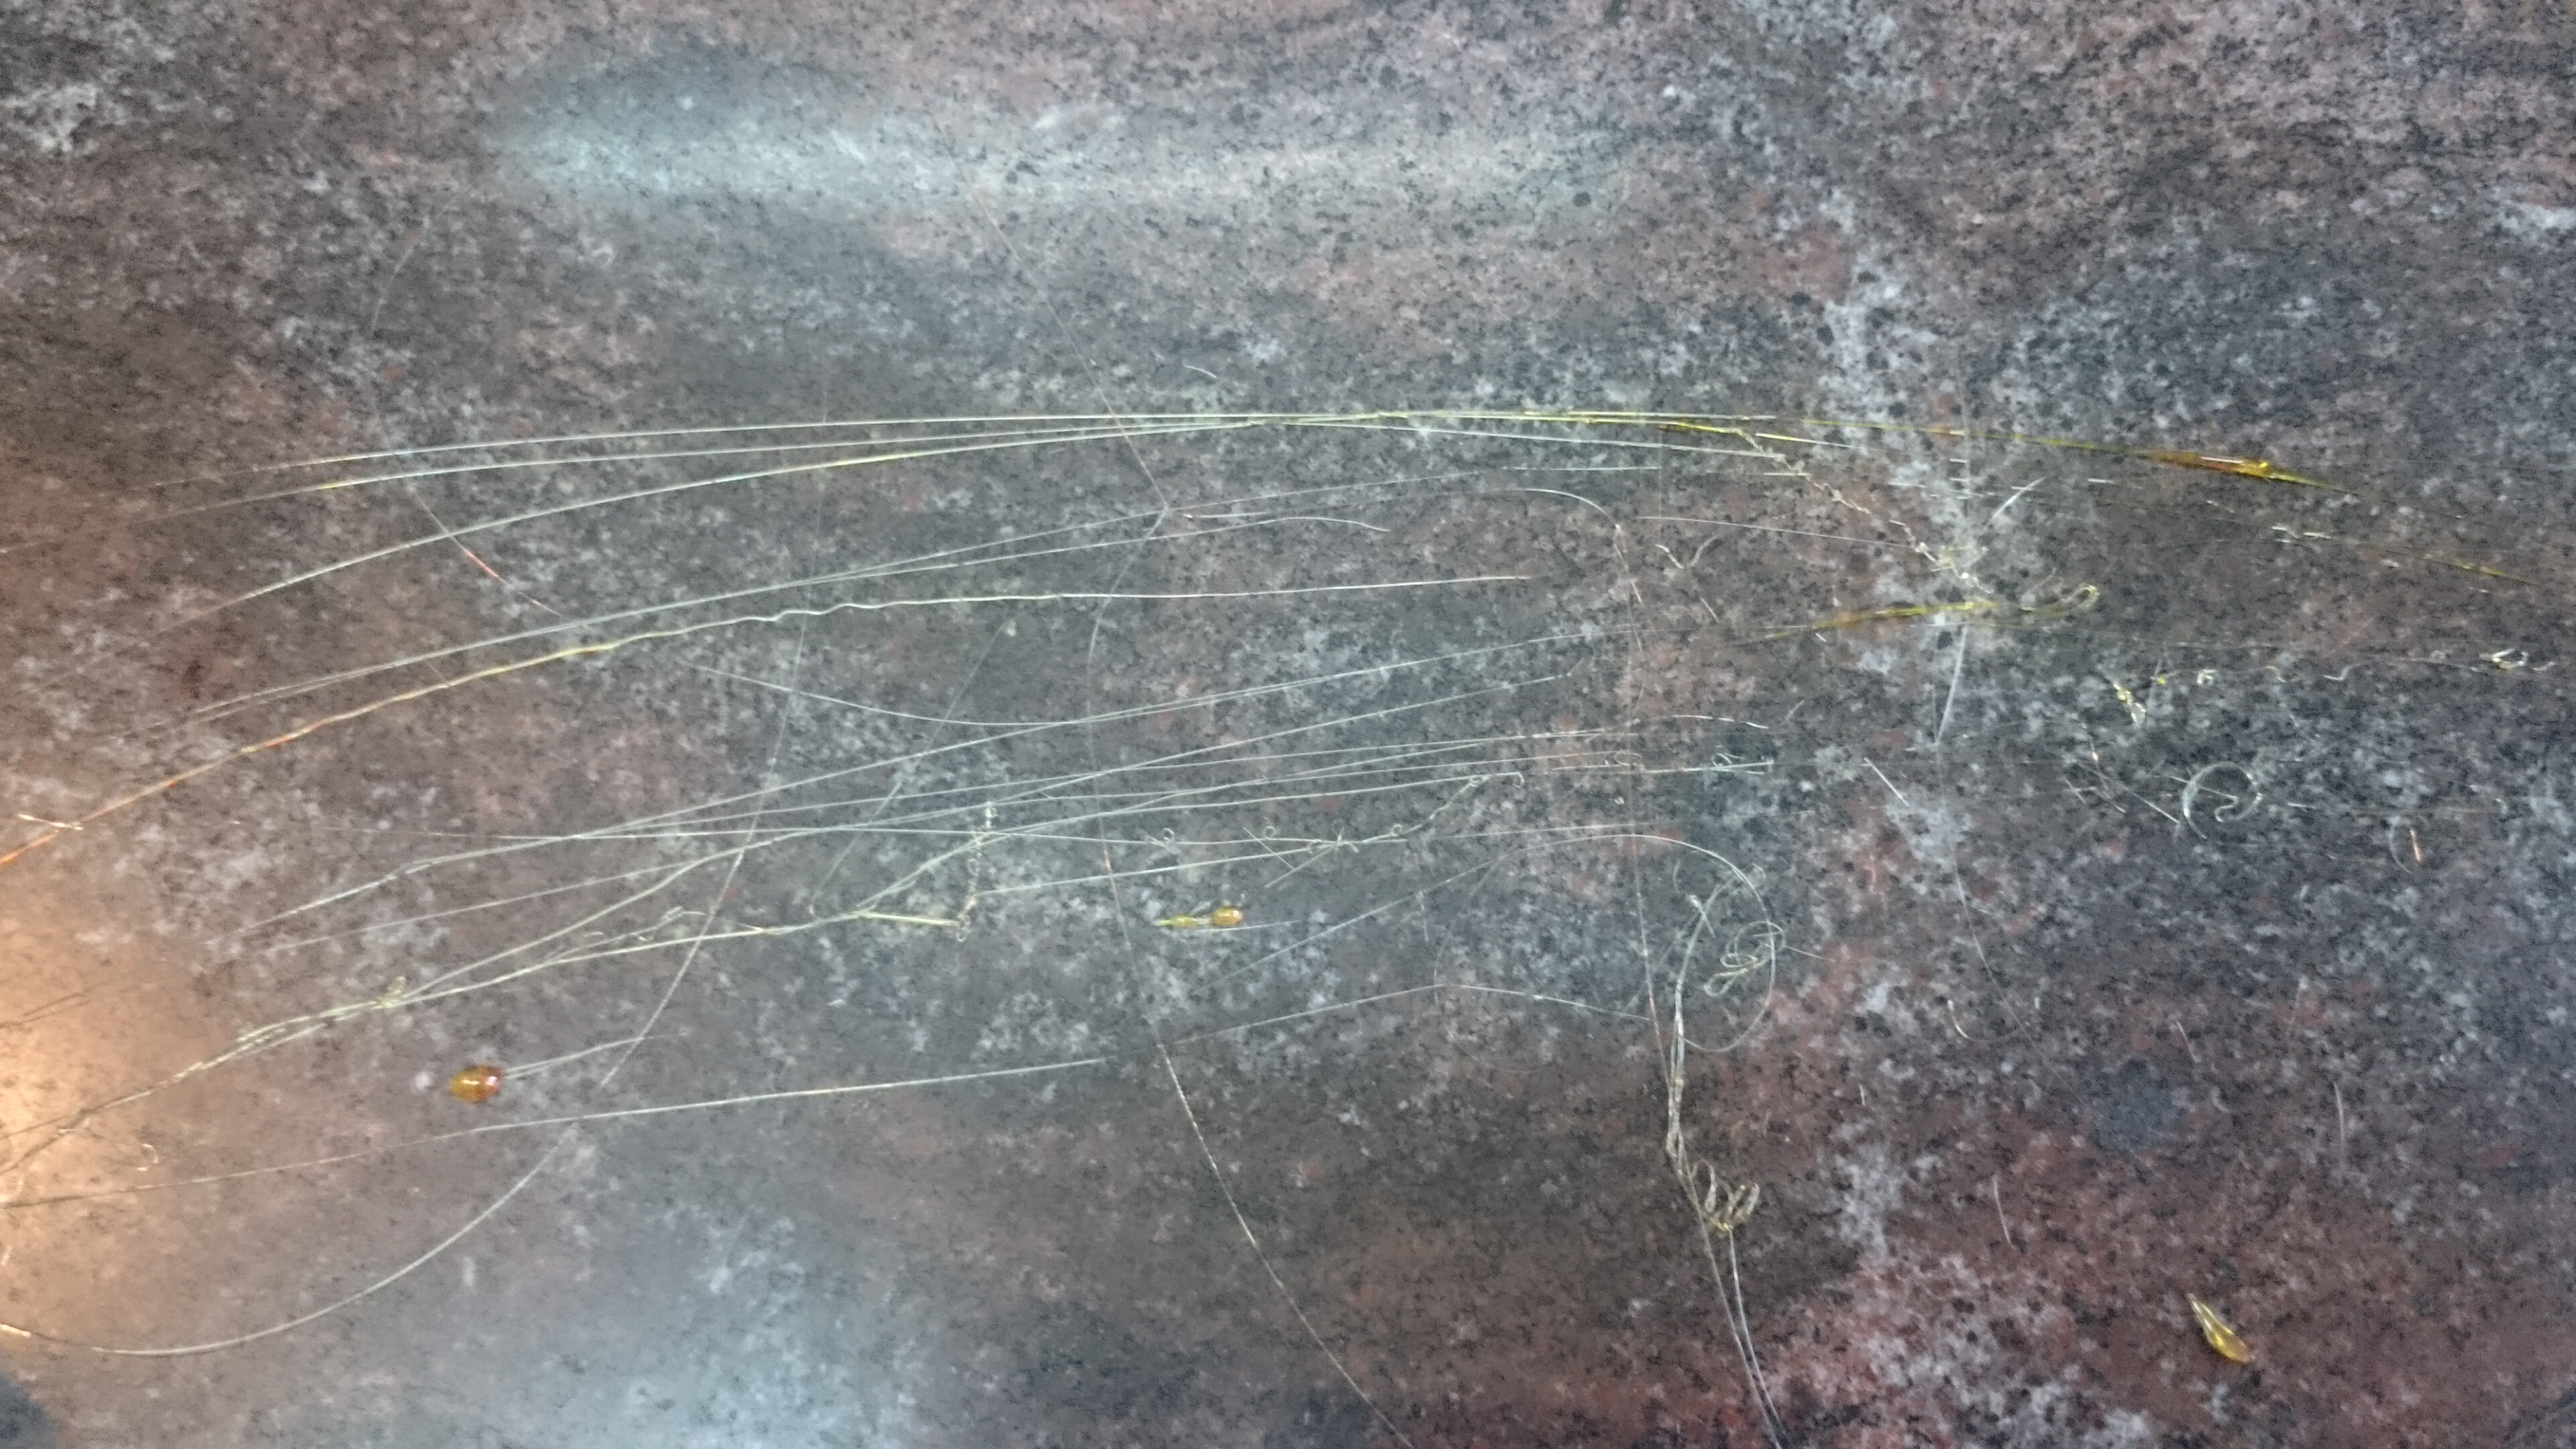
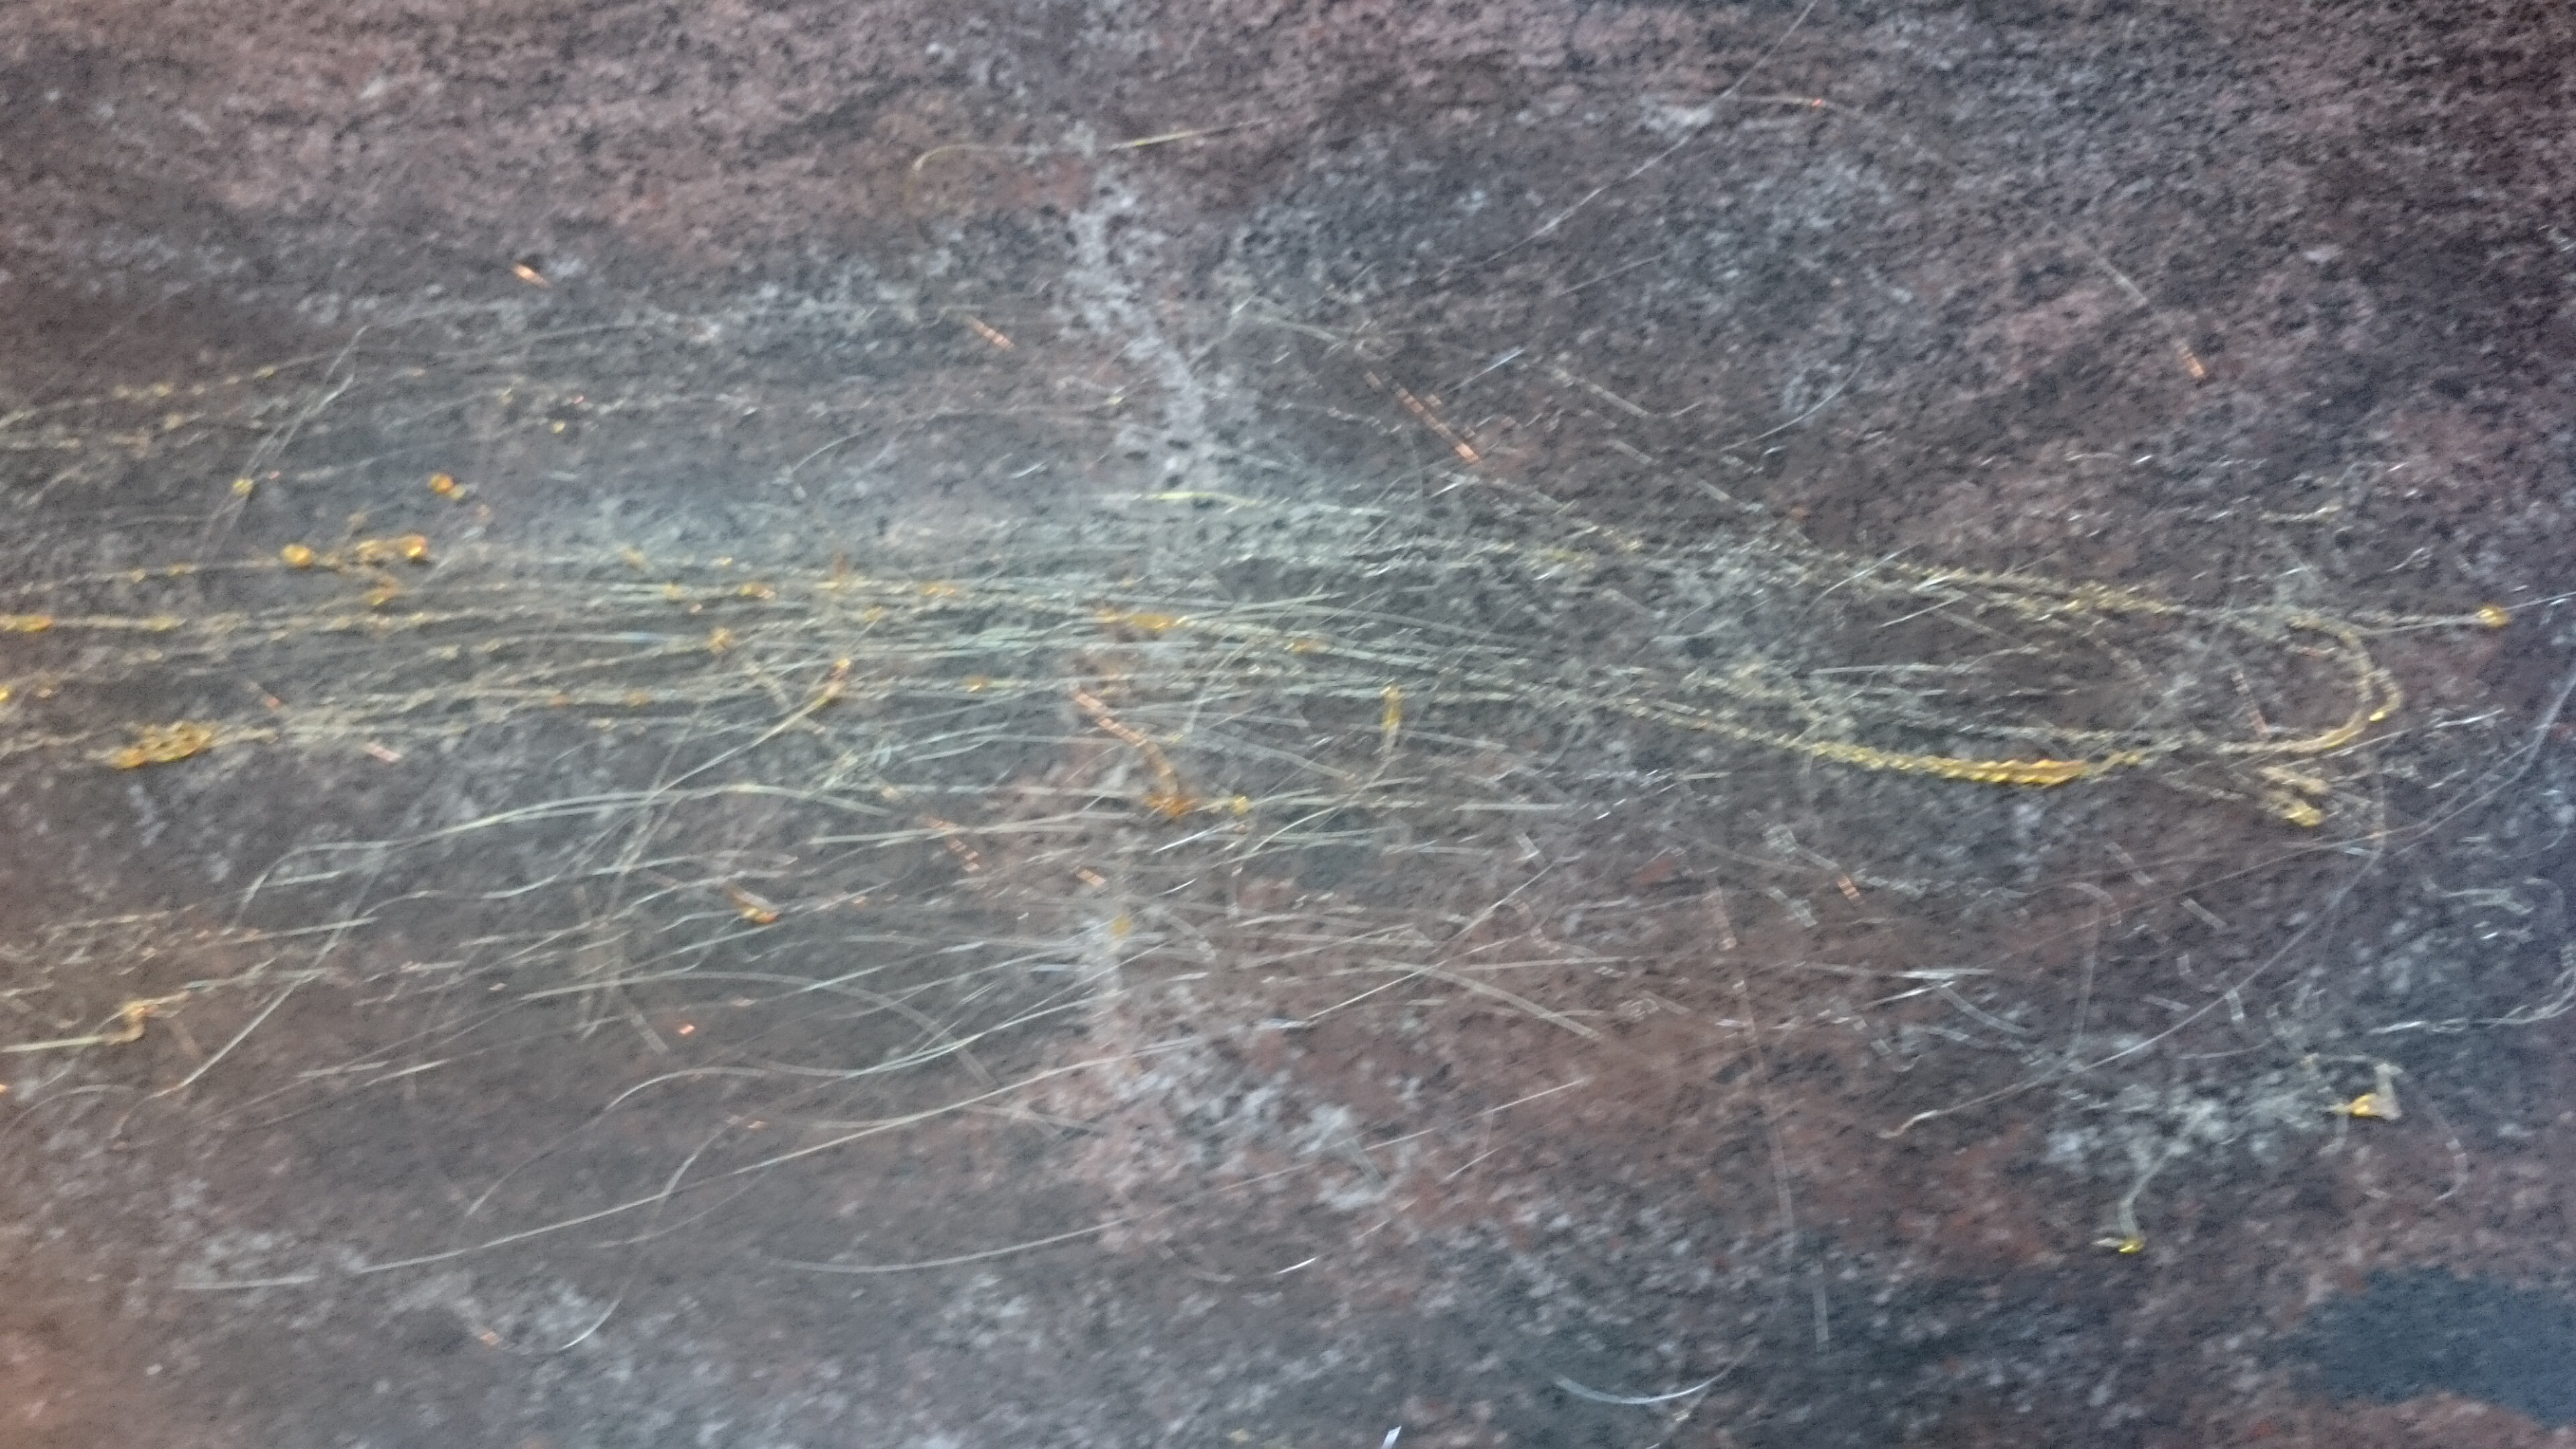
To spin the sugar, lay baking paper on the work bench. Place two rolling pins about 40cm apart on the baking paper.
Return the caramel to a low heat. Take a two forks, dip into the melted caramel and flick back and forth over the rolling pins (or just on your working surface) to create a long bundle of spun sugar that looks like cotton wool. Start wrapping the bundle around the tower. Repeat making bundles until you have enough to cover the tower of profiteroles.
Doesn’t look perfect, tasted crazy. When you bite into it, there is the crispy crunchiness of caramel and then the puffs lead you to creamy smooth Crème patissiere. HOO-AH!!! (yeah, I watched Scent of a woman yesterday)
Me: Sirisha, I am not talking to PT anymore.
Sirisha: Spare me the details of your fight. I am bored already.
Me: B***h
Sirisha: Remember the time you made that blueberry cake?
Me: I want to bury myself. Could I be dead for a few days.
Sirisha: (in a taunting tone of hers) now think about how you never made us, your friends since forever, anything.
In absolute guilt that Sirisha intended to put me through, I decided to bake some cookies and courier them to Keerthi and Sirisha, my friend from high school.
Here is what I made
The sugar cookies turned out phenomenal. The key is best quality cream cheese and lemon zest. looked it up from here. I bought it from nature’s basket, it’s called “Jermi Cheese Philly”.
mind boggling Sugar Cookies
226 gms unsalted butter, room temperature
56 gms cream cheese, room temperature
200gms sugar
1 large egg
1 teaspoon pure vanilla extract
1/2 teaspoon almond extract (optional)
1 teaspoon lemon zest
420gms flour
1 1/2 teaspoons baking powder
1/2 teaspoon salt
In a large bowl, using a hand mixer, cream the butter and cream cheese with the sugar. Beat for several minutes, or until light and fluffy. Beat in the egg, vanilla and almond extracts, and lemon zest.
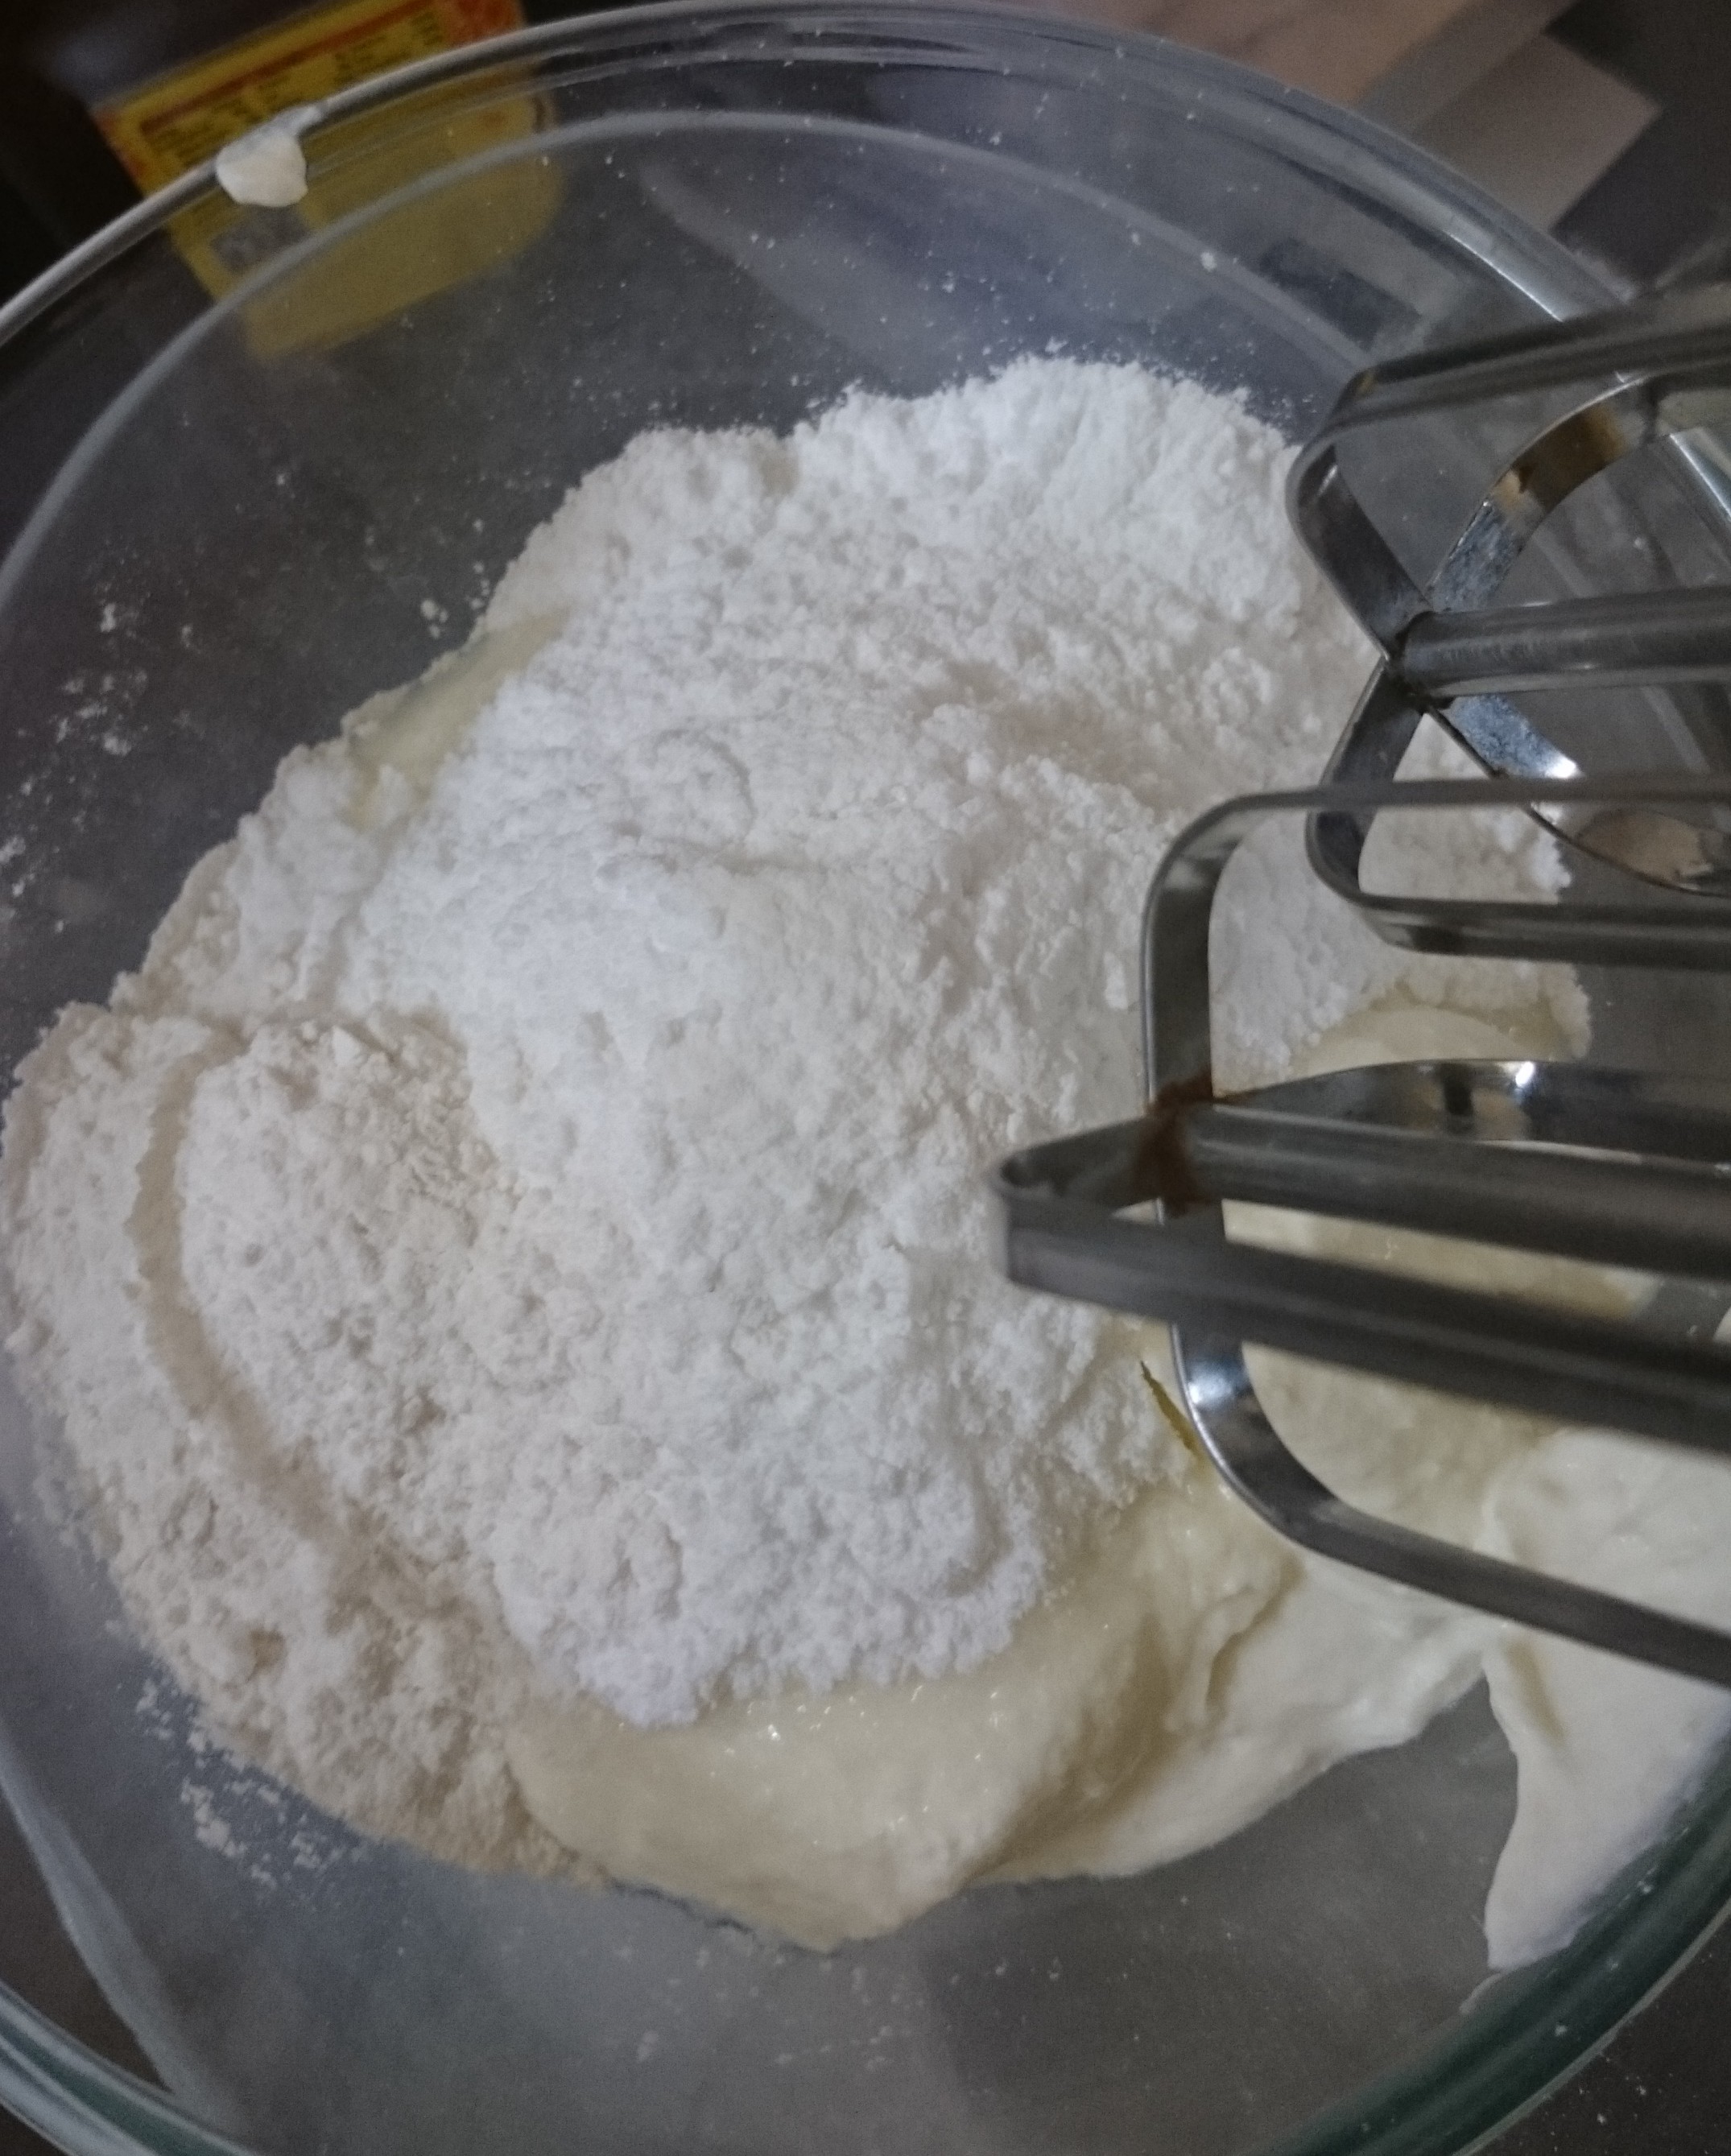
Mix the flour, baking powder, and salt in a separate bowl then gradually add to the butter and sugar mixture until fully incorporated and a soft dough is formed.
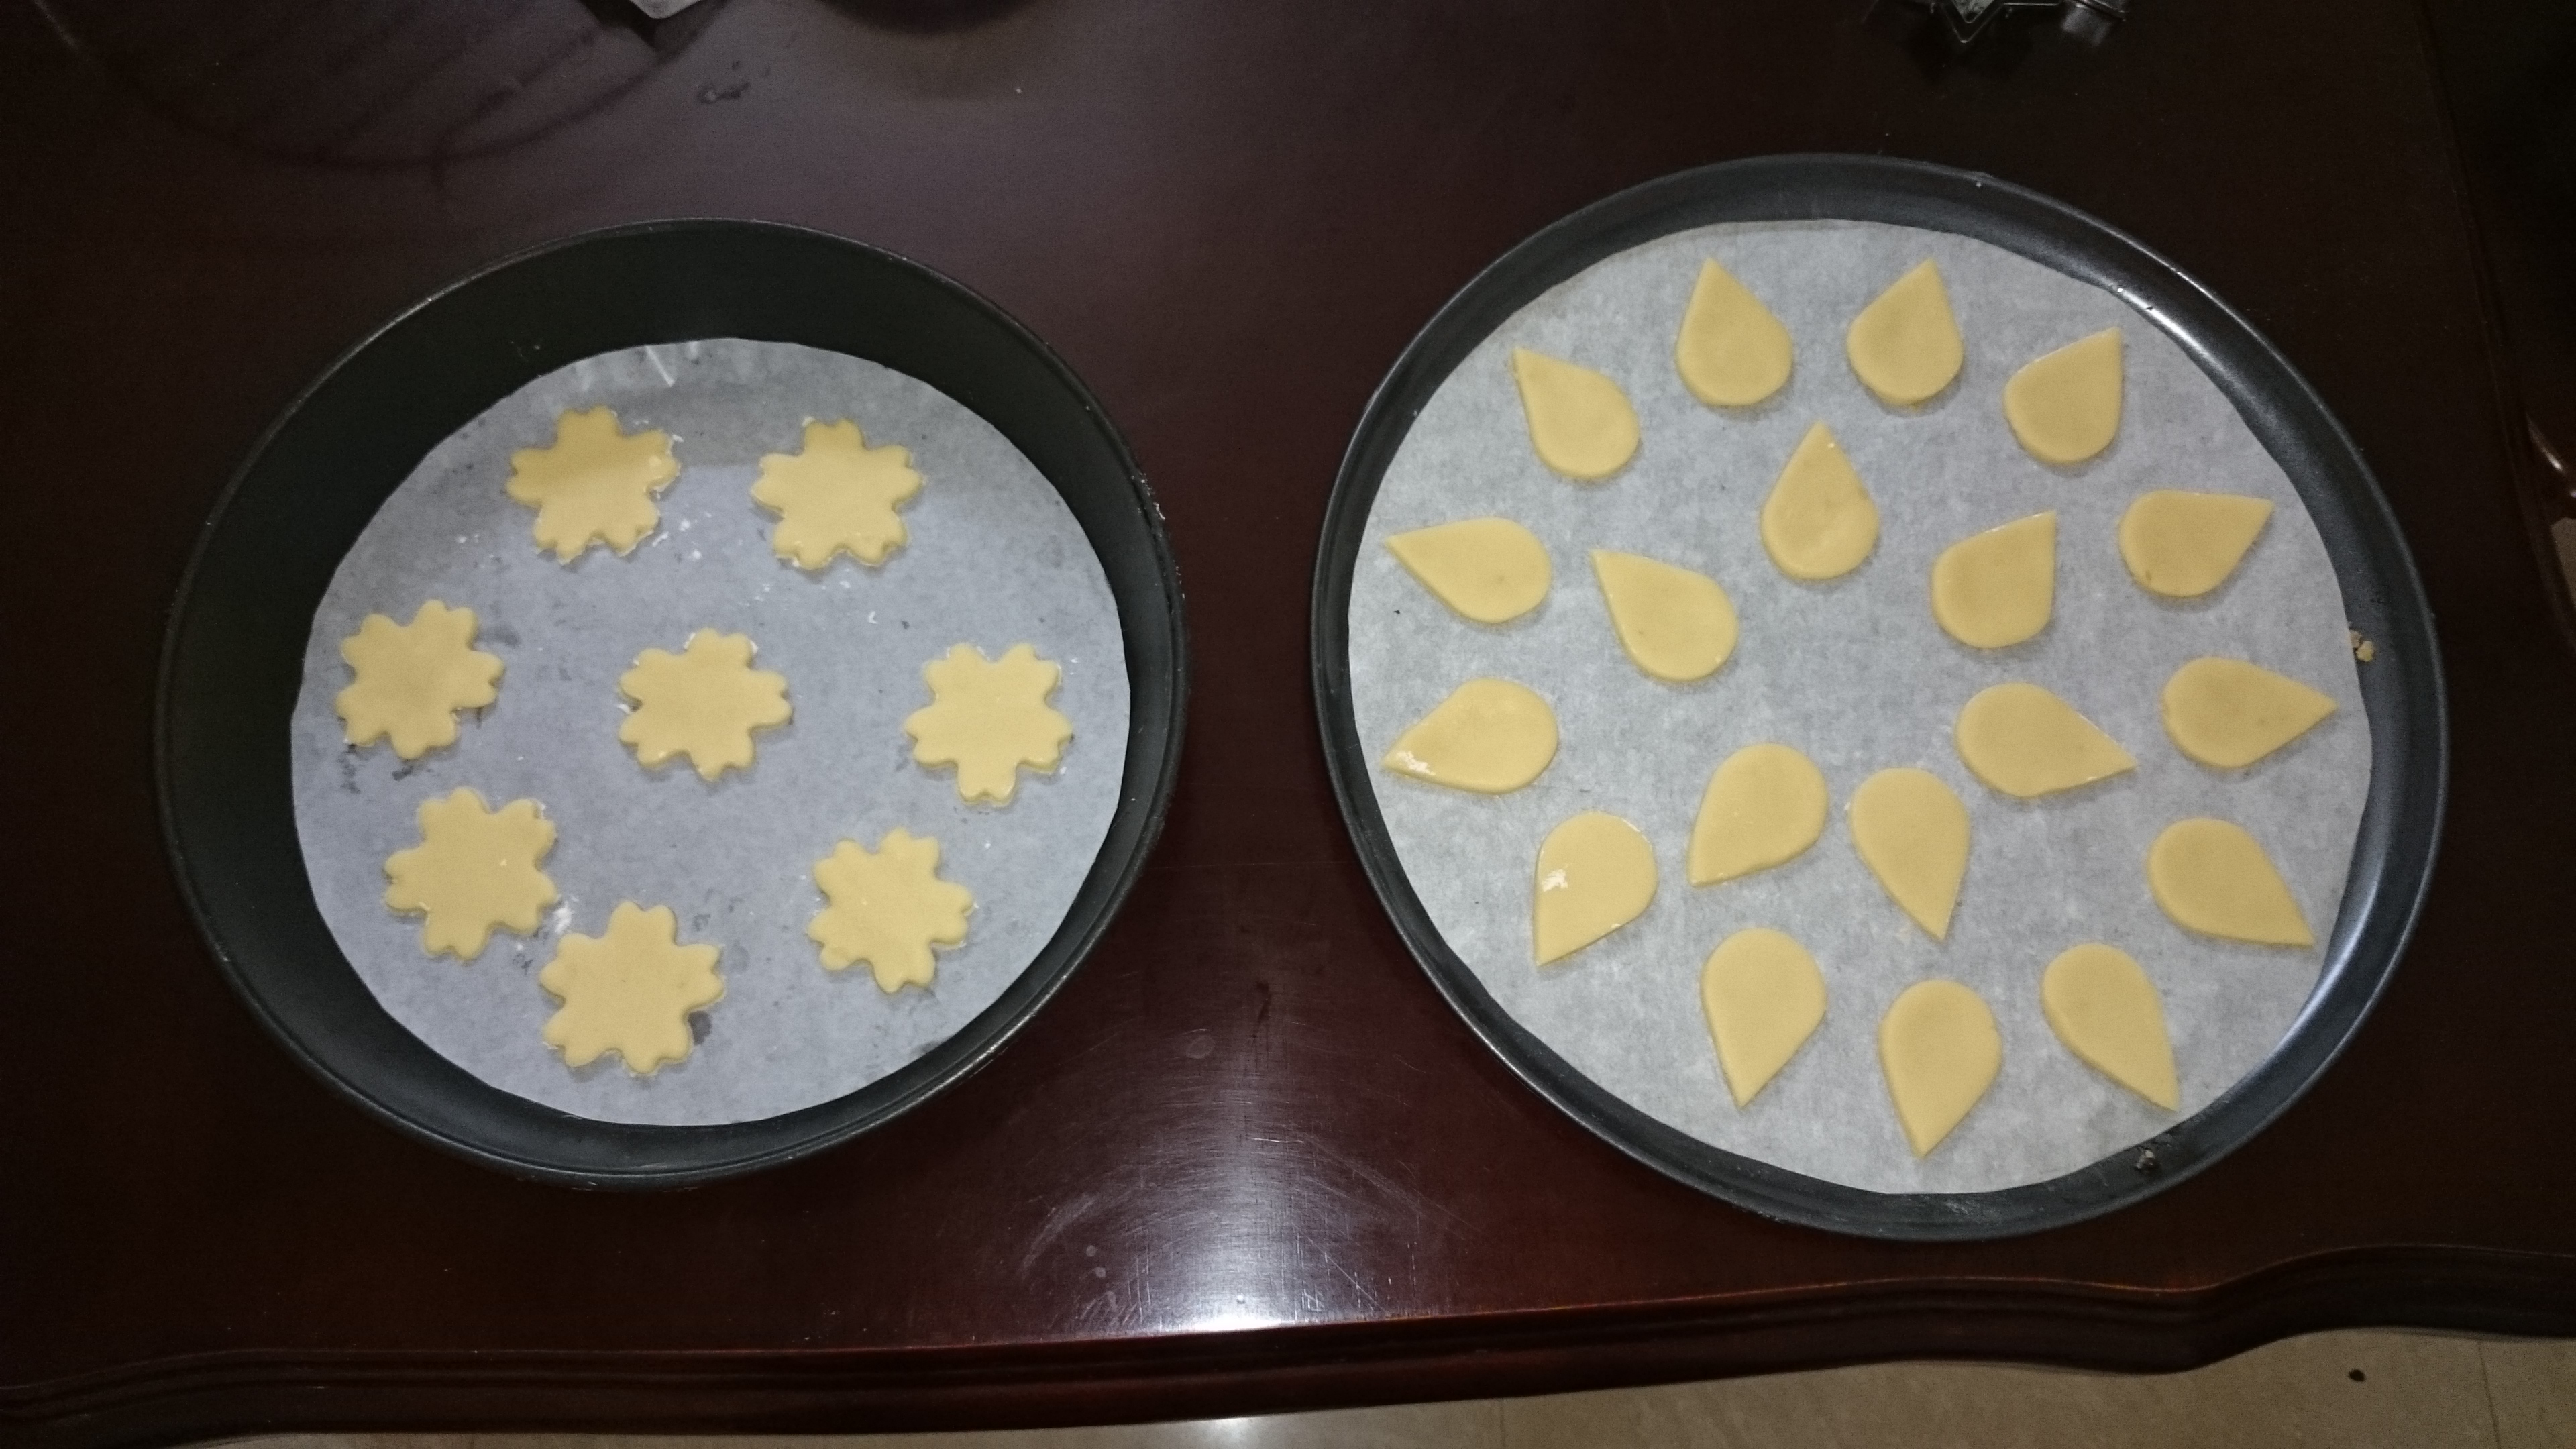
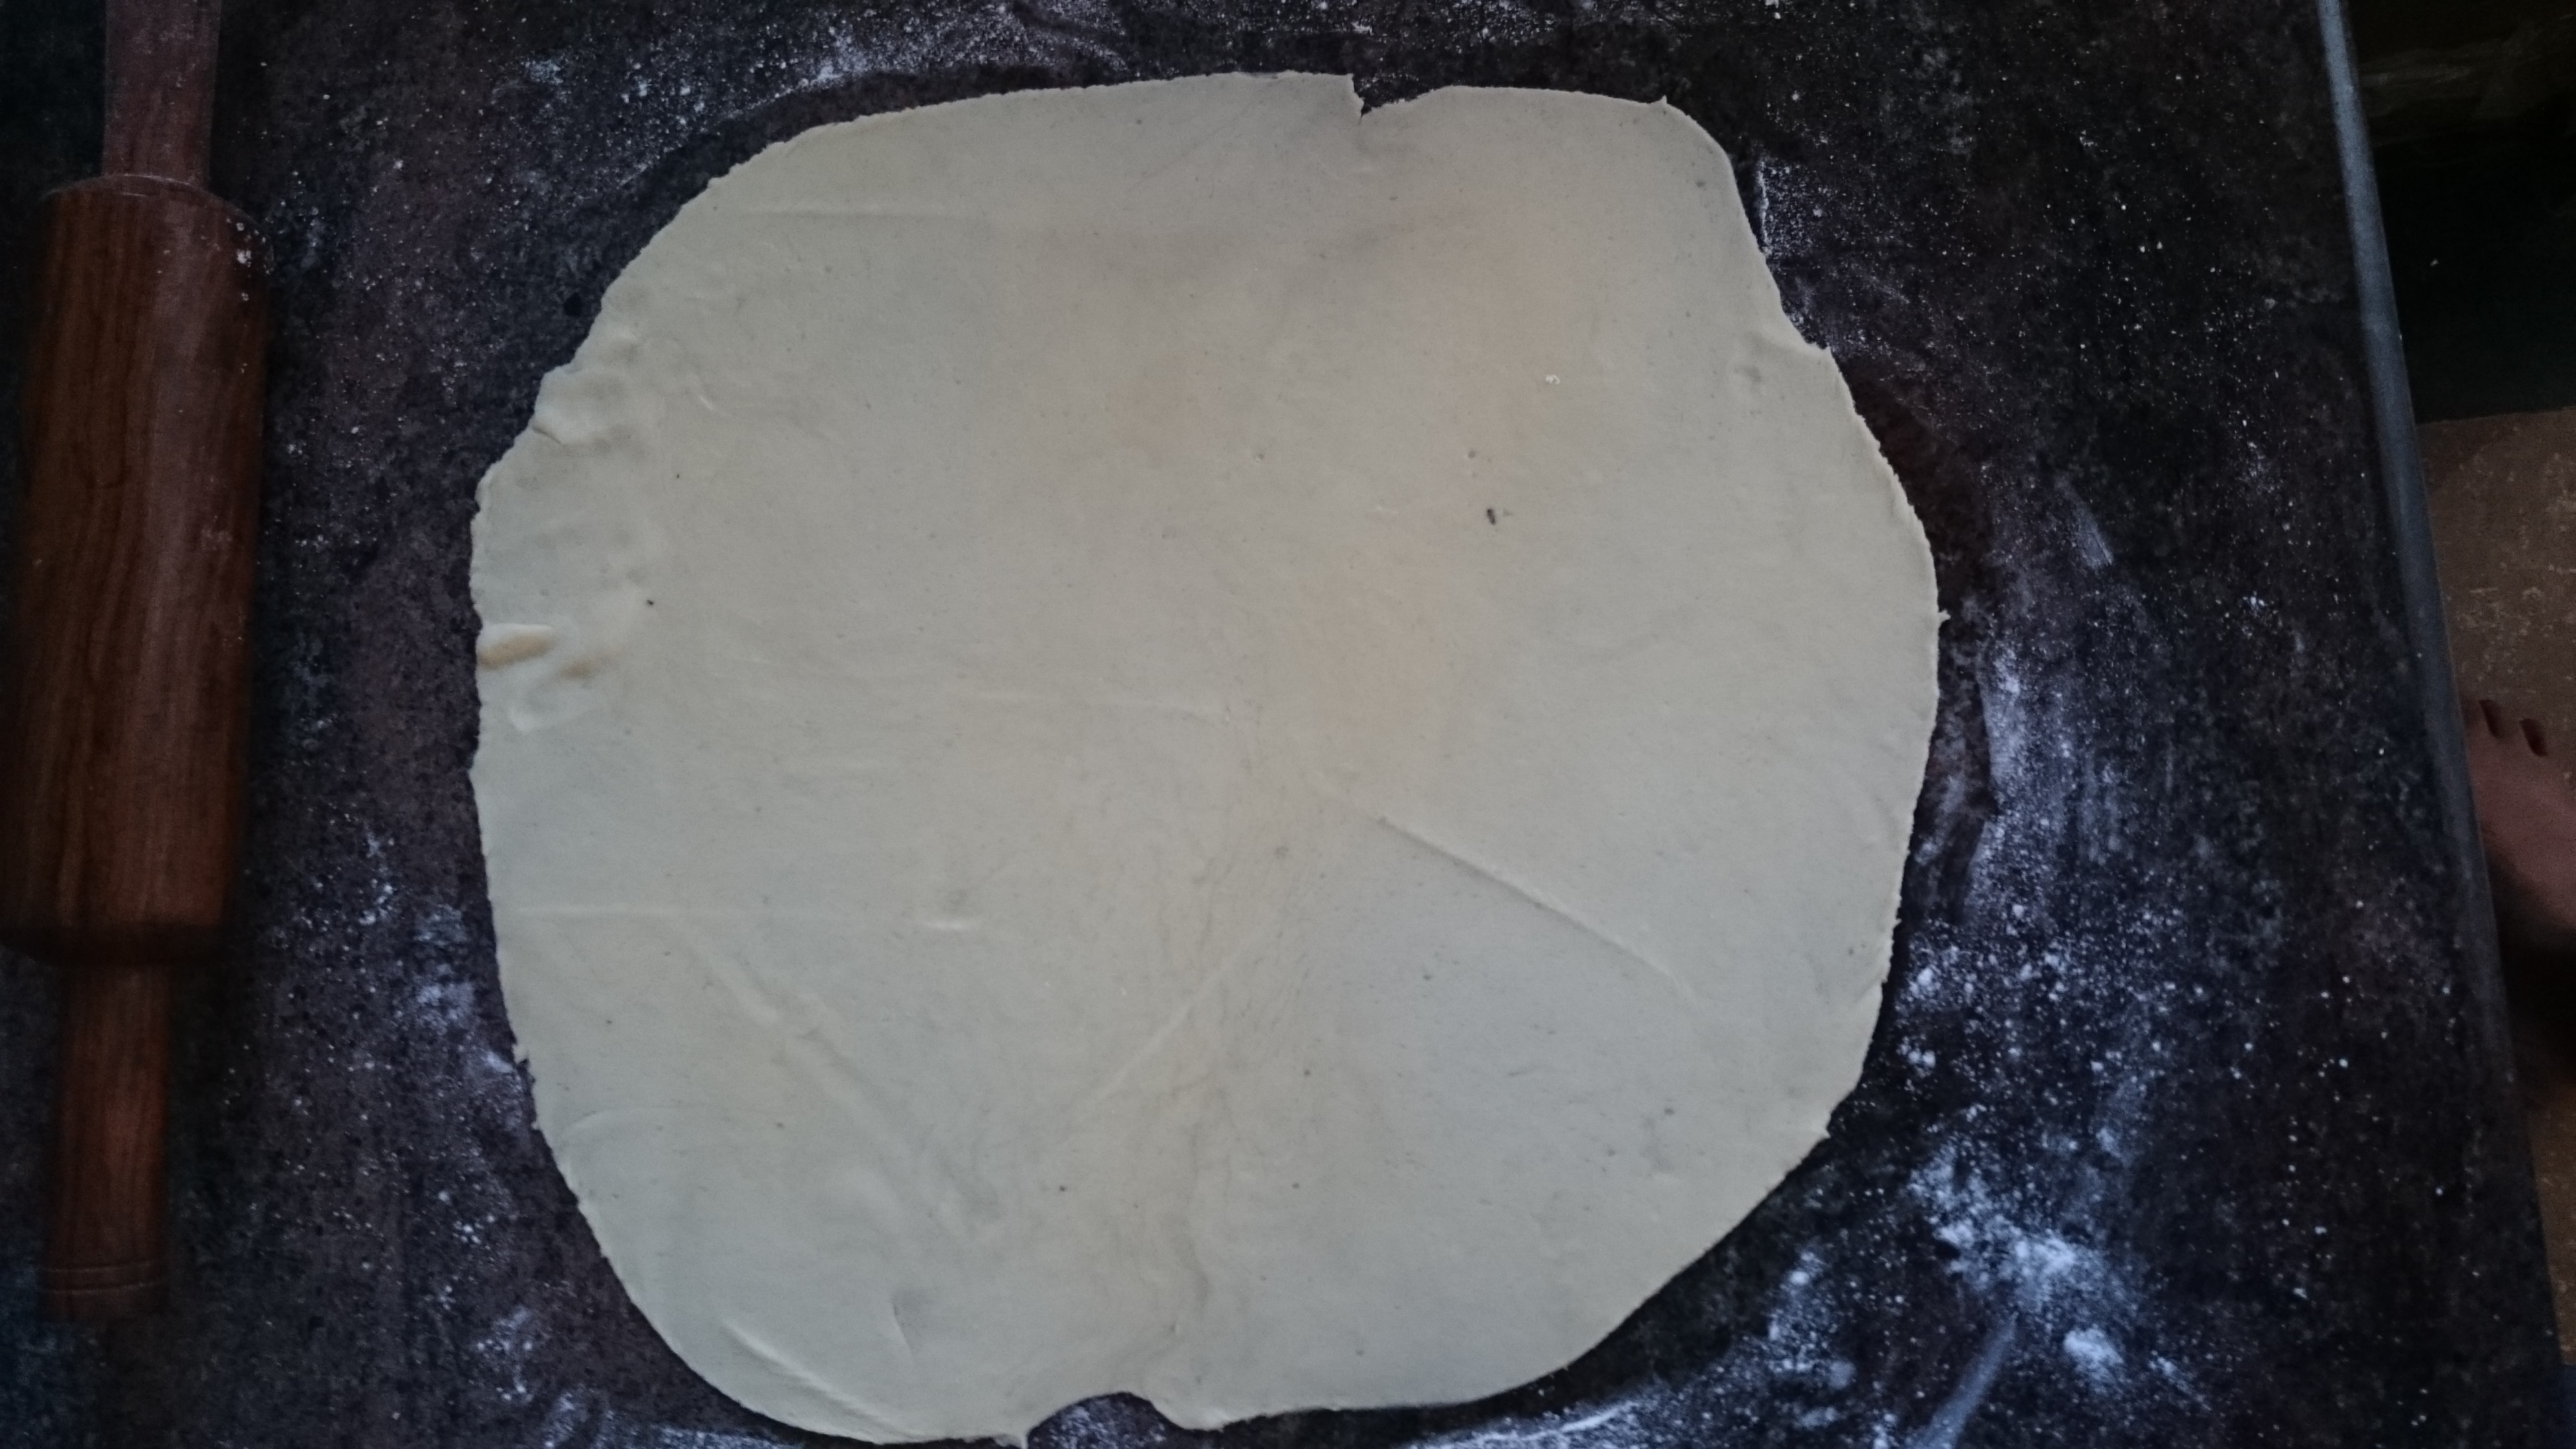
At this point the dough should be chilled or frozen. Freeze the dough balls, wrapped in plastic wrap and a freezer bag, for up to 1 month. To thaw, leave in the refrigerator overnight. Divide the dough into 2 balls and roll each out to 1/4 to 1/8-inch thickness between large pieces of parchment paper.
To bake the cookies, preheat the oven to 350°F and prepare baking sheets by lining them with parchment. Cut cookies out of the rolled dough and place on the prepared baking sheets.
Bake cookies for 8 to 12 minutes, depending on the size of your cookie. Let cool for 5 minutes on the cookie sheet, then remove to a wire rack.
Cool completely before icing or decorating, and store in a tightly covered container.
Rugelach
I loved the mini croissant like layers (these have fewer and less distinct layers).
You will need silpat for this.
I used parchment paper in the first round, after baking I was peeling paper from under rugelach.
In the second batch I put them on wire rack and put that in the oven. 15 mins later they became mini rugelach, they fell through the wire rack gaps.
I strongly recommend not adding chocolate in the filling. Eating them made me regret adding chocolate. It overpowered the flavor of blueberry and walnut.
Filling Ingredients
55gms chopped walnuts
1/4 cups semi-sweet chocolate chips (consider not adding )
1/4 cup blueberry preserves
20gms brown sugar
Egg Wash Ingredients
1 egg
1 tsp water
1/4 cup granulated sugar
1 1/2 tsp cinnamon
Instructions
1. Combine the flour and salt. Combine the flour and salt in the bowl of a food processor. Pulse a couple of times to mix.
2. Scatter the cubes of cream cheese and butter over the flour. Pulse 10 to 12 times until coarse crumbs form.
3. Whisk together the vanilla and yolk in a bowl, and the pour them over the butter-flour mixture. Run the processor continuously until the dough starts to clump together and form large curdlike pieces.
4. Form a dough. Divide into 2 portions and flatten each into 1-inch thick disks. Wrap in plastic and refrigerate the dough at least 2 hours or up to 3 days.
When ready to bake the rugelach, preheat the oven to 375°F and prepare your fillings.
5. Roll out the dough. Sprinkle your work surface generously with powdered sugar. Take one disk of dough from the refrigerator and let it warm on the counter for 1-2 minutes. Sprinkle the surface of the dough and the rolling pin with more powdered sugar. Roll the dough from the center out into a circle about 1/8-inch thick. Don’t worry if a few cracks form near the edges. Use more powdered sugar as needed to prevent sticking.
6. Spread with filling. Spread the filling in a thin layer evenly over the surface of the dough. Make sure it goes right up to the edge of the dough.
7. Slice and roll the cookies. Slice the dough into 12 wedges, like a pizza, using a pizza cutter or sharp knife.
Roll up each wedge, beginning at the wide outer edge and moving inward. Transfer to a silpat lined baking sheet. Make sure the tip is tucked underneath.
8. Chill the cookies. Refrigerate cookies on the baking sheet, 20 minutes. Meanwhile, prepare egg wash by mixing all ingredients
9. brush the top of each cookie with egg wash. Bake the cookies until golden-brown, 20-25 minutes. Cool on the sheet, 5 minutes; transfer to a wire rack.
Cookies will keep in an air-tight container at room temperature for about a week.
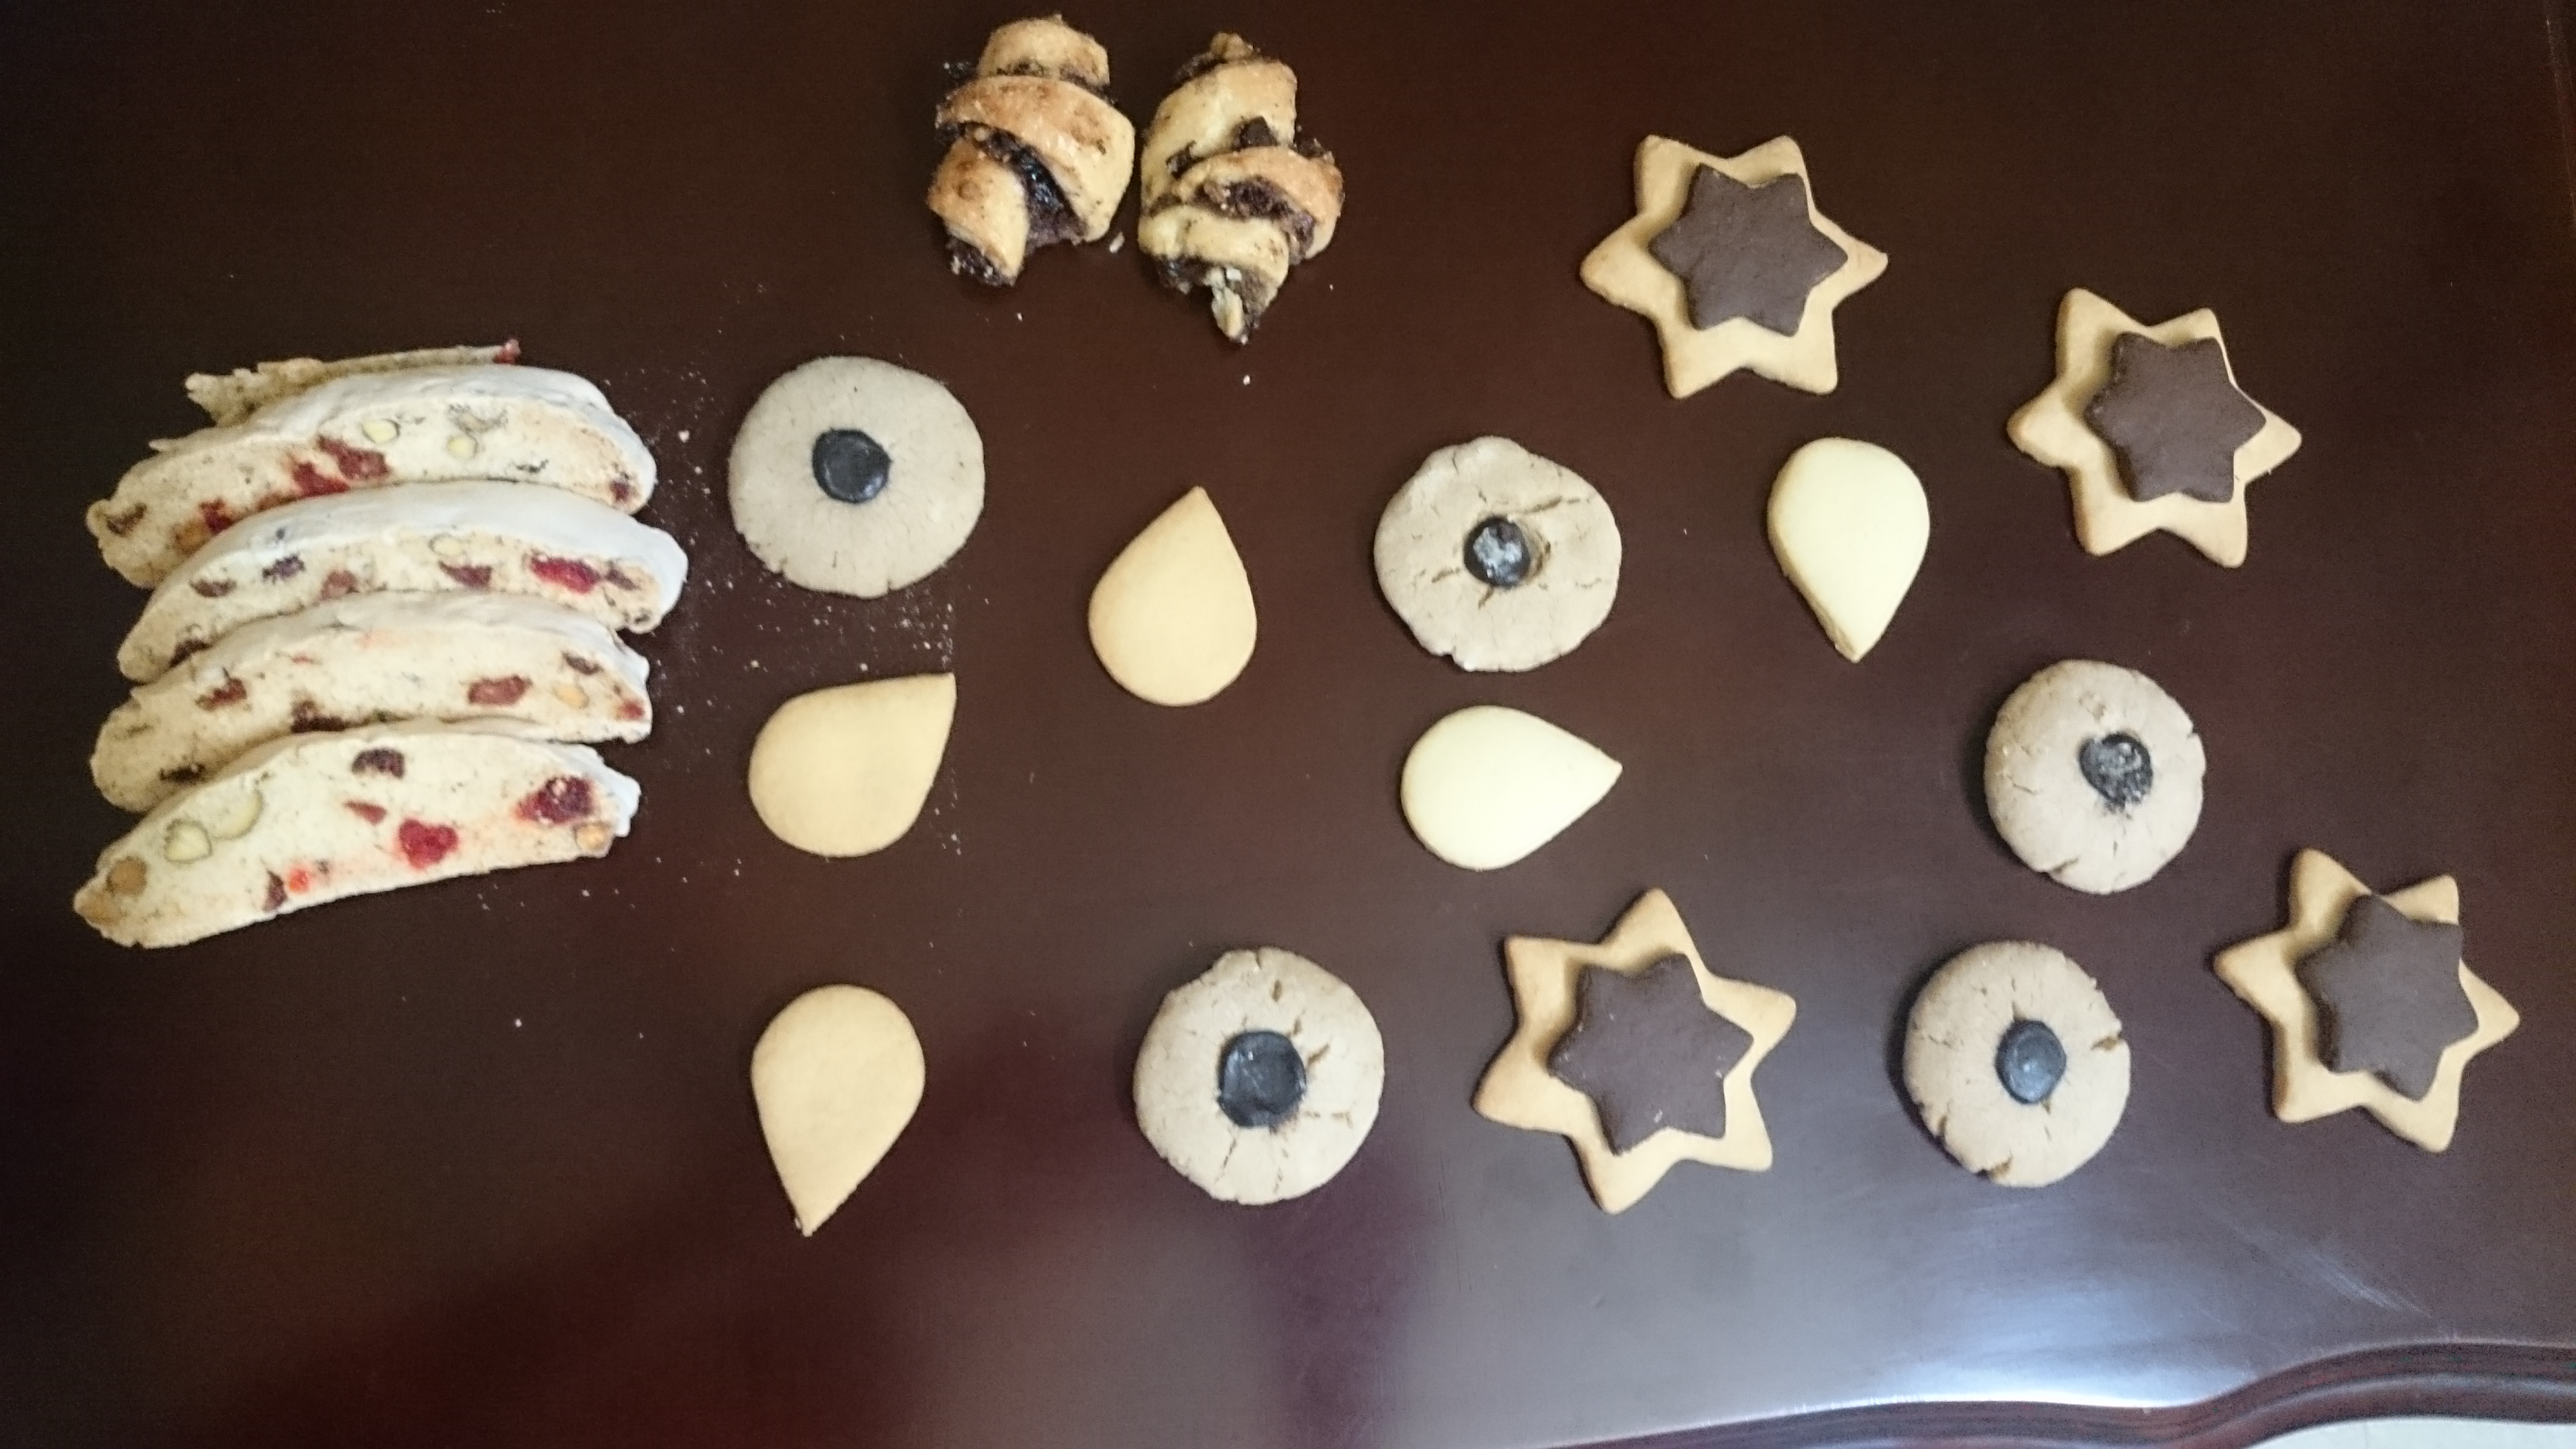
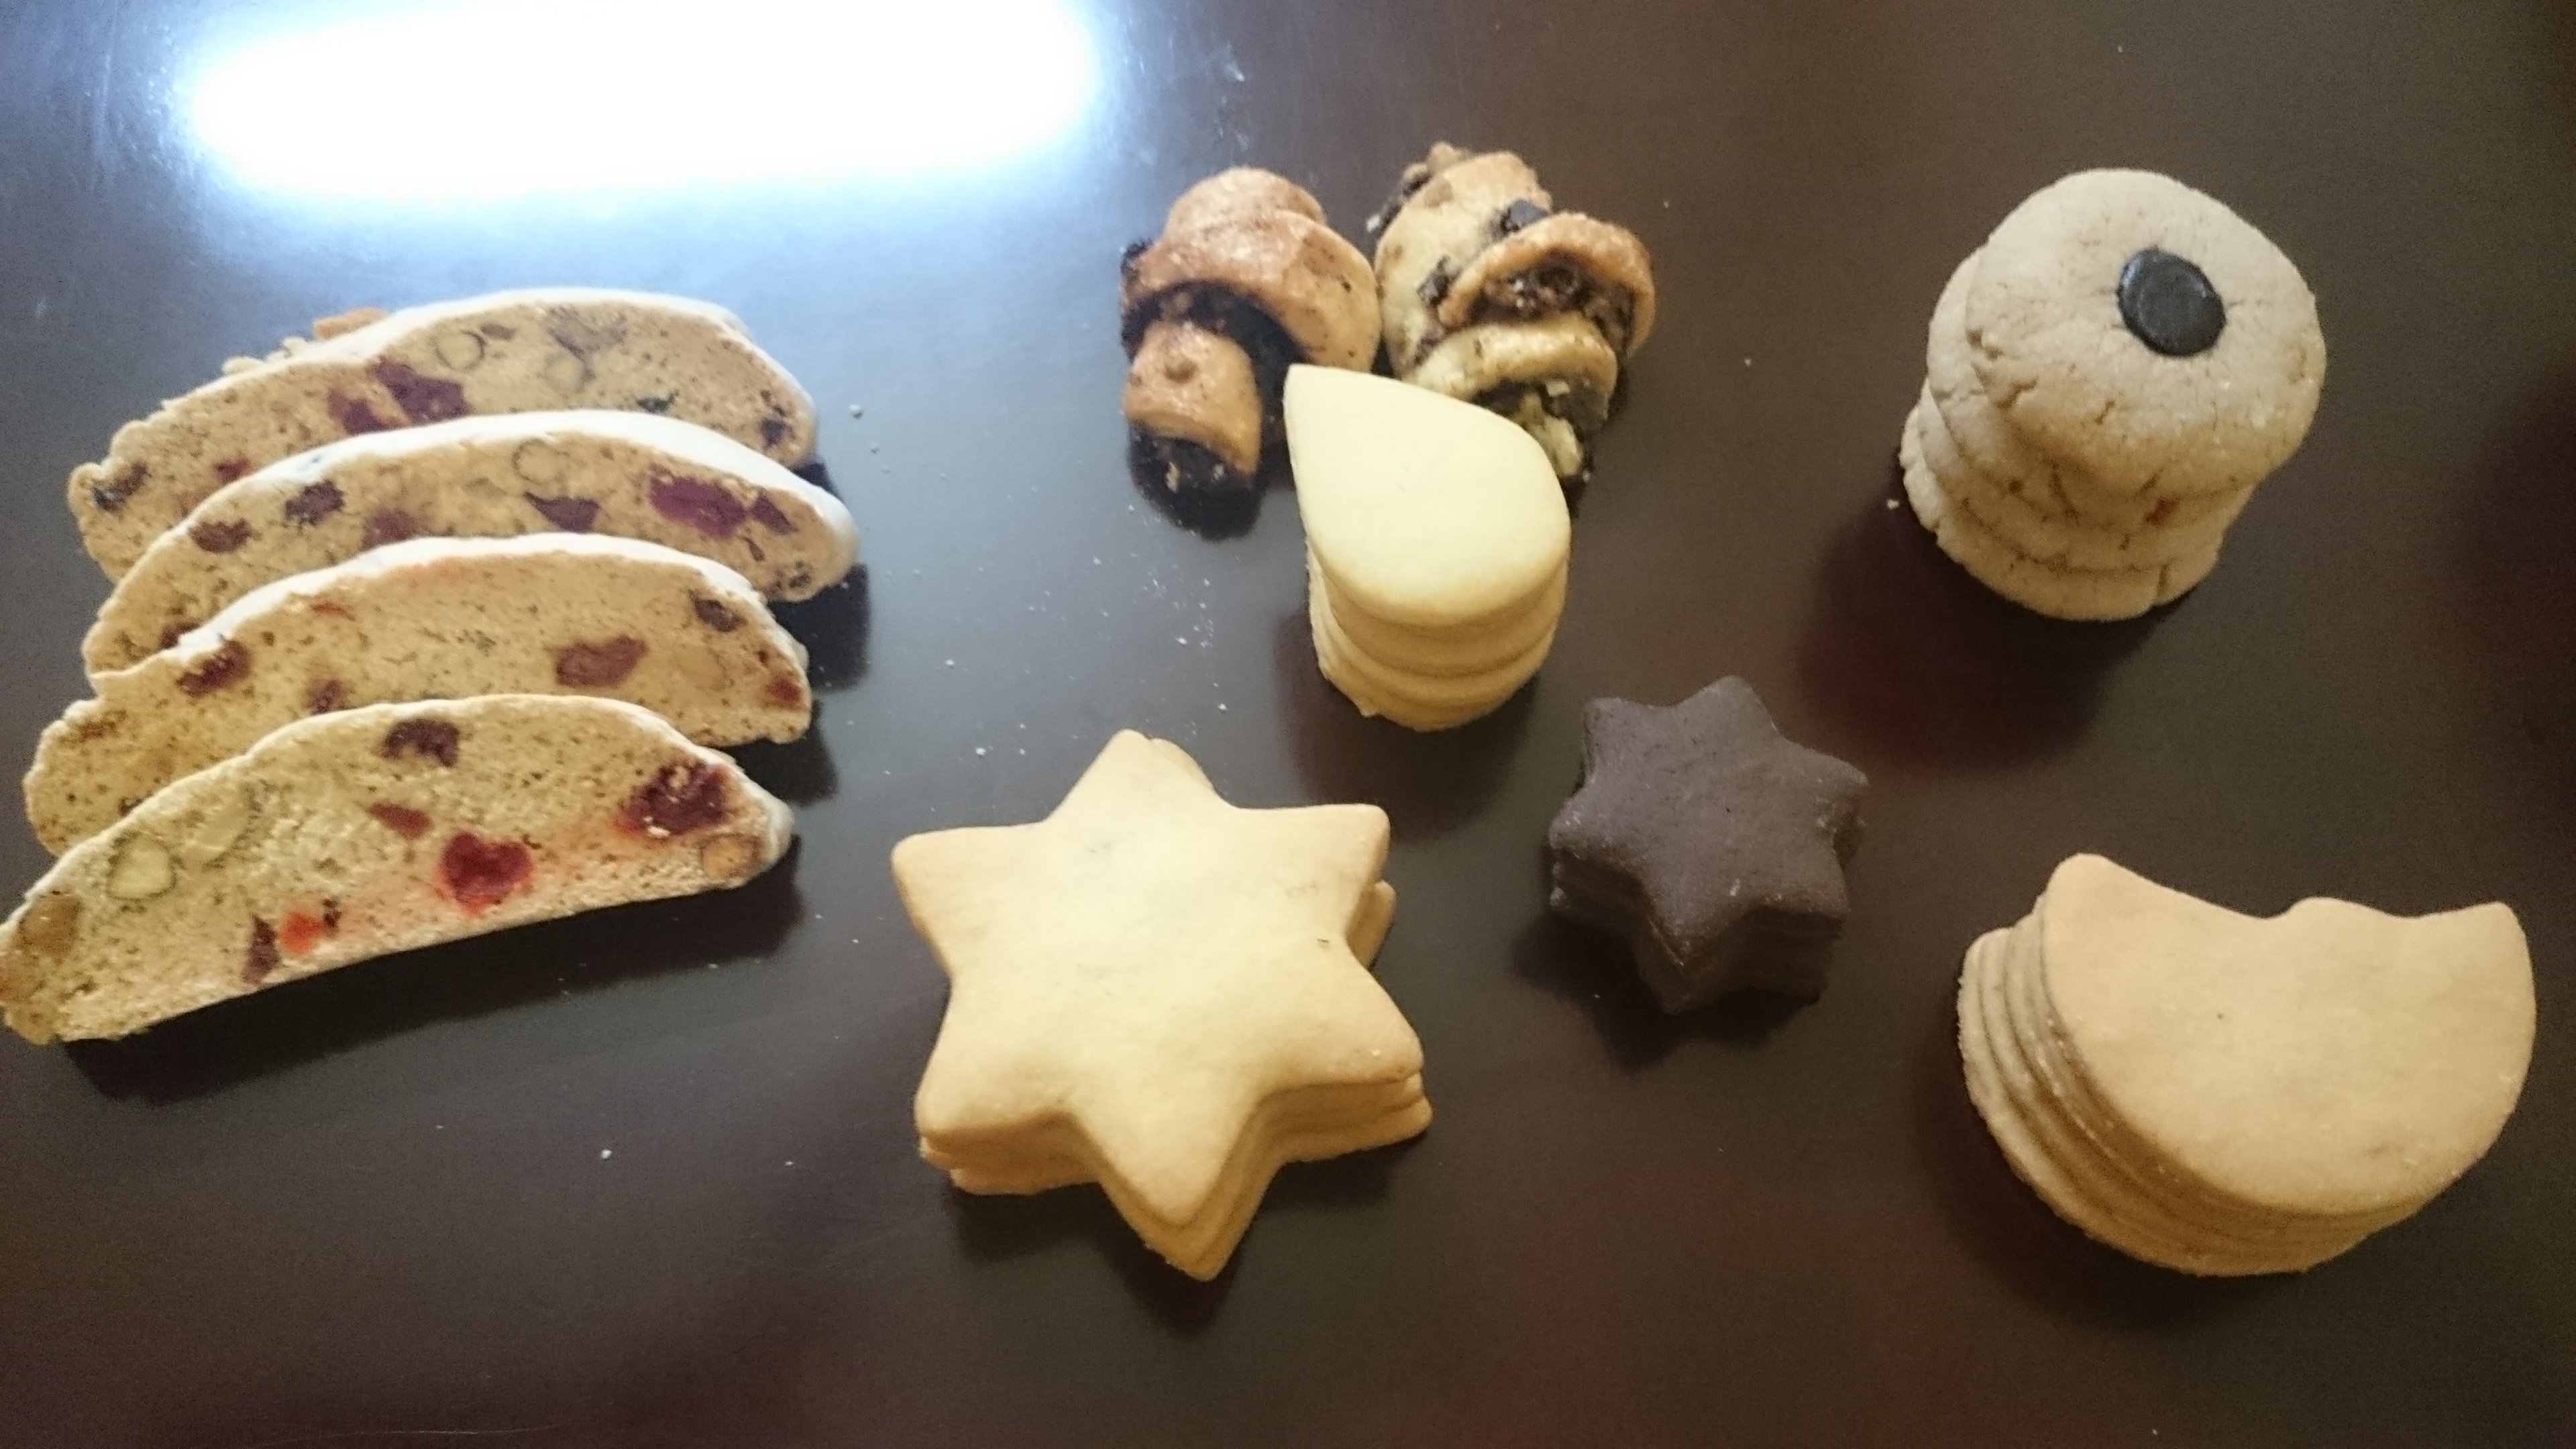
The other cookies turned out good. Here are some pictures.
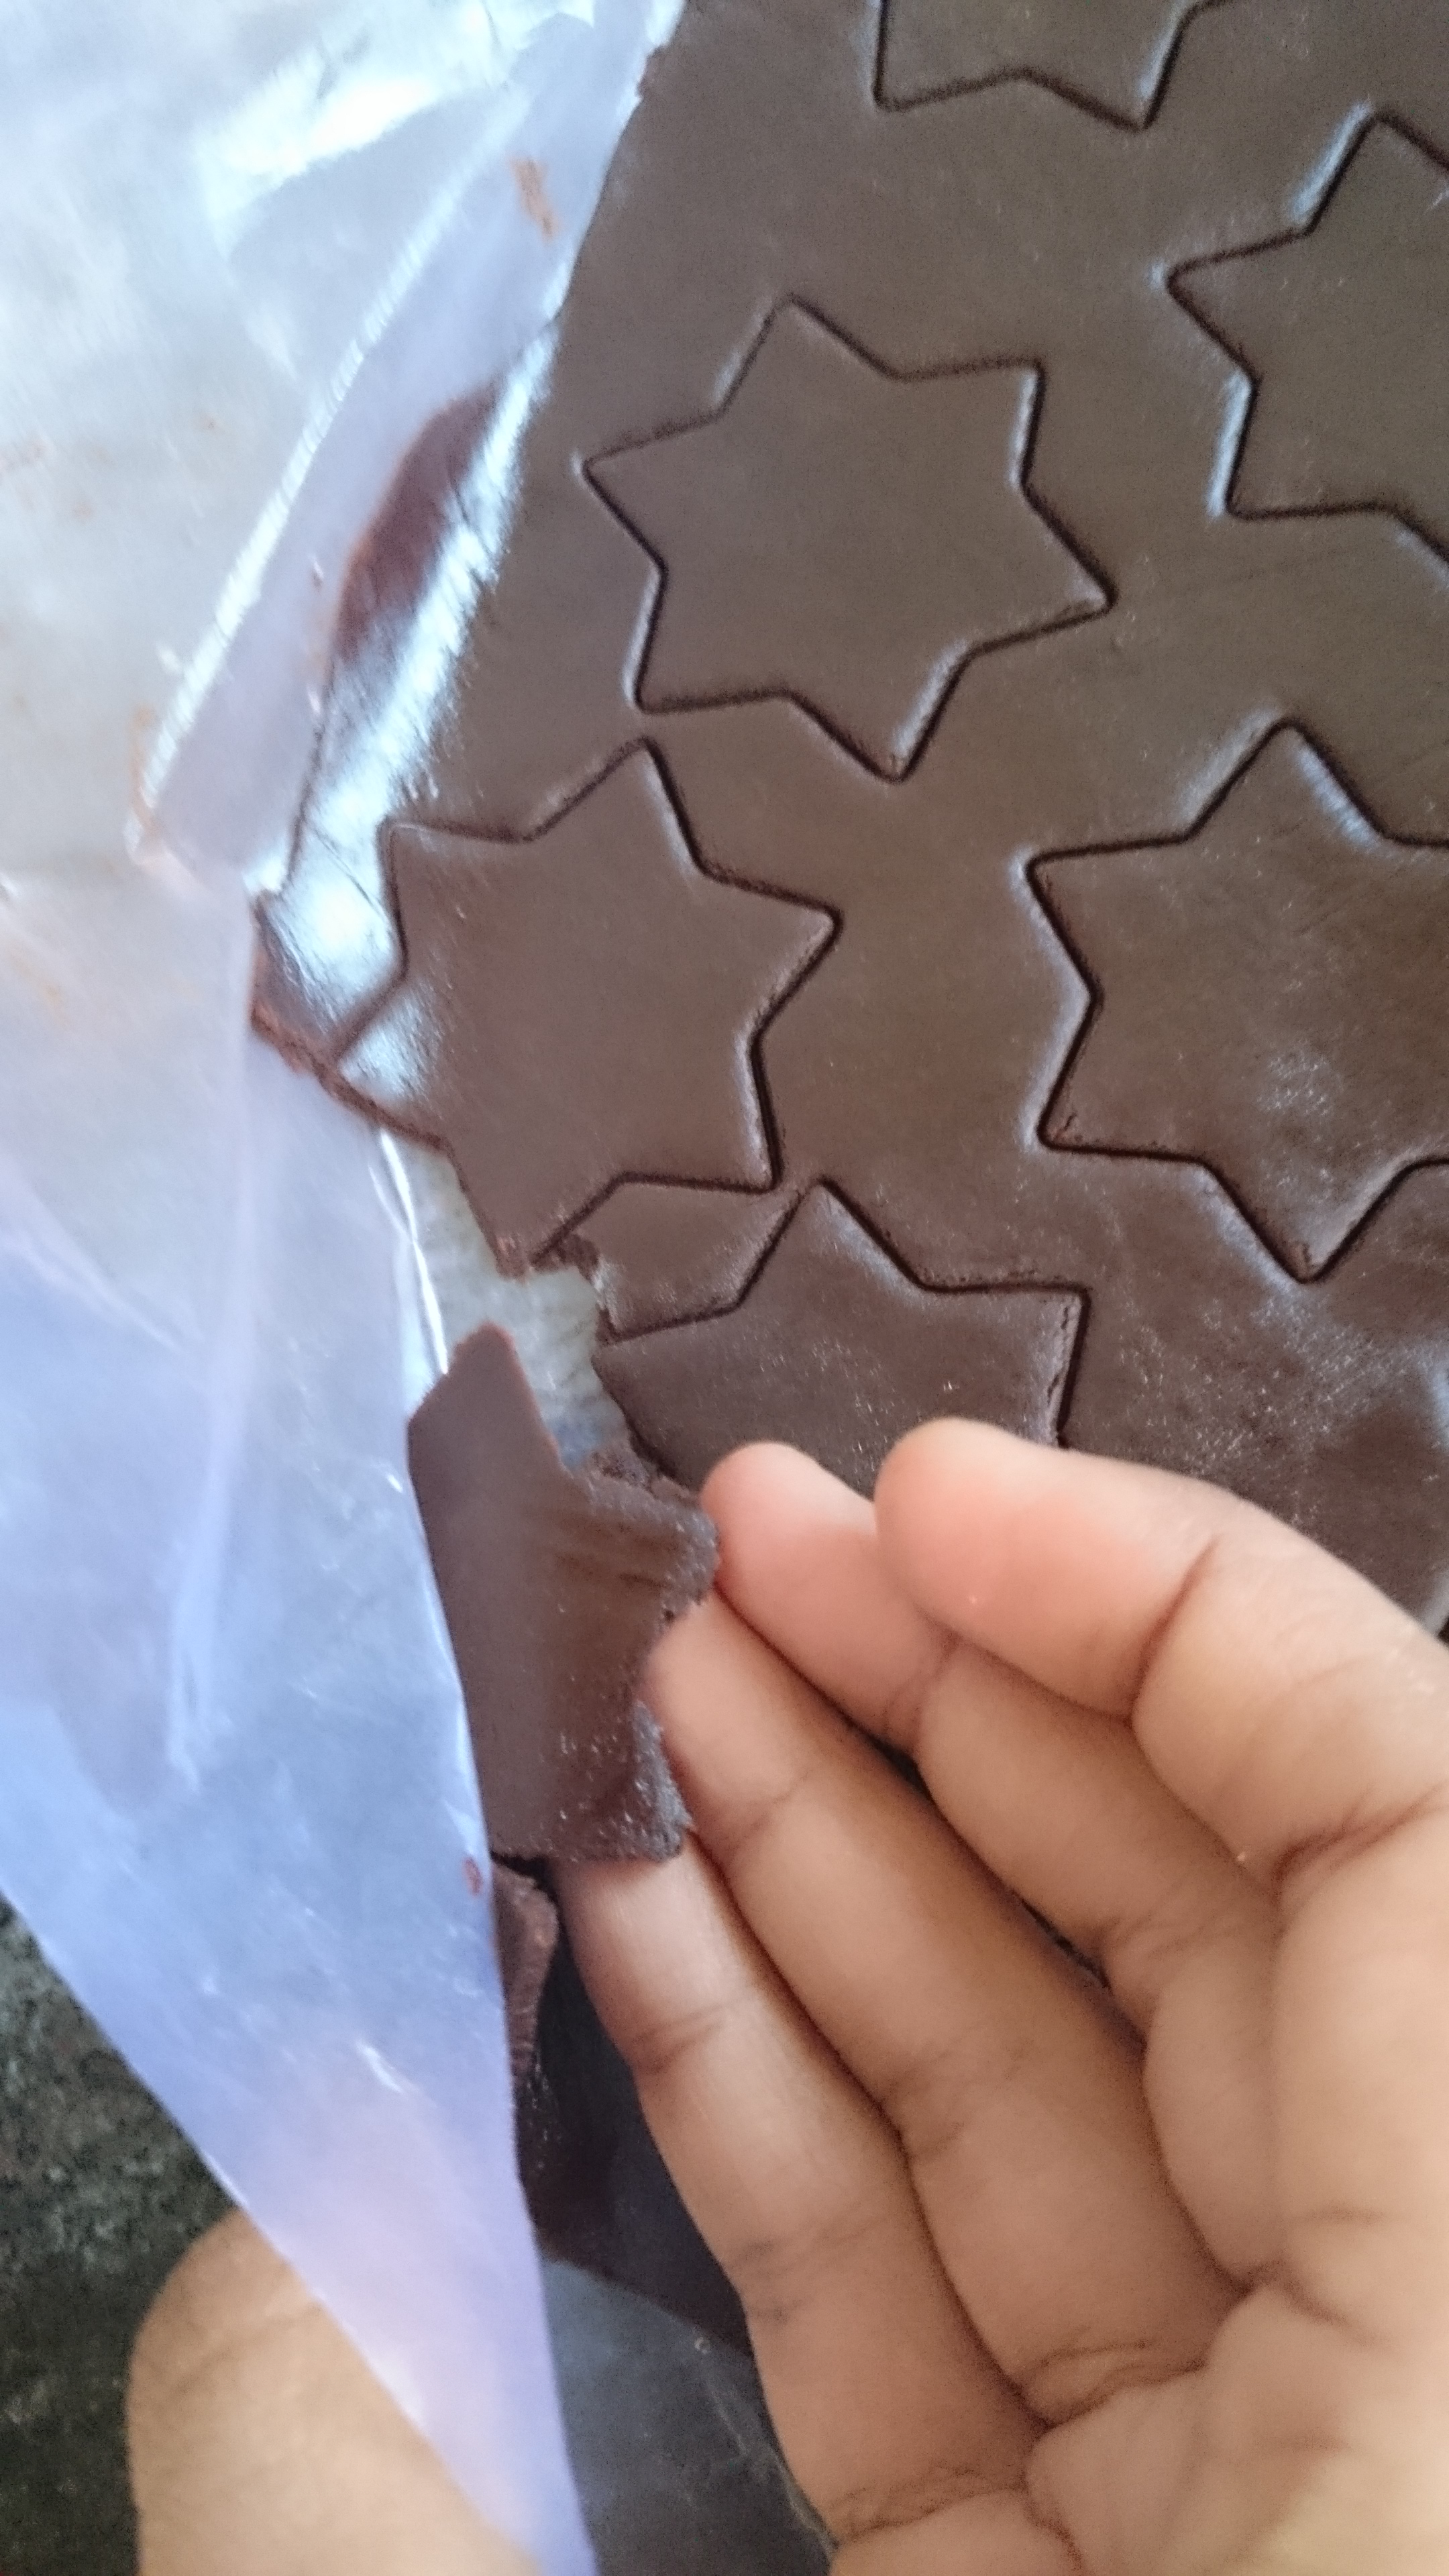
Chocolate champagne Sandwich Cookies
Star shaped cutter! Peel them from the parchment.
Transfer them to a tray linned with parchment or butter paper and bake.
I filled them with champagne flavored buttercream.
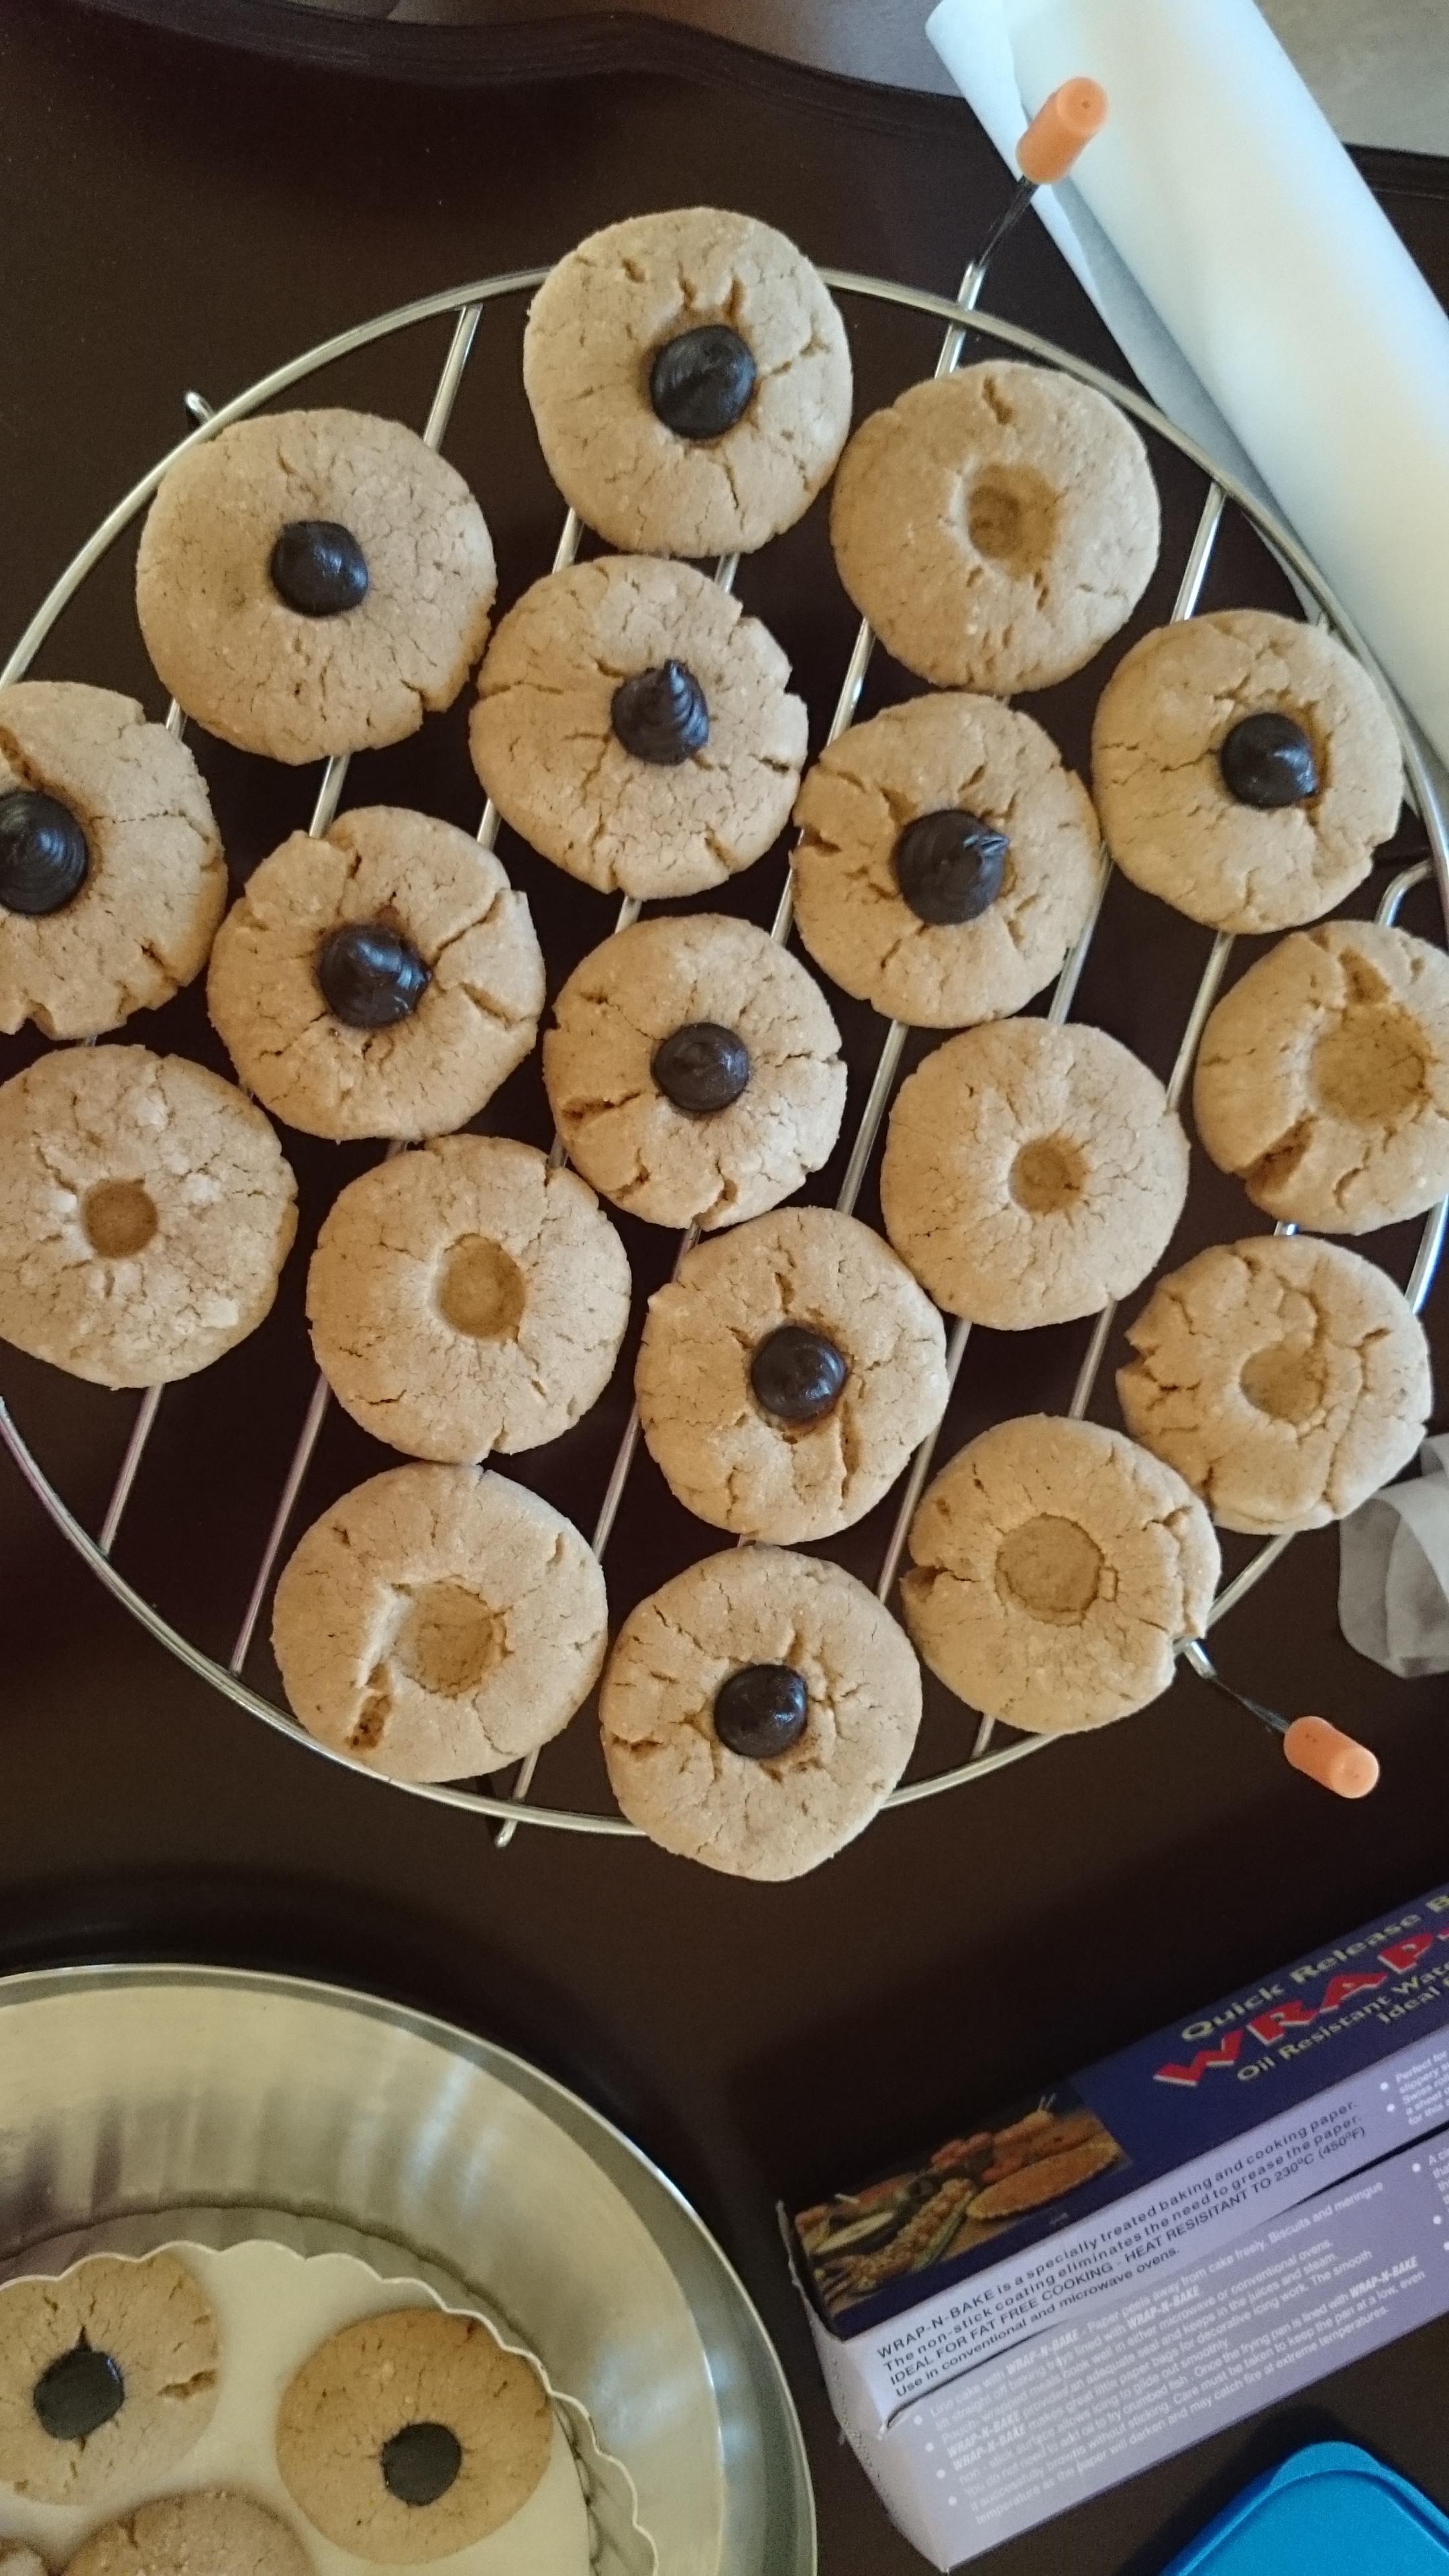
Peanut Butter & Espresso Truffle Blossoms
Ingredients!
Mix the ingredients and make small balls. Dunk them in sugar.
Bake!
Cranberry Pistachio Biscotti
When you dip this in a nice cup of tea and take a bite, it tastes a little citrusy and sweet and nutty.
Mix ingredients and make a log.
Bake.
Cut and bake again.
Leave a comment if you tried any of these cookies or even if you just like the idea of cookies!!!
I never was intrigued by cheesecake. Thought it was boring. I didn’t like the cheesecakes I ate.
Around the time my cook decided to ditch me and forced me to eat depressing food from office cafeteria, I joined my good colleagues for lunch. After a month of that torture, my flat-mate persuaded the cook to come back. And I ditched my colleagues and had lunch at my desk, believe me I was swamped with work .
I always believed I was incapable of niceness, but surprise! I went to my colleague, Ditha who loves cheesecake, to tell her “I will make it up”. Hence this post.
I knew its difficult to find graham crackers in Bangalore, so I decided to make them myself. This recipe needs wheat bran (fibre), didn’t find it, honestly I didn’t try hard enough (ashamed).
13 grams wheat bran (replaced it with whole wheat flour)
65 grams granulated white sugar
1/4 teaspoon baking powder
1/4 teaspoon baking soda
1/4 teaspoon salt
95 grams cold unsalted butter, cut into small chunks
20 grams mild flavored honey
30 grams milk
1/2 teaspoon pure vanilla extract
I made 1 and a 1/2 times of this recipe.
Place the flours, wheat bran, sugar, baking powder, baking soda, and salt in the bowl of your food processor and process until combined.
Add the cold pieces of butter and process until it looks like coarse crumbs. Add the honey, milk, and vanilla extract and process until the batter starts to clump together.
Take half of the dough and roll it between two sheets of parchment or wax paper until it’s 10 x 9 inches (25 x 23 cm). Or use a cookie cutter of any shape you like.
Slide the dough (and the parchment paper) onto a baking sheet and place in the refrigerator until cold and firm. (For faster chilling, place in the freezer for about 15 minutes).
Meanwhile, pre-heat the oven to 180 degrees C.
Once chilled, remove from refrigerator and peel off the top piece of parchment paper. Then using the tines of a fork or the end of a wooden skewer, make small holes in each rectangle.
Bake for about 12 – 15 minutes or until the edges of the graham crackers are golden brown. The longer you bake them the more crisp they will be. Remove from oven and place on a wire rack to completely cool (they will become more crisp as they cool). Store in an airtight container for about a week. These are perfectly cooked
These are a little under cooked.
For the cheesecake
First and most important part of this is to source the cream cheese.
You can find the Philadelphia cream cheese in nature’s basket, but their stock is inconsistent. You can find the homemade cream cheese, the one with mesophilic culture, at Institute of Baking & Cake Art, Bangalore.
Grease a 9 inch (23 cm) springform pan. Make sure the springform pan is well-greased as cracking can occur if the cheesecake sticks to the sides as it cools. Place the springform pan on a larger baking pan to catch any leakage while the cheesecake is baking. Pre-heat oven to 180 degrees C .
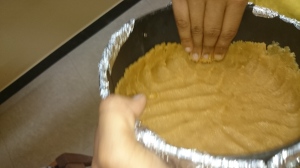
For Crust: In a medium sized bowl combine the graham cracker crumbs, sugar, and melted butter.
Press the crumbs evenly over the bottom and about 1 inch (2.5 cm) up the sides of the springform pan. Cover and refrigerate while you make the filling.
It looks quite moist here because I accidentally added a few extra grams of butter… extra enough that it accumulated in the pan that I placed the springform on.. enough to make toast for 4 people on sunday..
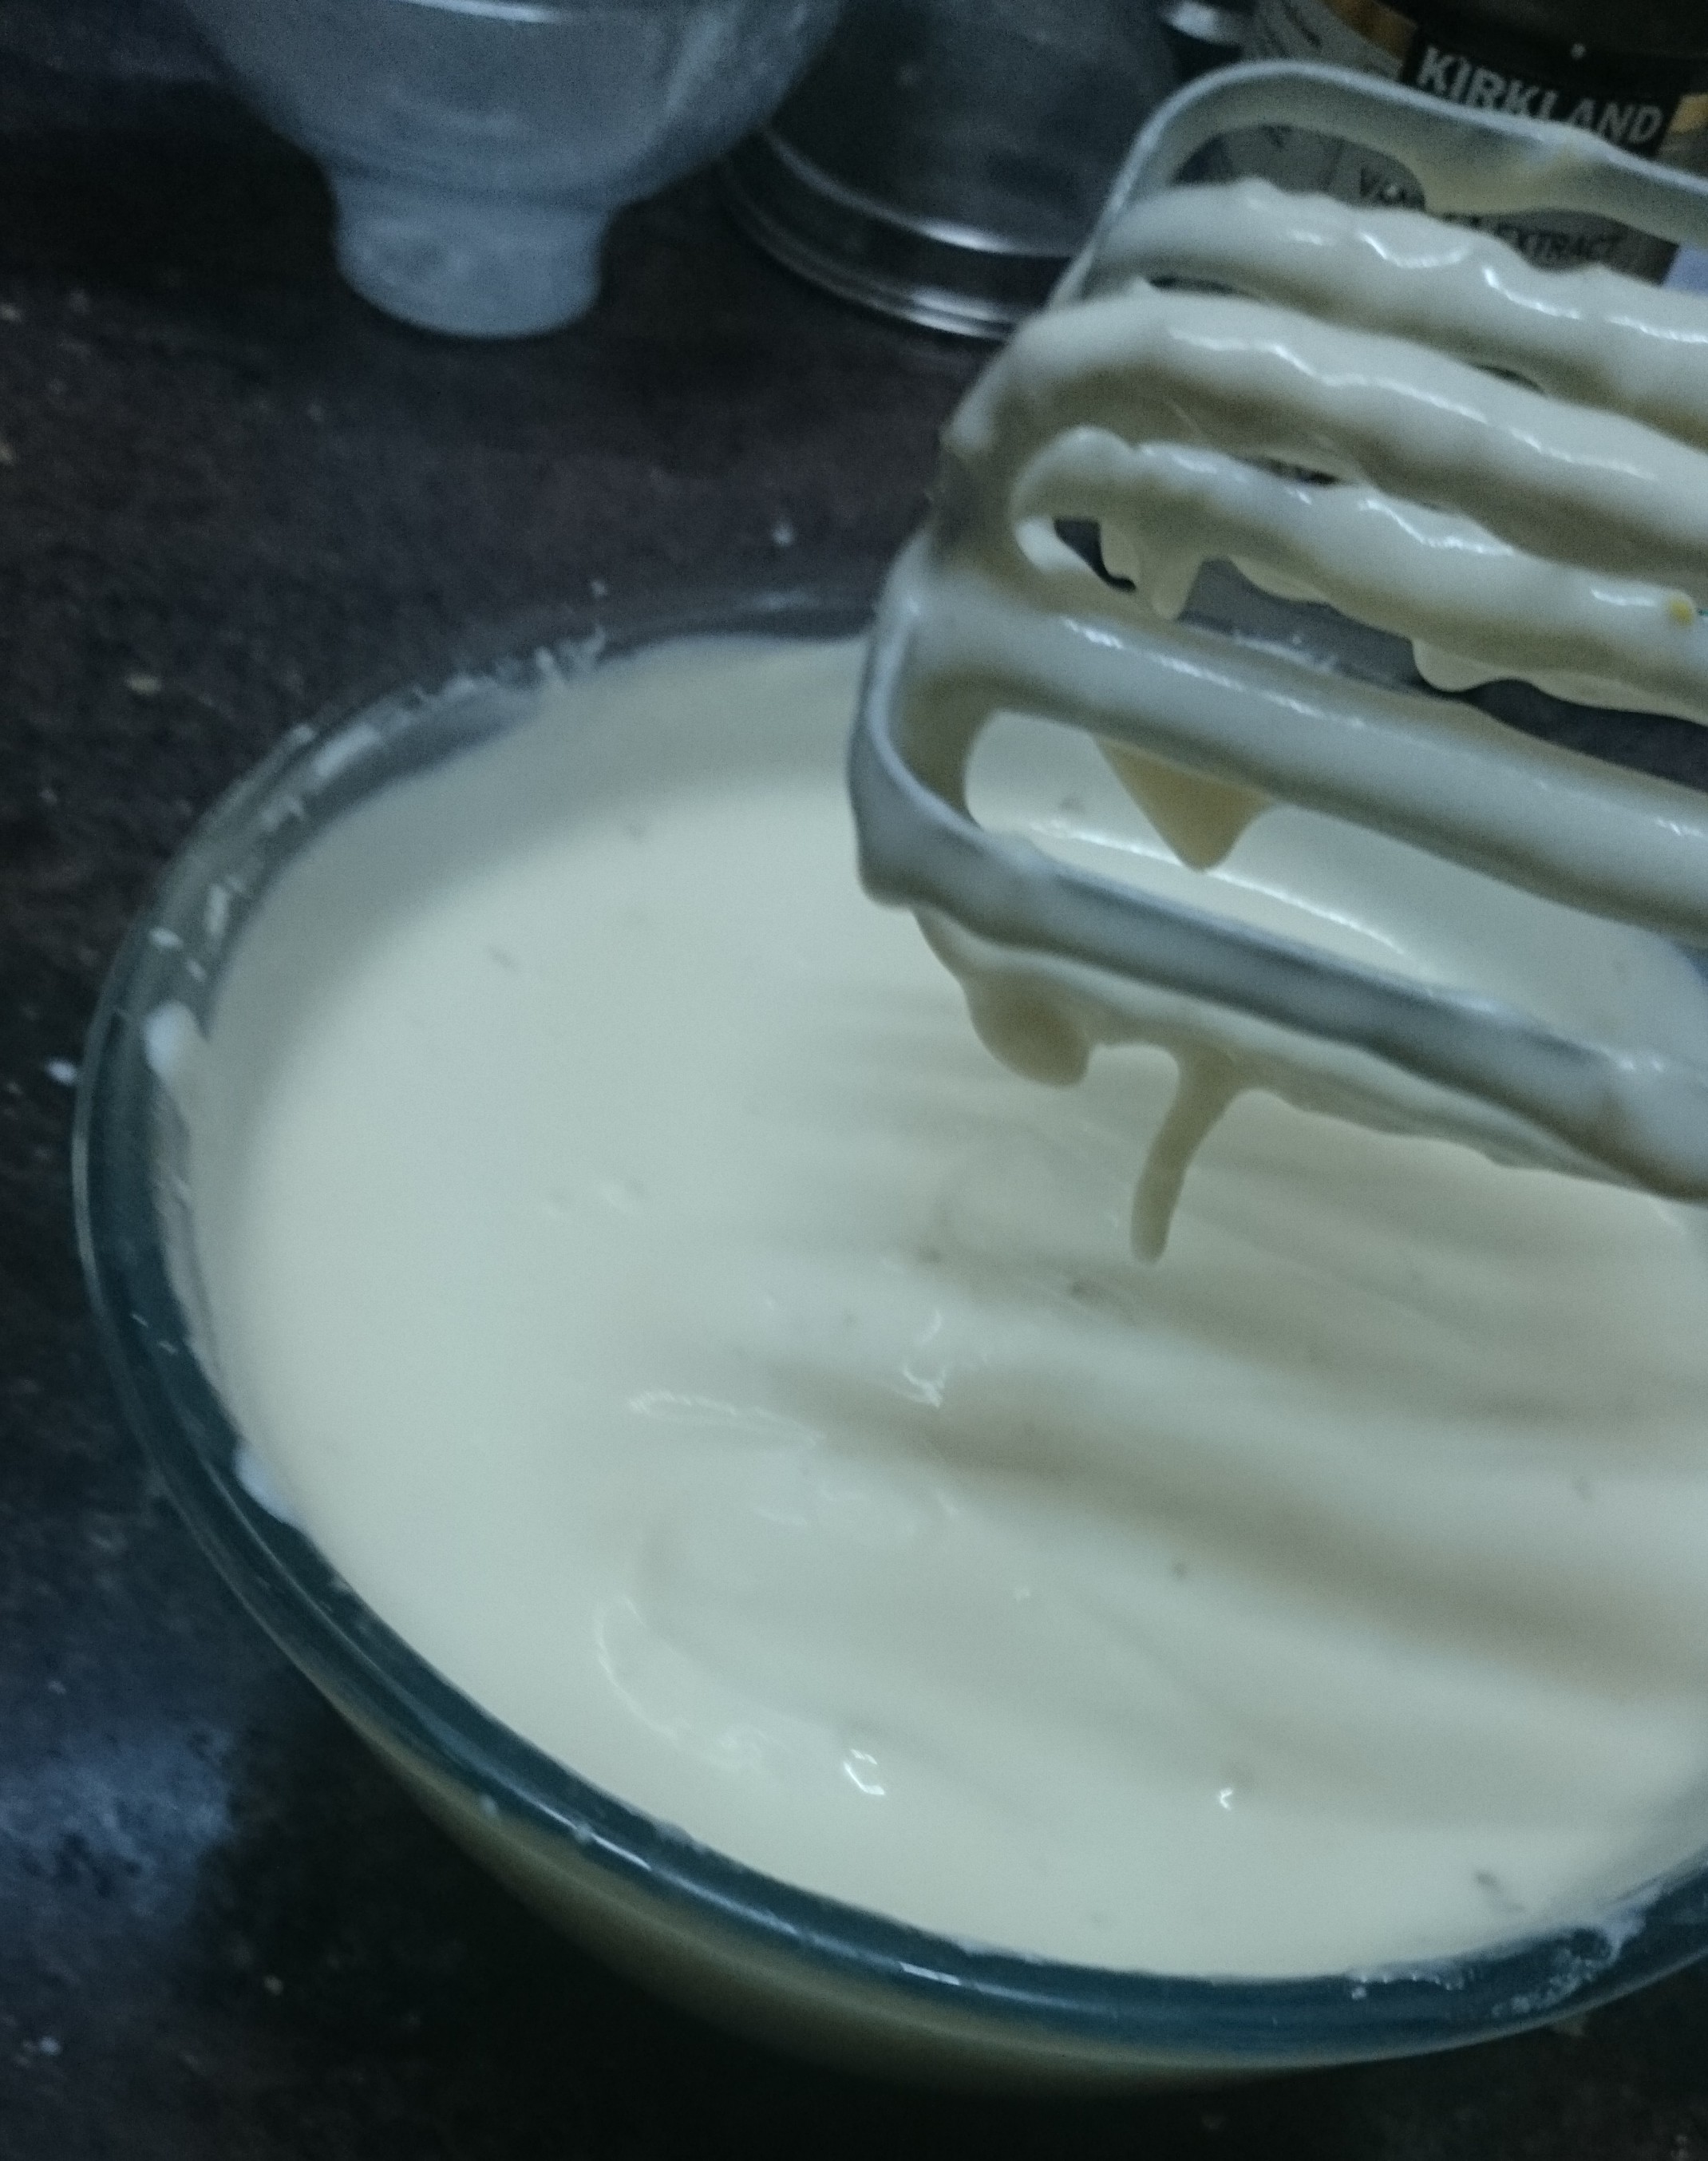
For Filling: In an electric mixer bowl, place the cream cheese, sugar, and flour. Beat on medium speed until smooth (about 2 minutes), scraping down the bowl as needed. Do not over beat the batter.
Add the eggs, one at a time, beating well (about 30 seconds) after each addition. Scrape down the sides of the bowl.
Add the whipping cream, lemon zest, vanilla extract and beat until incorporated.
Go easy on the lemon zest, you don’t want the lemon zing to over power the sourness of the cheese.
Remove the crust from the refrigerator and pour in the filling. Place the cheesecake pan on a larger baking pan and place in the oven.
Bake for 15 minutes and then lower the oven temperature to 120 degrees C and continue to bake for about another 60 – 90 minutes or until firm and only the center of the cheesecake looks a little wet and wobbly. DO NOT overbake the cheesecake. Your cheesecake is done when it is firm but the middle may still look a little wet.
Remove from oven and place on a wire rack.
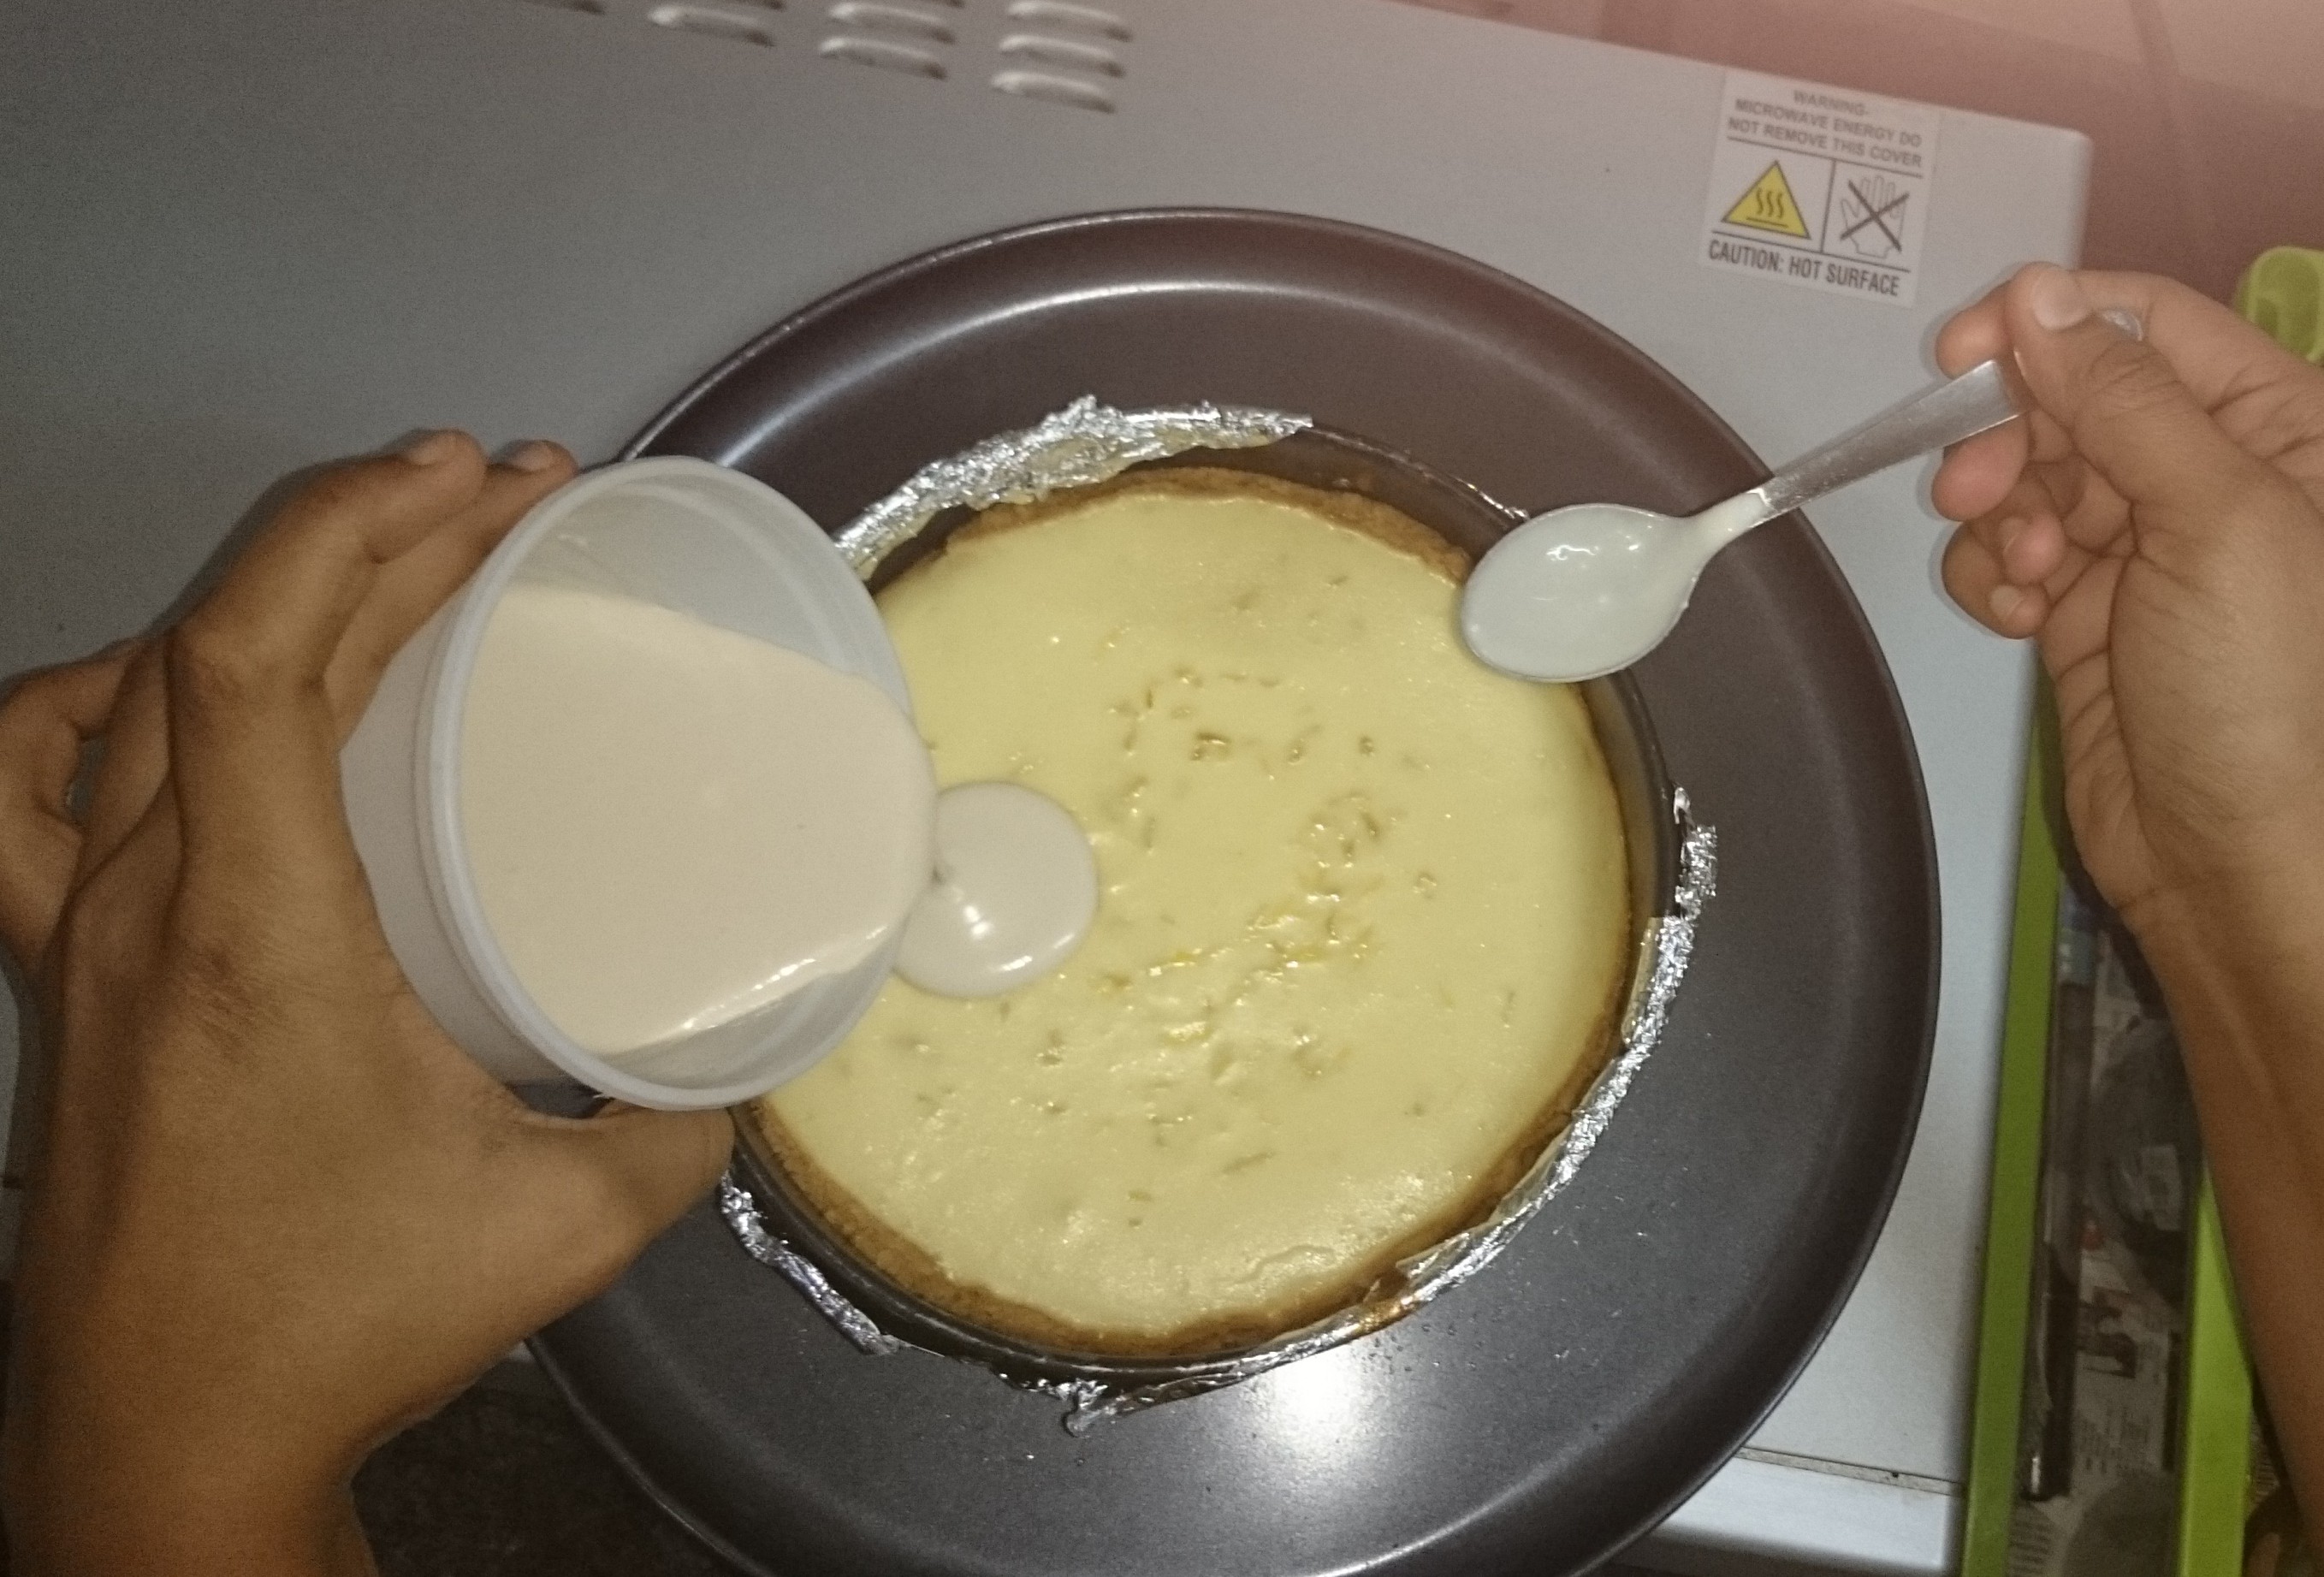
In a small bowl combine the sour cream, sugar, and vanilla extract. Spread the topping over the warm cheesecake and return to oven to bake for 15 more minutes.
After pouring it on the cake, I realized I should have hung the sour cream.
Remove from oven and carefully run a knife or spatula around the inside edge of pan to loosen the cheesecake (helps prevent the surface from cracking as it cools).
Let cool completely before covering with plastic wrap. Refrigerate several hours, preferably overnight. Serve with fresh fruit or fruit sauces.
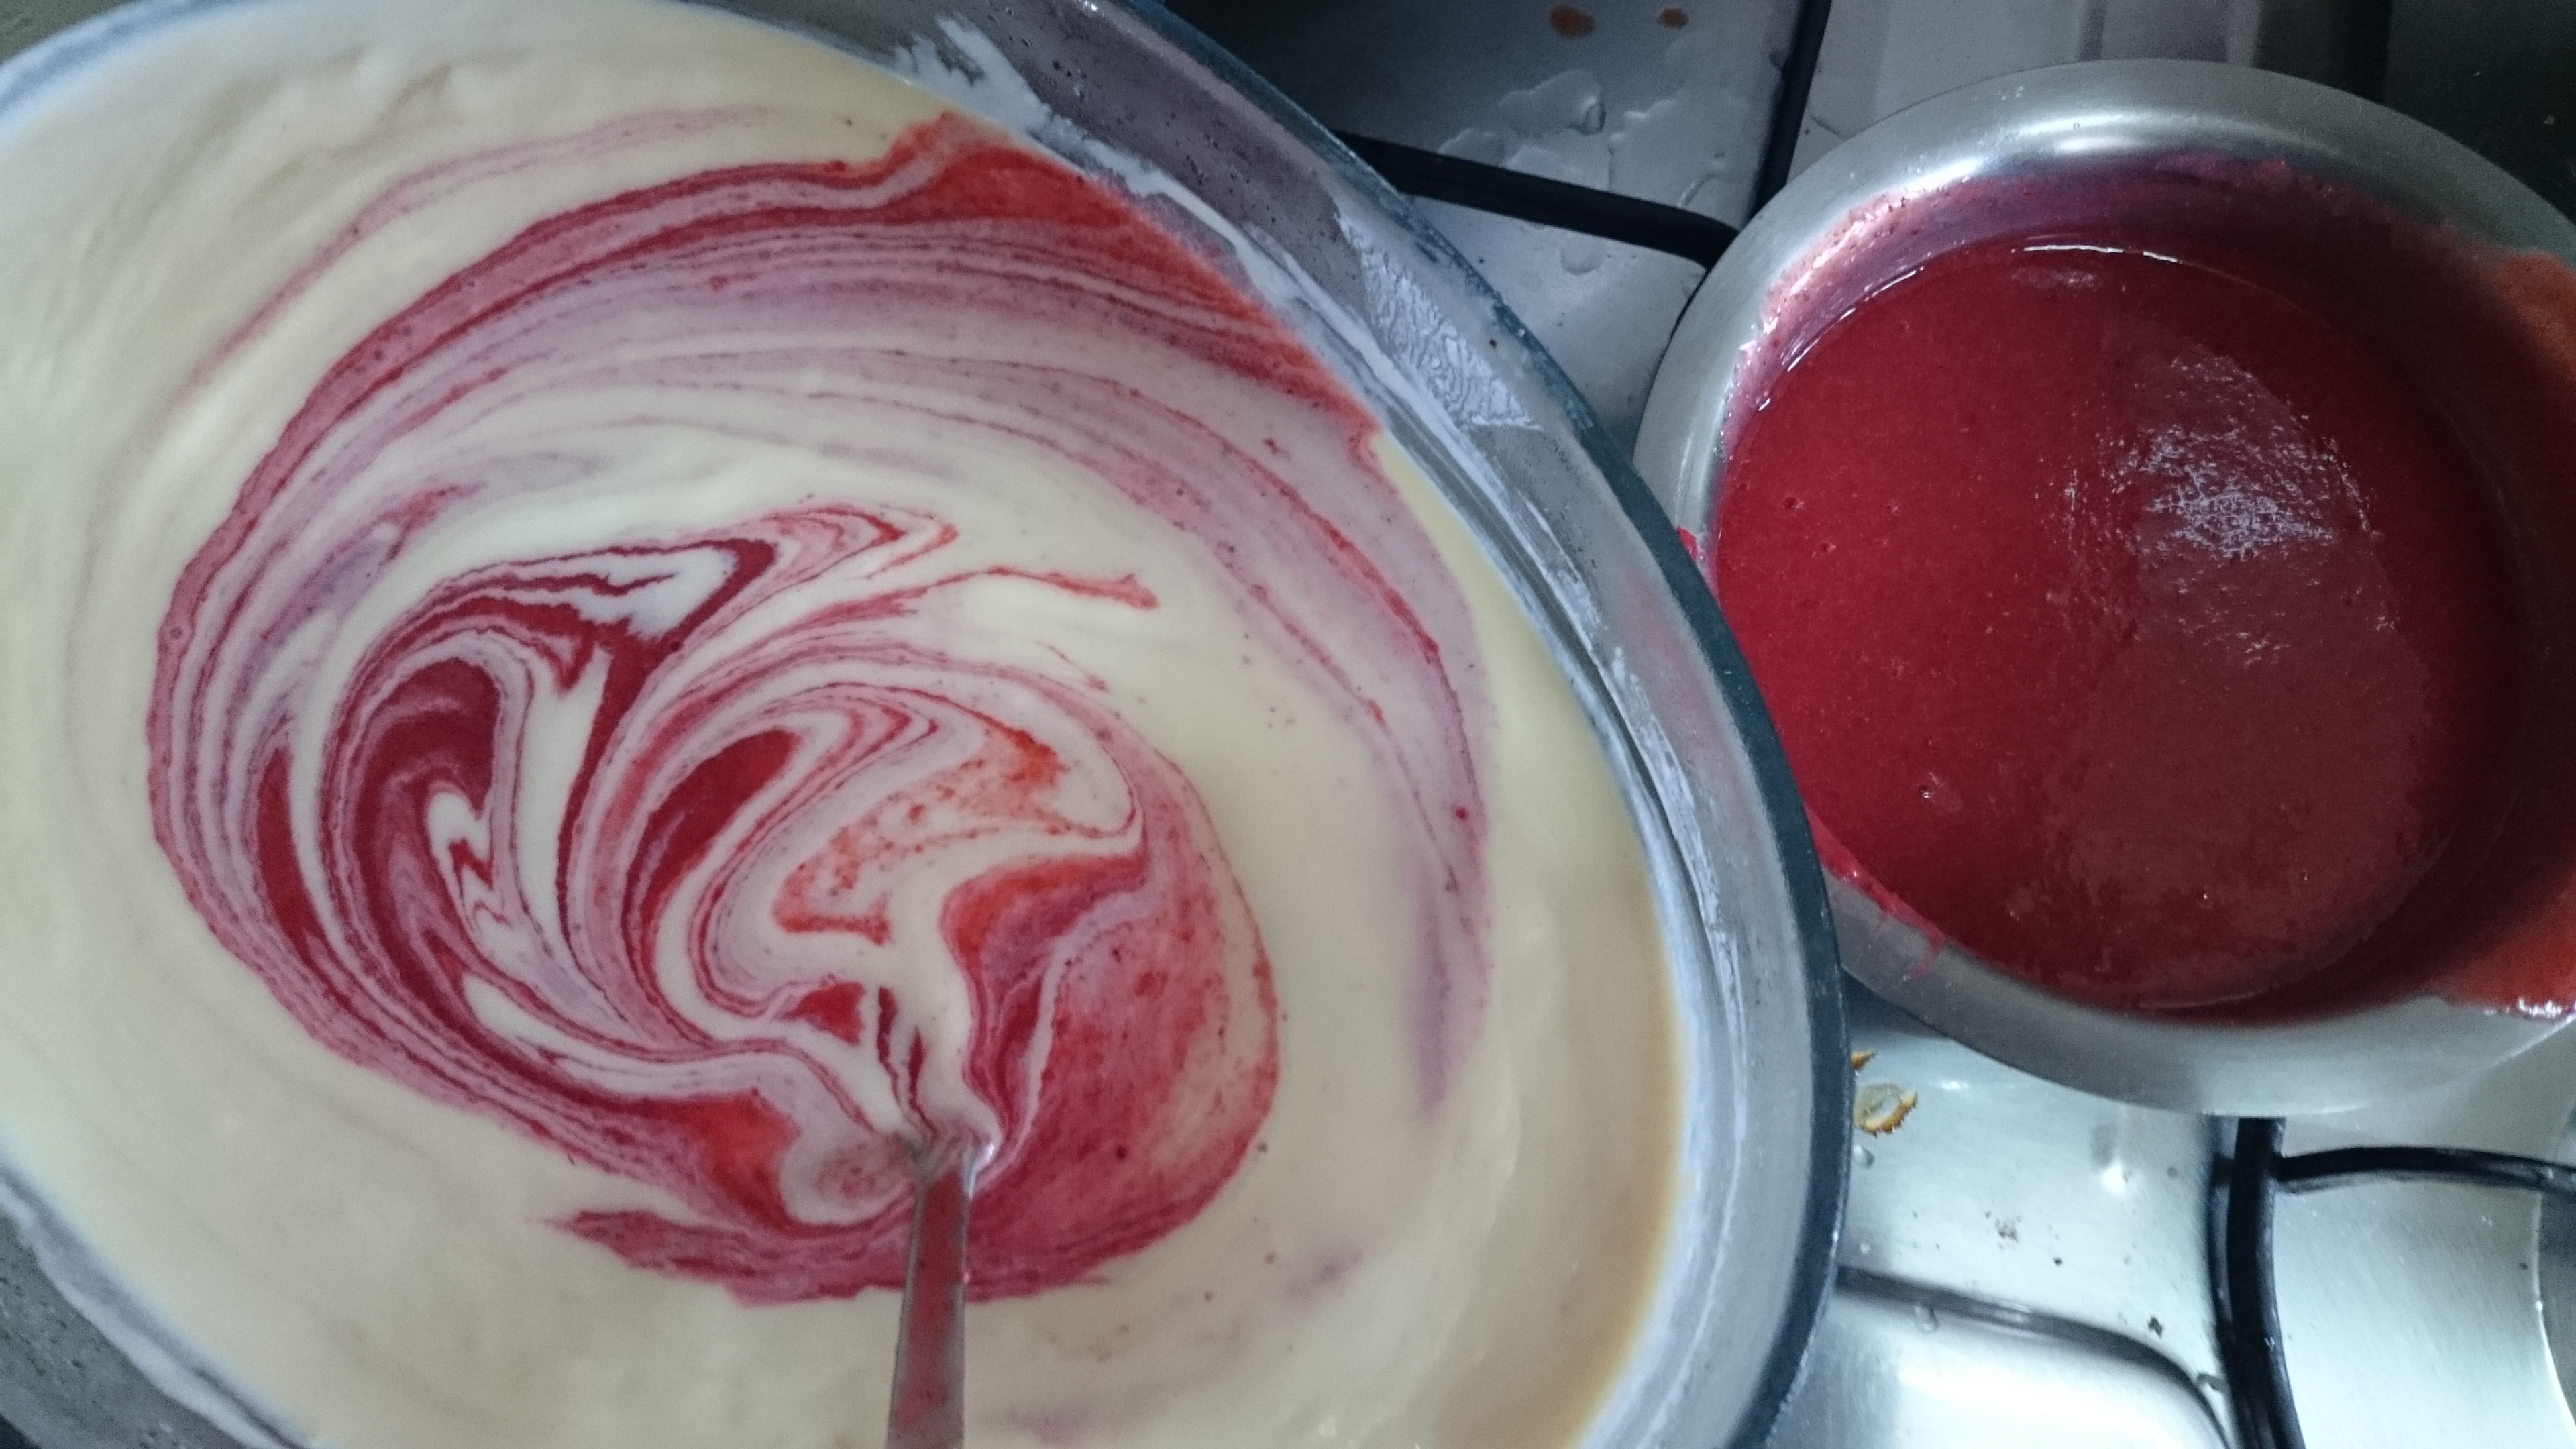
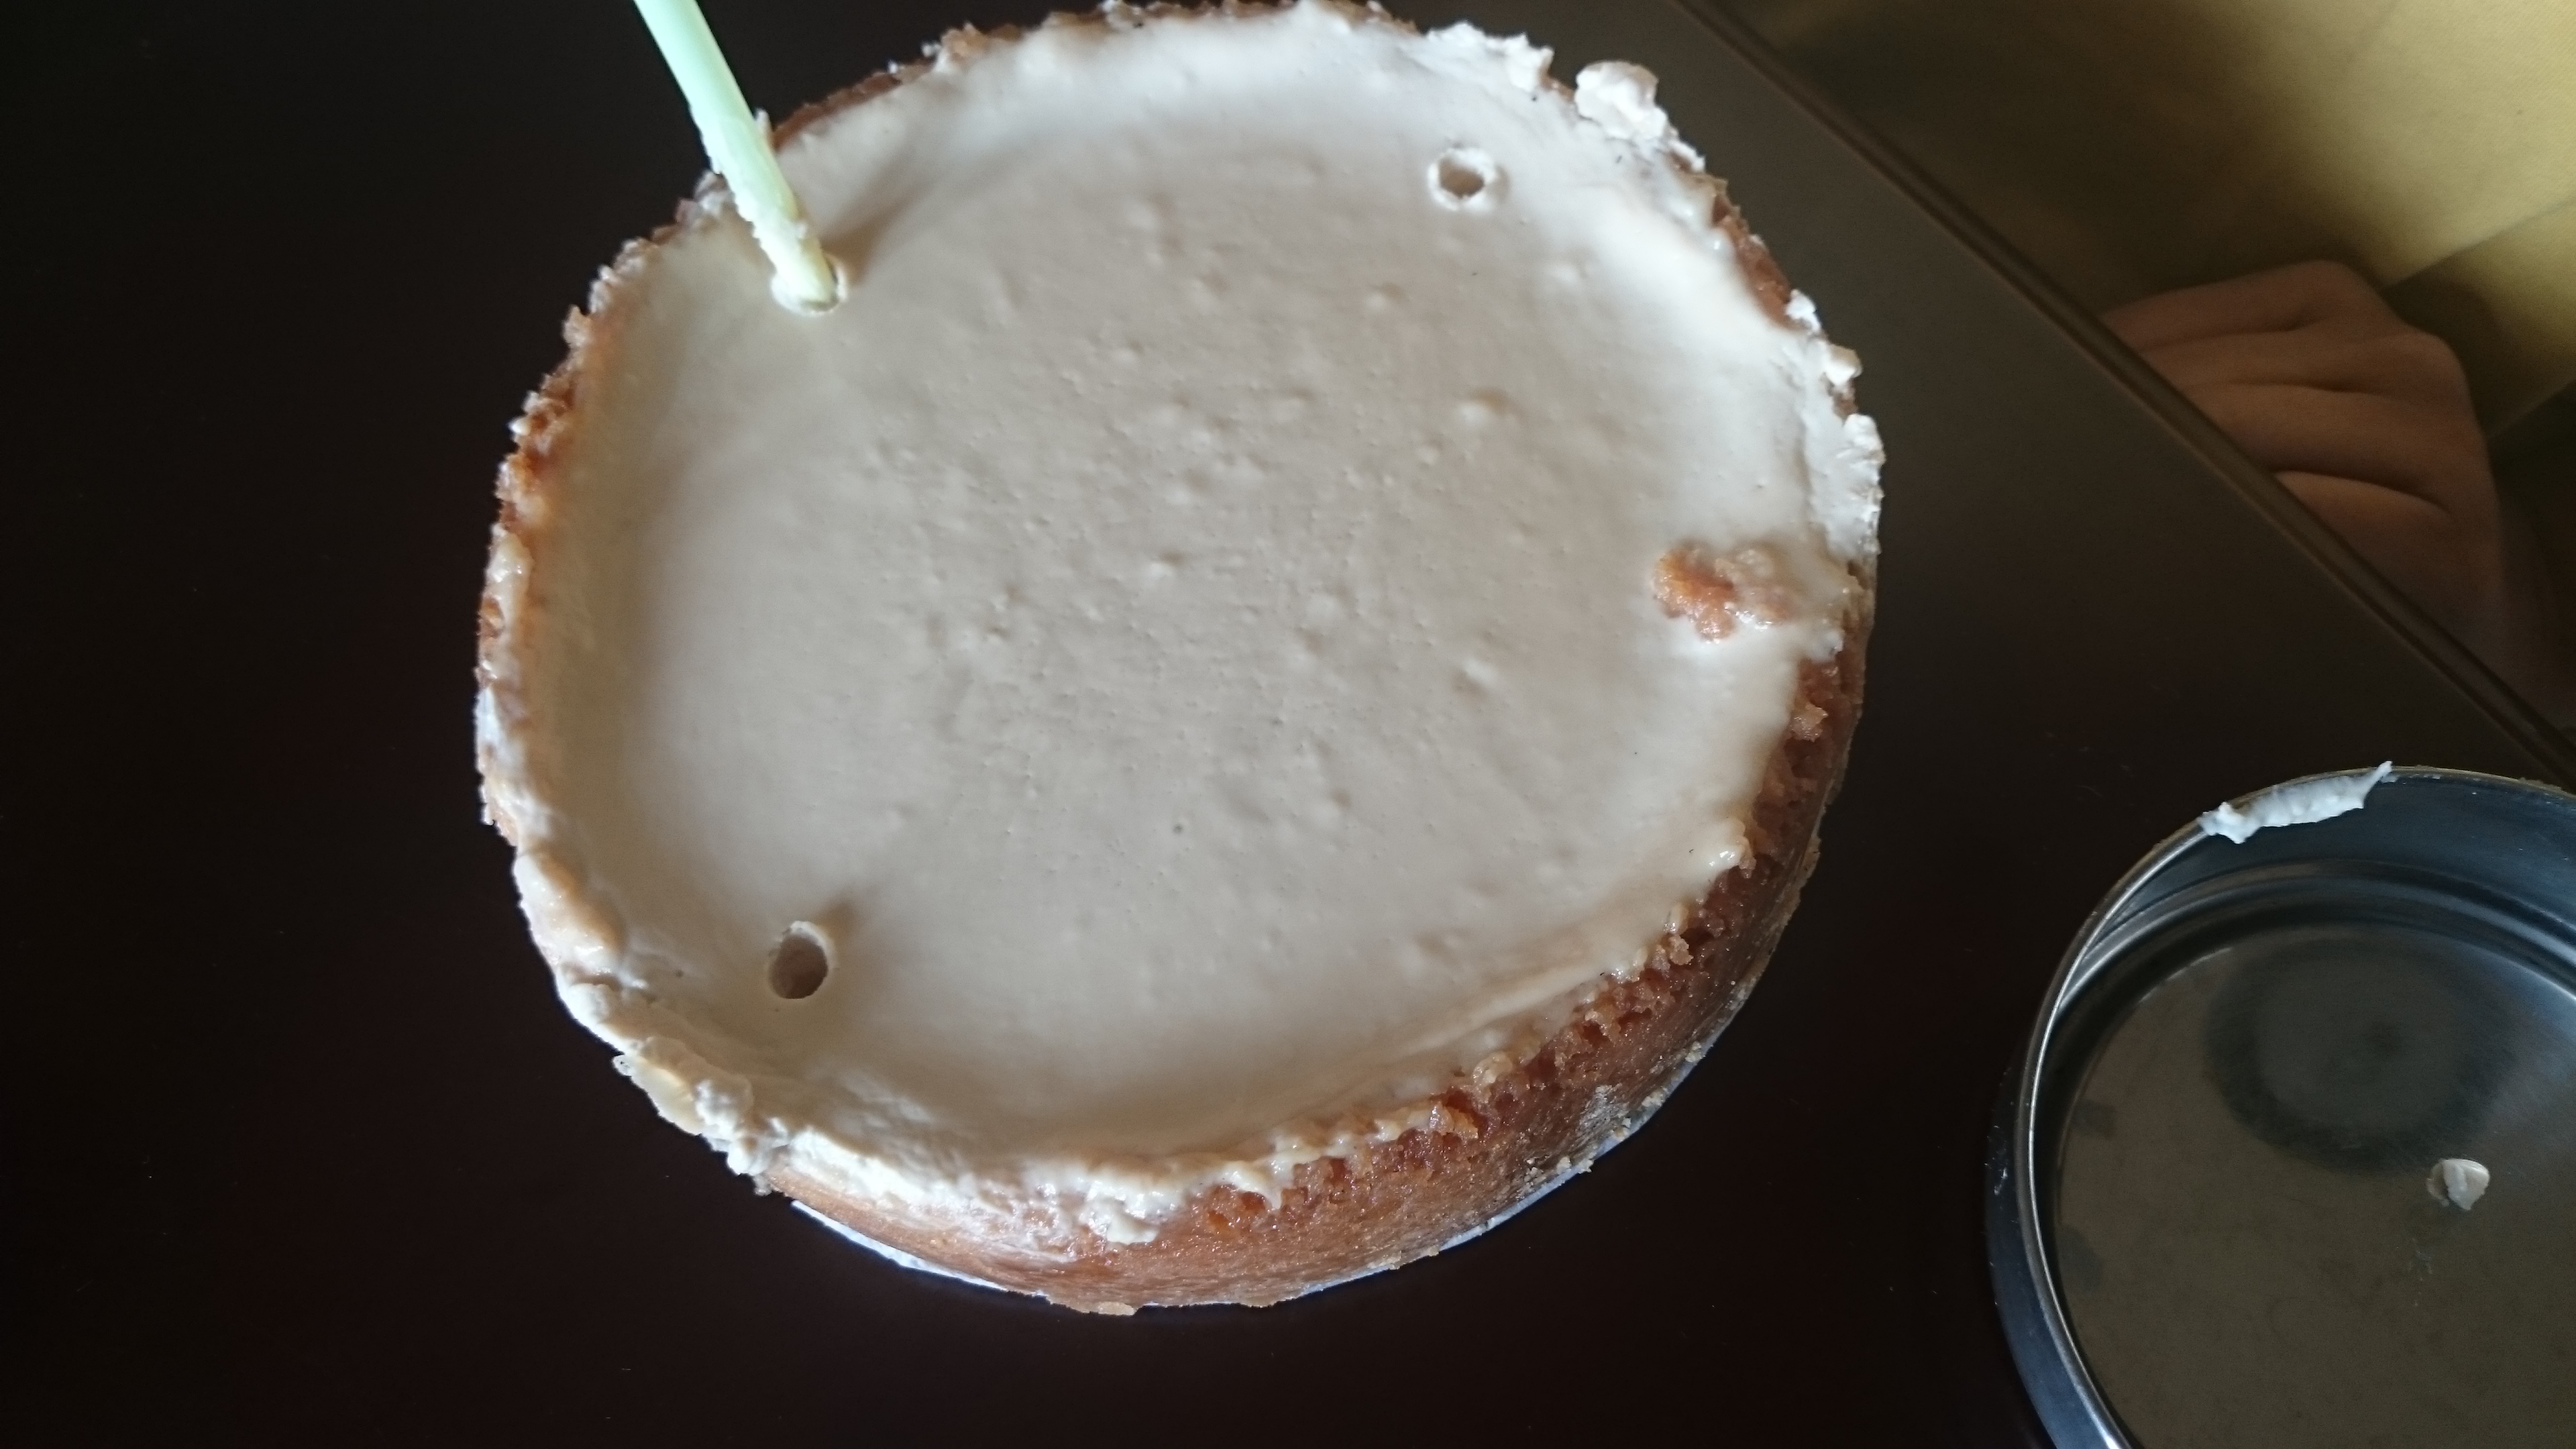
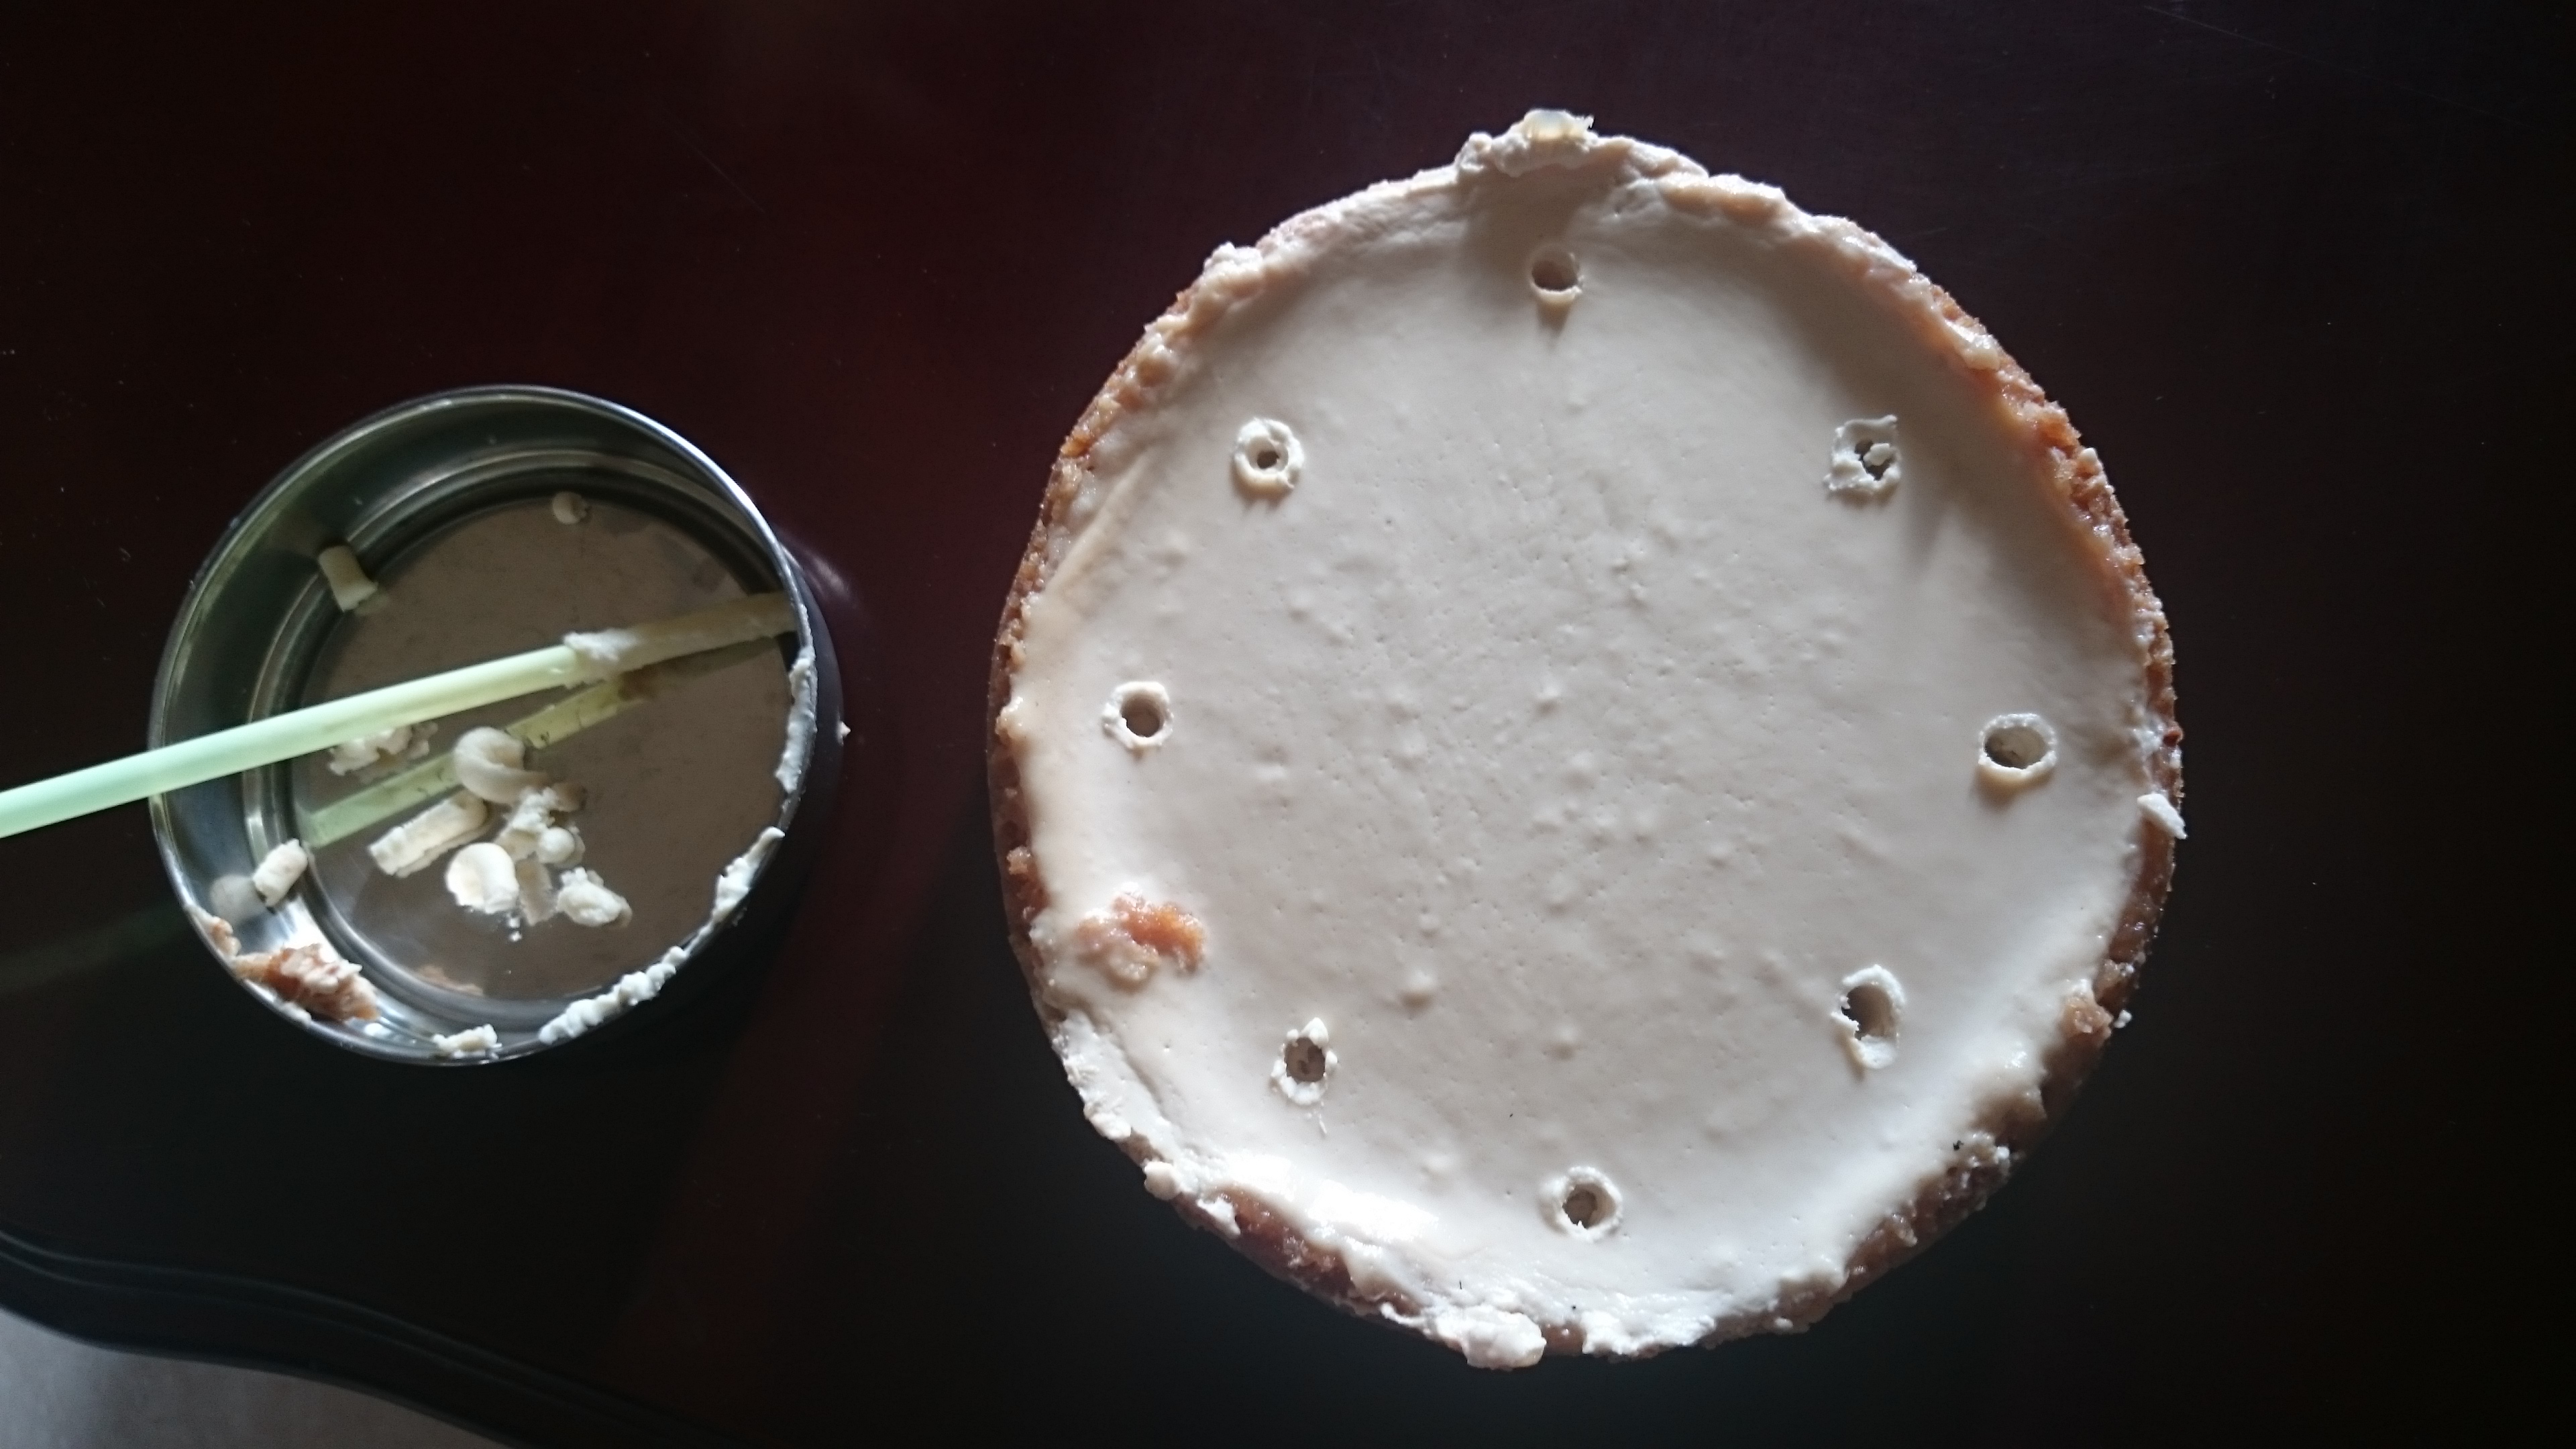
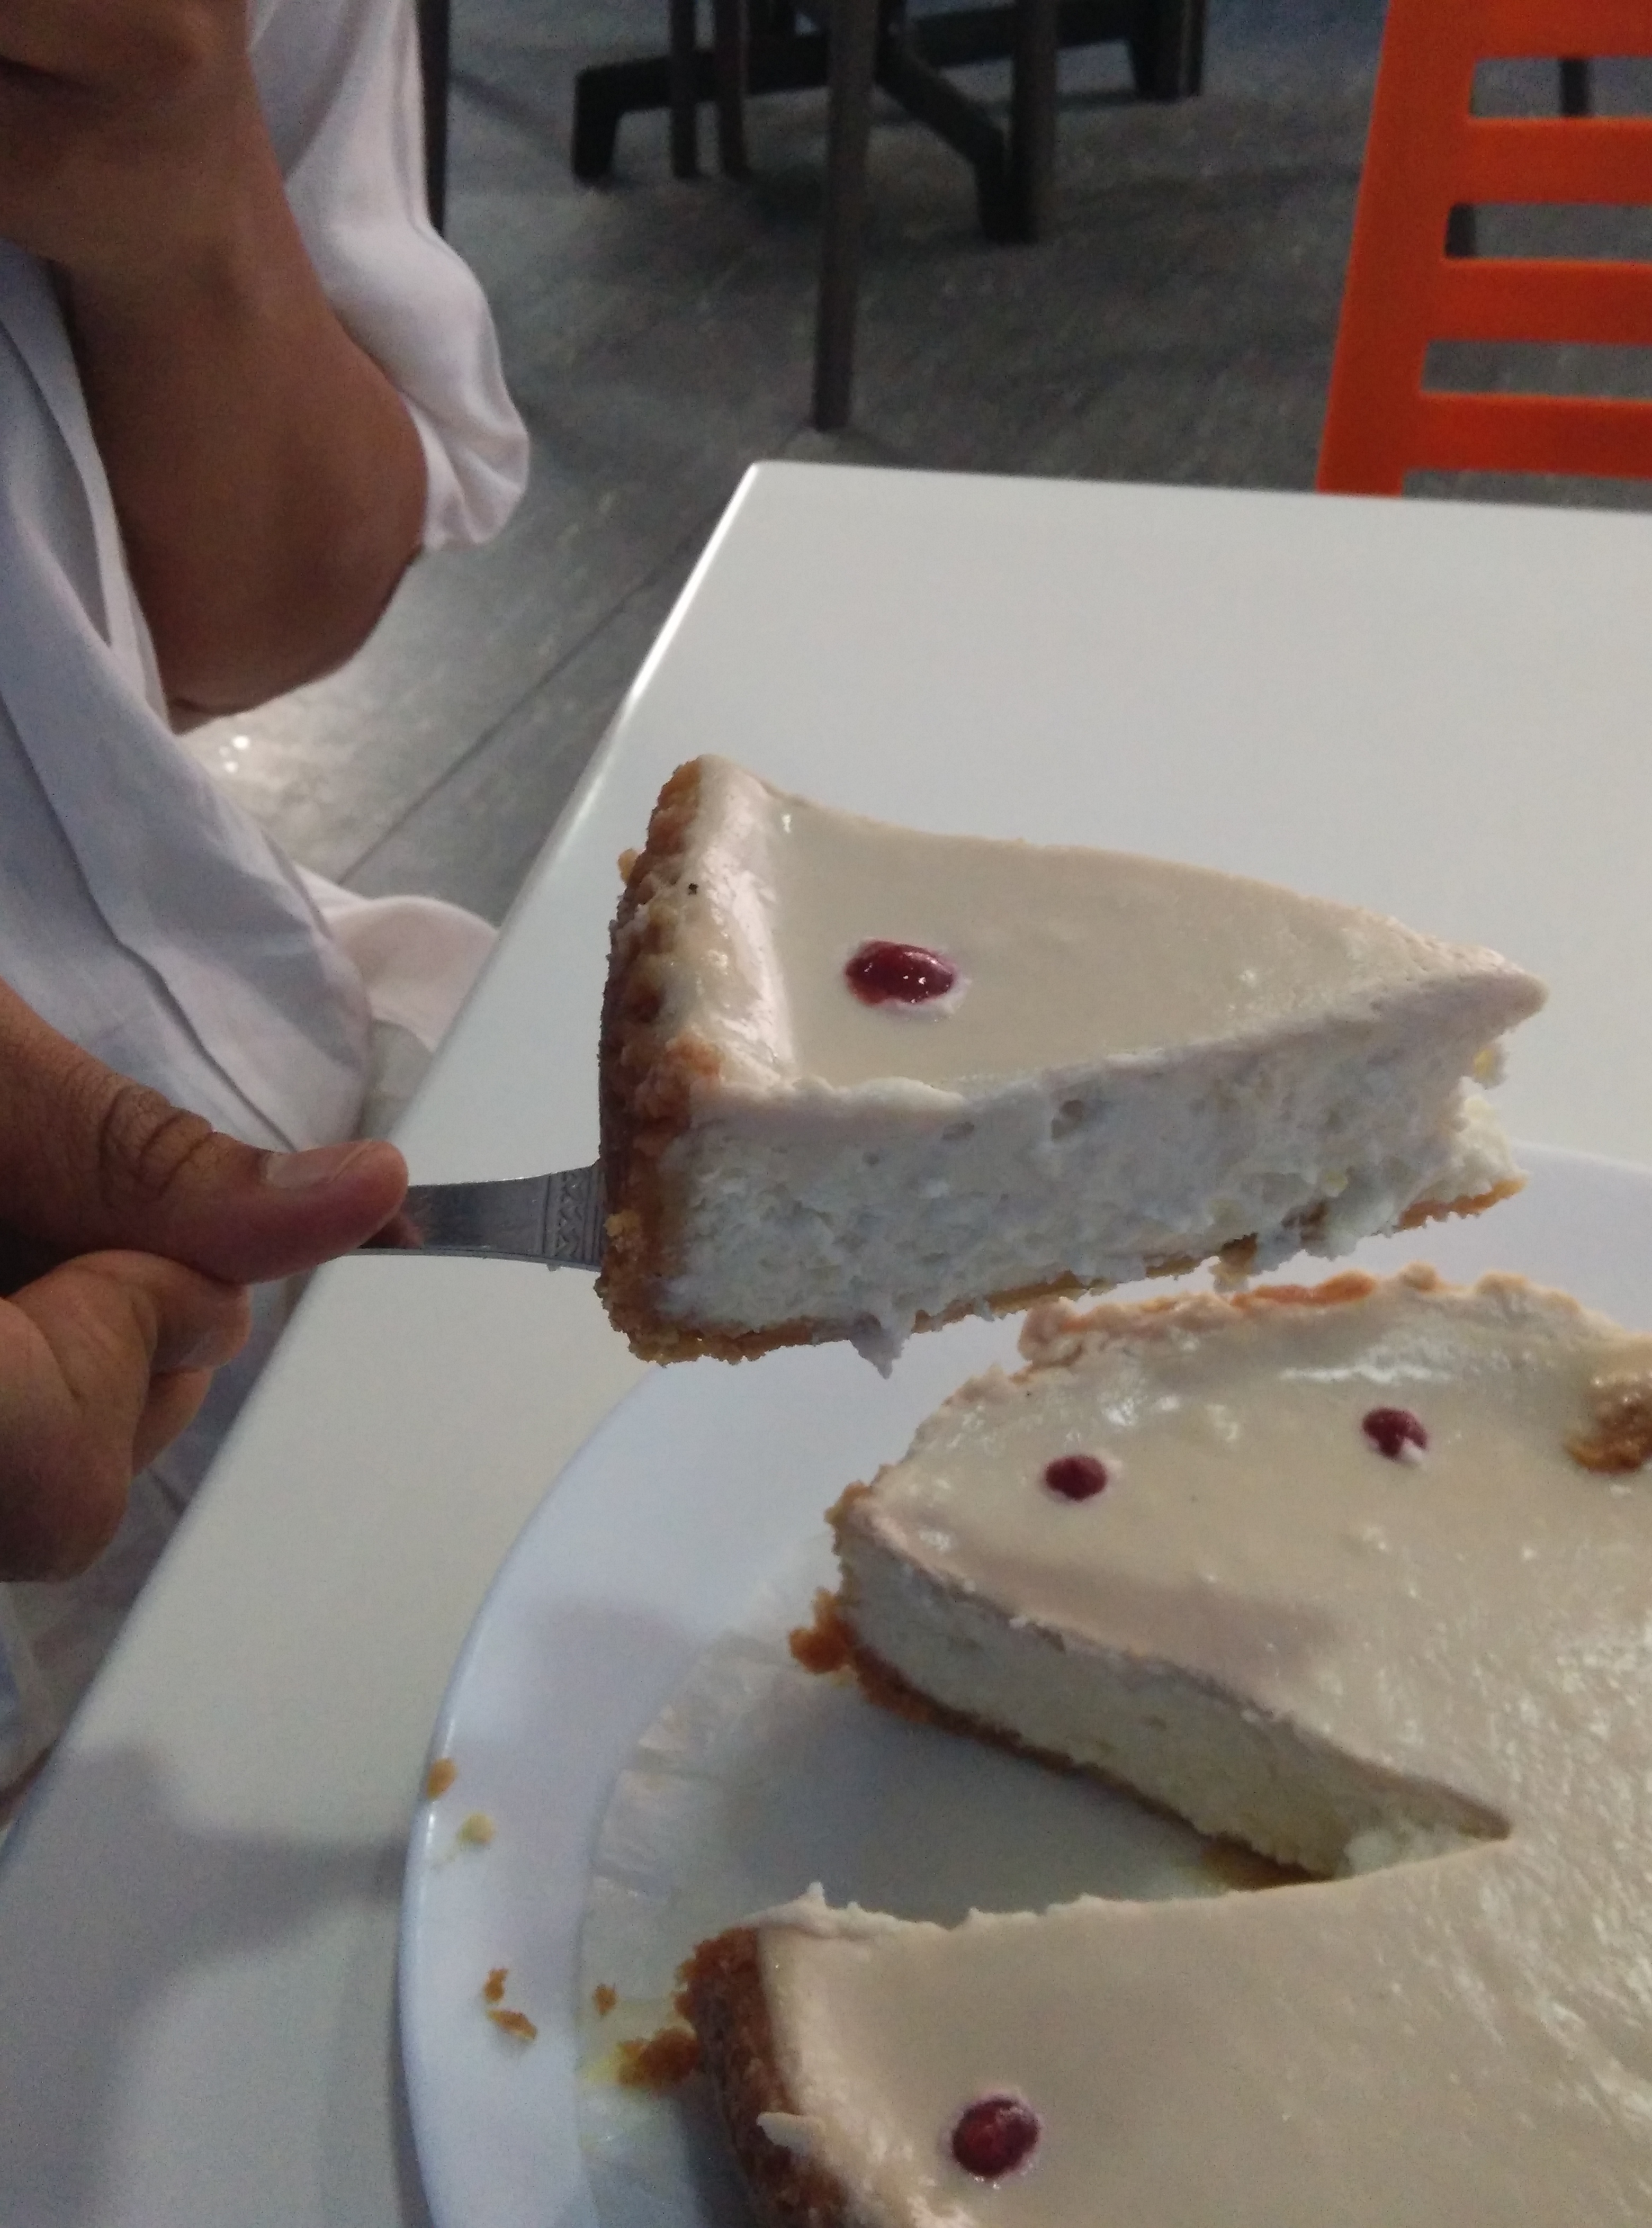
I wanted to pour some strawberry coulis over it, but Ditha didn’t want fruit on it. So I did this
I drilled holes in the cake with a straw and filled it with strawberry puree.
I was so tempted to draw faces on the cake.. If I weren’t making it for Ditha, I so would have.
Eat it not later than half hour since it is out of the refrigerator, else the crust will be soggy.
I am among those few who don’t like chocolate. I am also one among those few who are allergic to chocolate. I don’t fancy chocolate recipes….. unless I believe they are epic. This is one of them.
Anyways I wanted to use the ramekins I bought desperately . I found them at this store called Adams in Shivajinagar, beside Russell Market. They had different colored ramekins, I bought white.
I didn’t do any research for making souffle. Absolute blind trust on Gordon Ramsay.
Ingredients
15 g unsalted butter for greasing
finely grated Chocolate (I skiped this)
Crème pâtissière
10 g Cornflour
100 ml Milk
100 g Dark Chocolate 70% cocoa solids, chopped
40 g egg yolks, maybe from 2 eggs
Meringue
100 g egg whites
75 g caster sugar
1 teaspoon cocoa powder
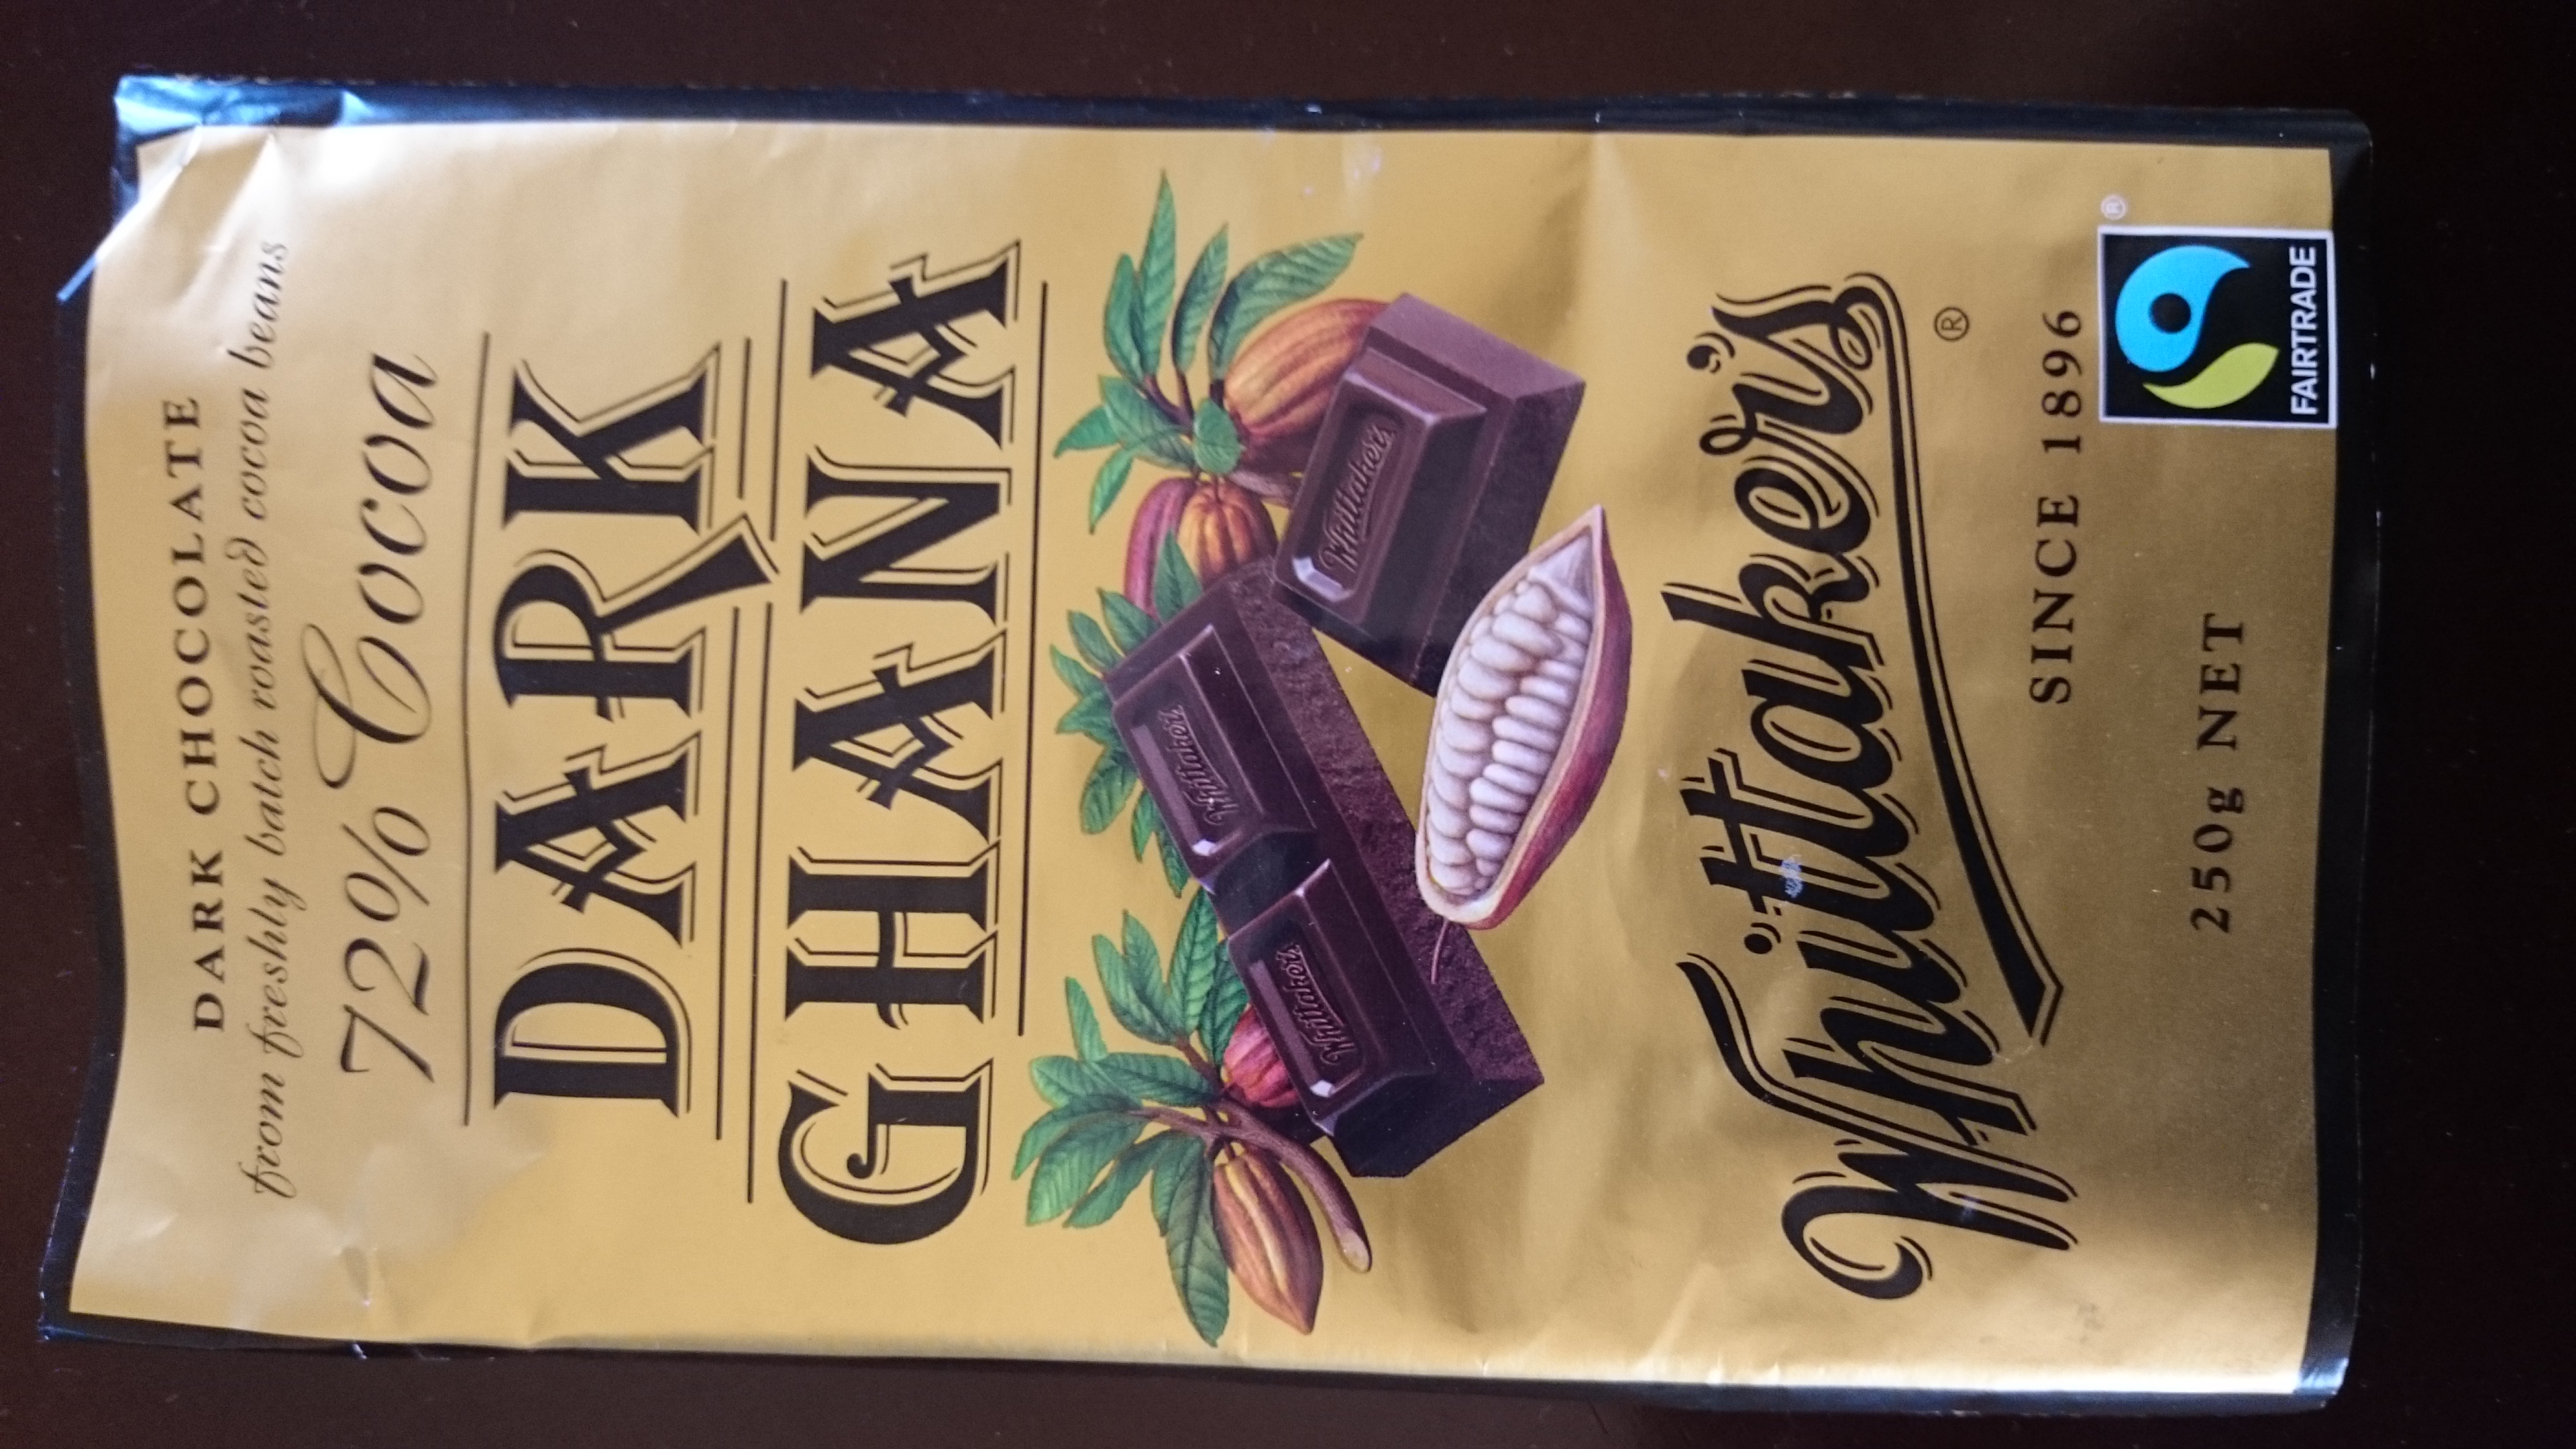
I used this. Always use good quality chocolate.
How to separate eggs
Eggs are easier to separate when cold. have 3 bowls ready.So take them out from the refrigerator. give them a quick wash. Crack the egg in the middle. Pull the top half of the shell and allow the white to fall in to the bowl placed below. try to break the white attached to the yolk using the the shells. Place the yolk in a separate bowl.
Souffle
Preheat oven to 180°C/gas 4.
Brush 4 ramekins with the softened butter in upward strokes, from the base to the rim. Chill the dishes for 5 minutes, then as an insurance policy so the souffle doesn’t stick to the dish, apply a second coat as before.
Sprinkle a little grated chocolate into each dish, tilting and rolling the dishes around to line them with an even layer of chocolate.(I skipped this)
For the crème pâtissière, mix the corn flour with a little of the milk, then gradually add the rest of the milk until you have a smooth mixture.
Pour into a small pan, and slowly bring to the boil, stirring continuously.
Boil for 30 seconds then off the heat, add the chocolate and whisk until smooth.
Beat in the egg yolks until smooth before transferring to a bowl to cool.
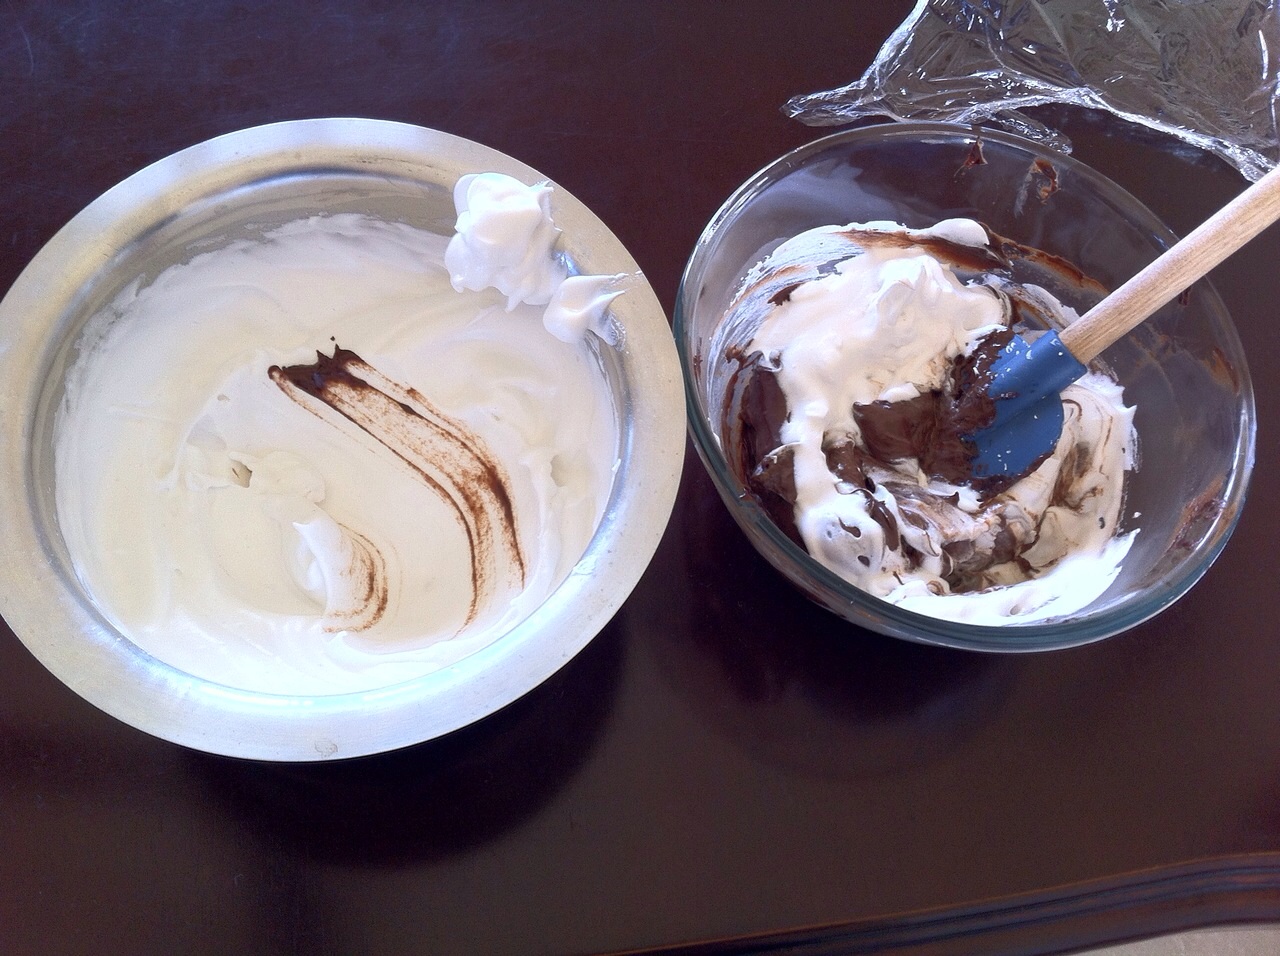
In a different bowl, whisk the egg whites to soft peaks. Gradually start to add in the sugar, whisking well in between each addition.
Once all the sugar has been added, continue to whisk until you have a thick and glossy
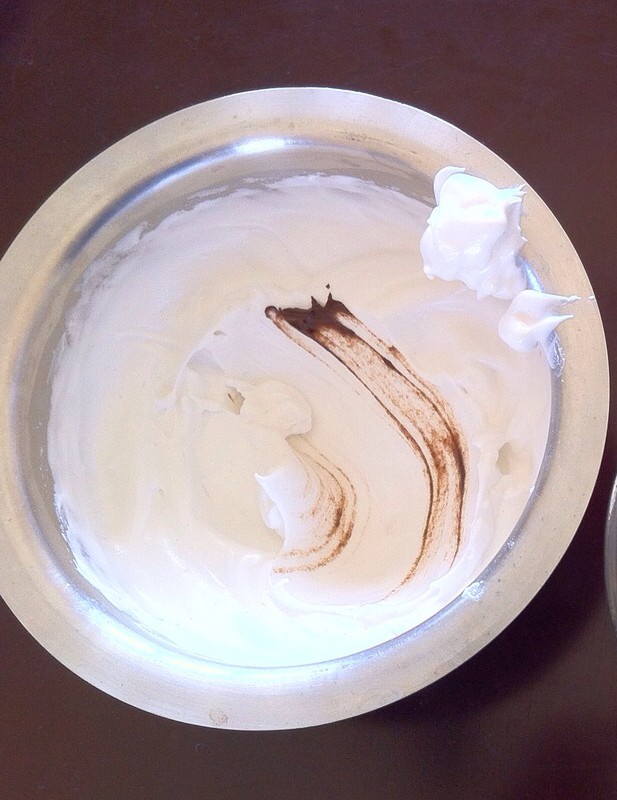
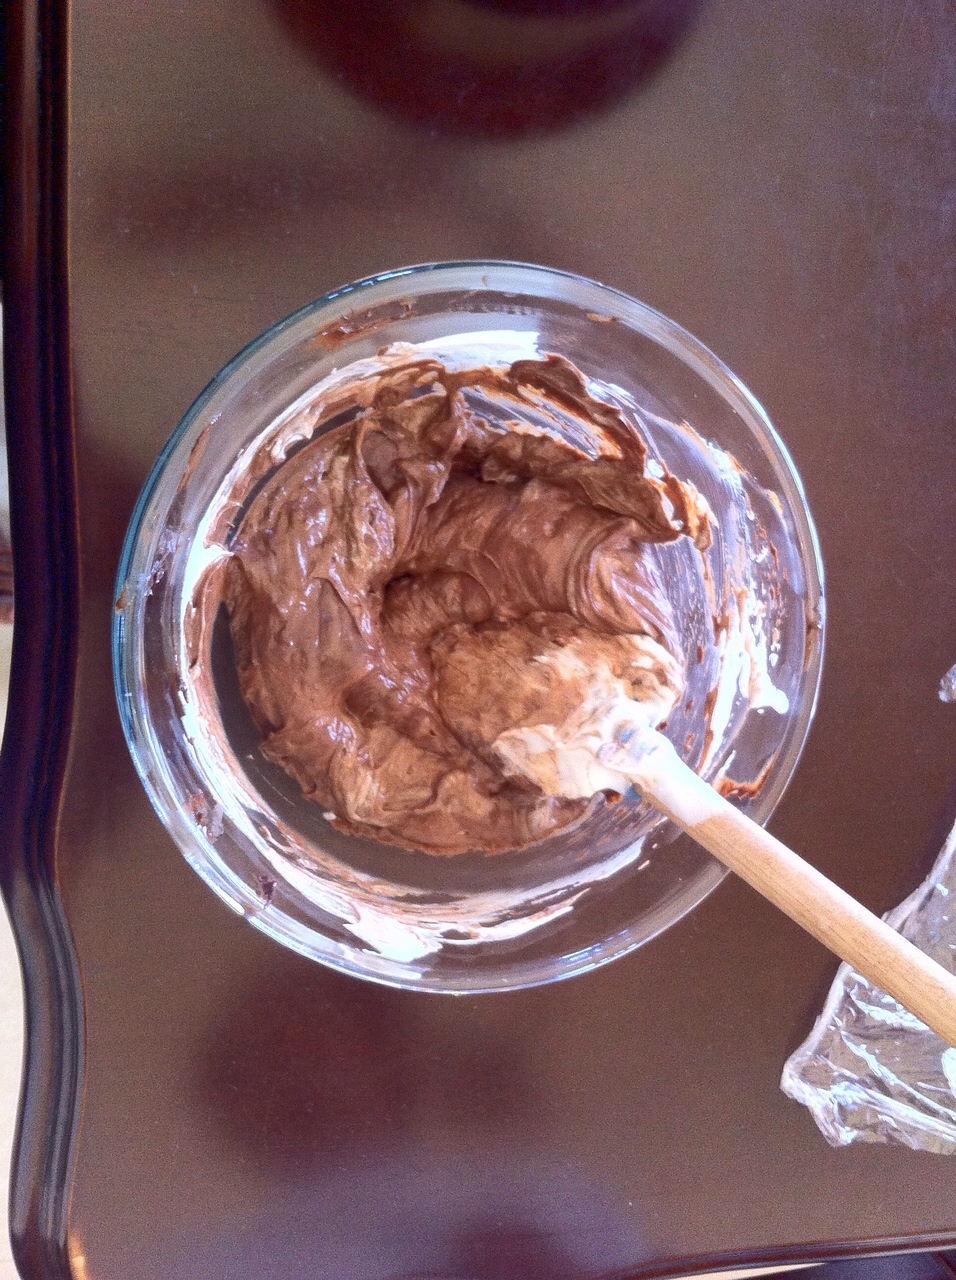
Add one third of the egg whites into the chocolate crème patisserie mixture and mix well.I did the other way round. ha
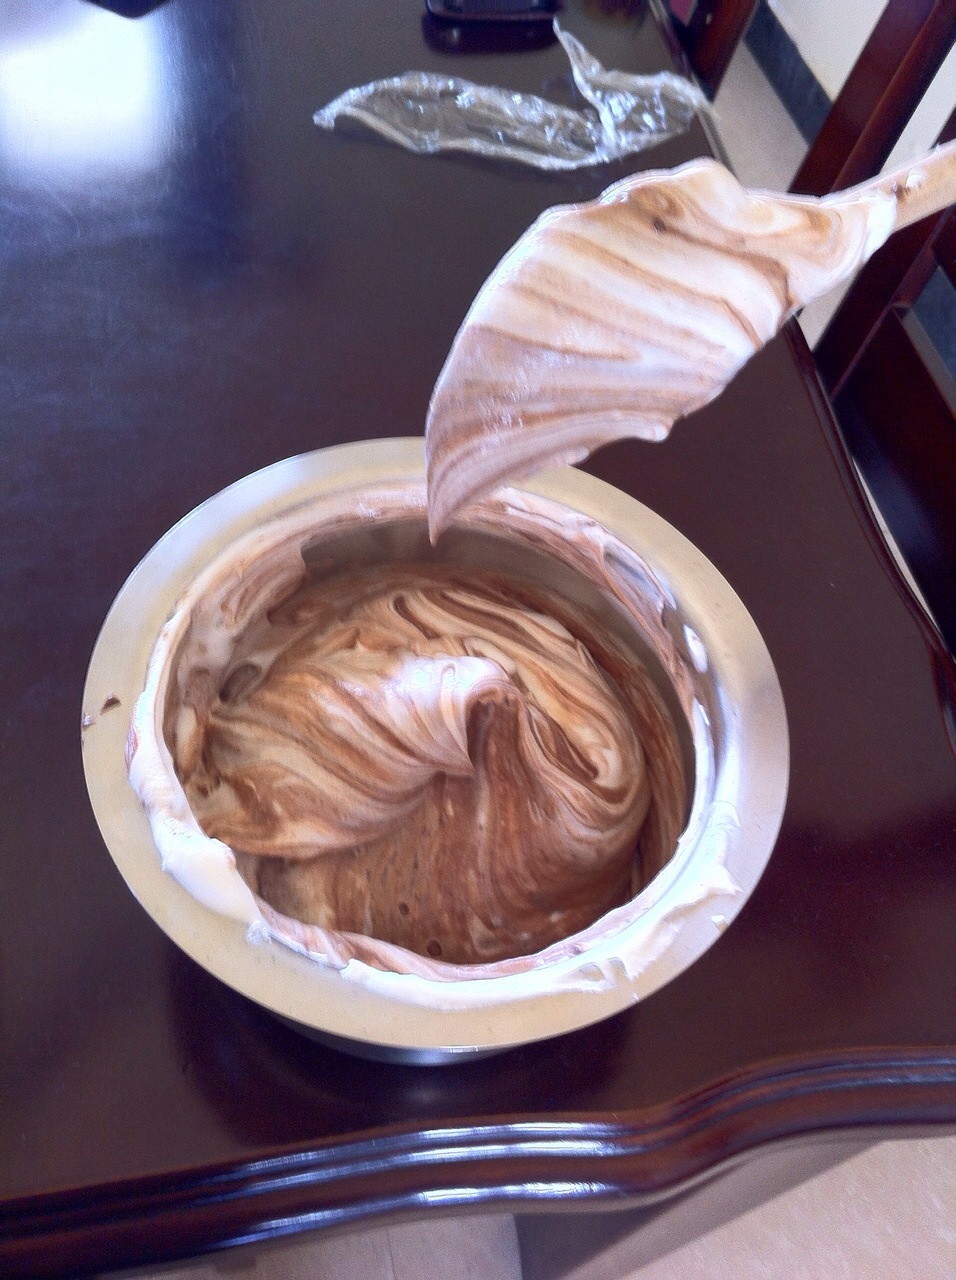
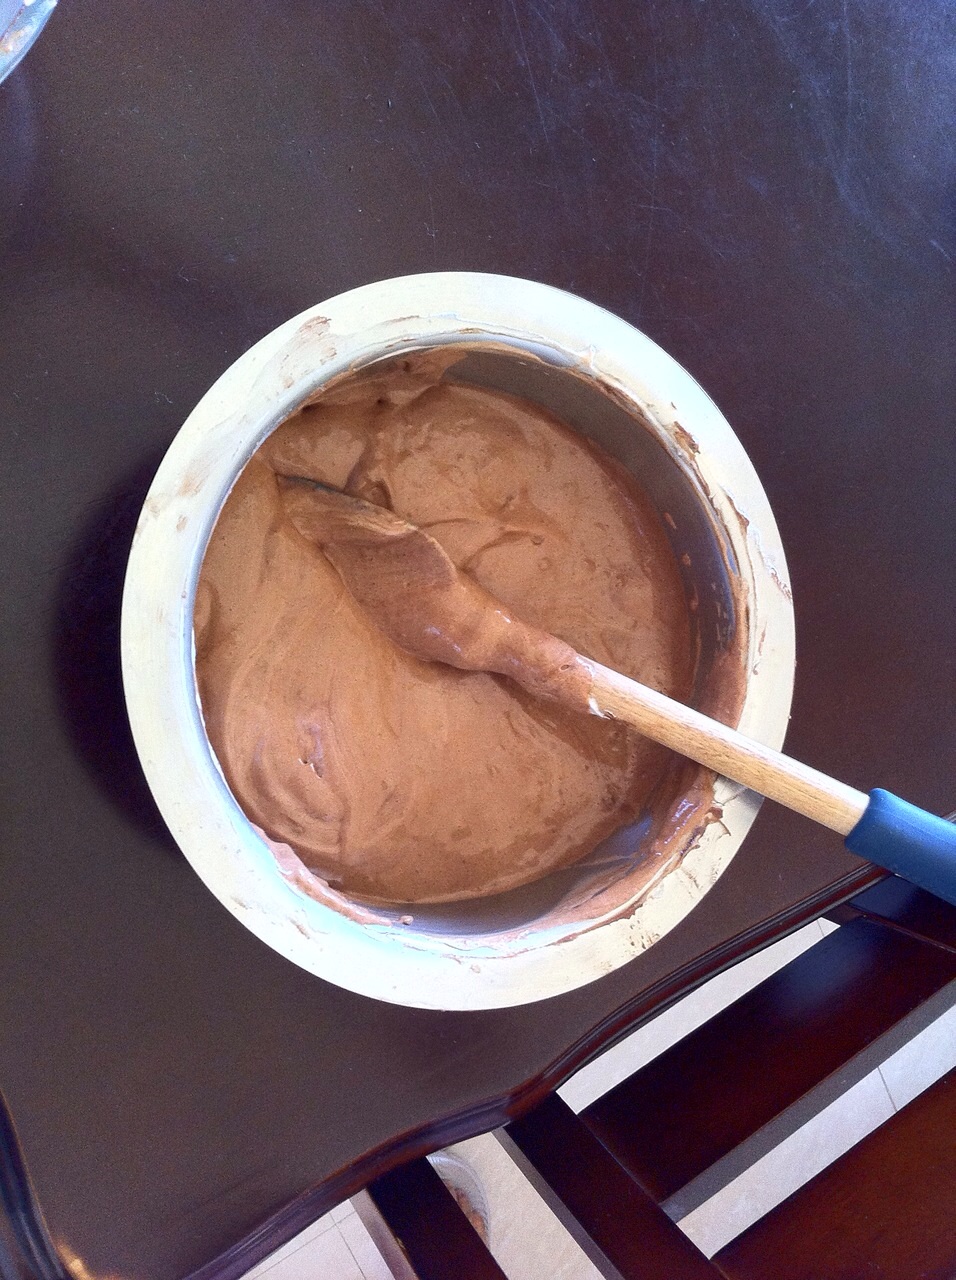
Now add in the remaining egg white and gently fold into the mix. Do not over work the mixture as it will become too hard and stiff.
Divide the mixture between the ramekins.
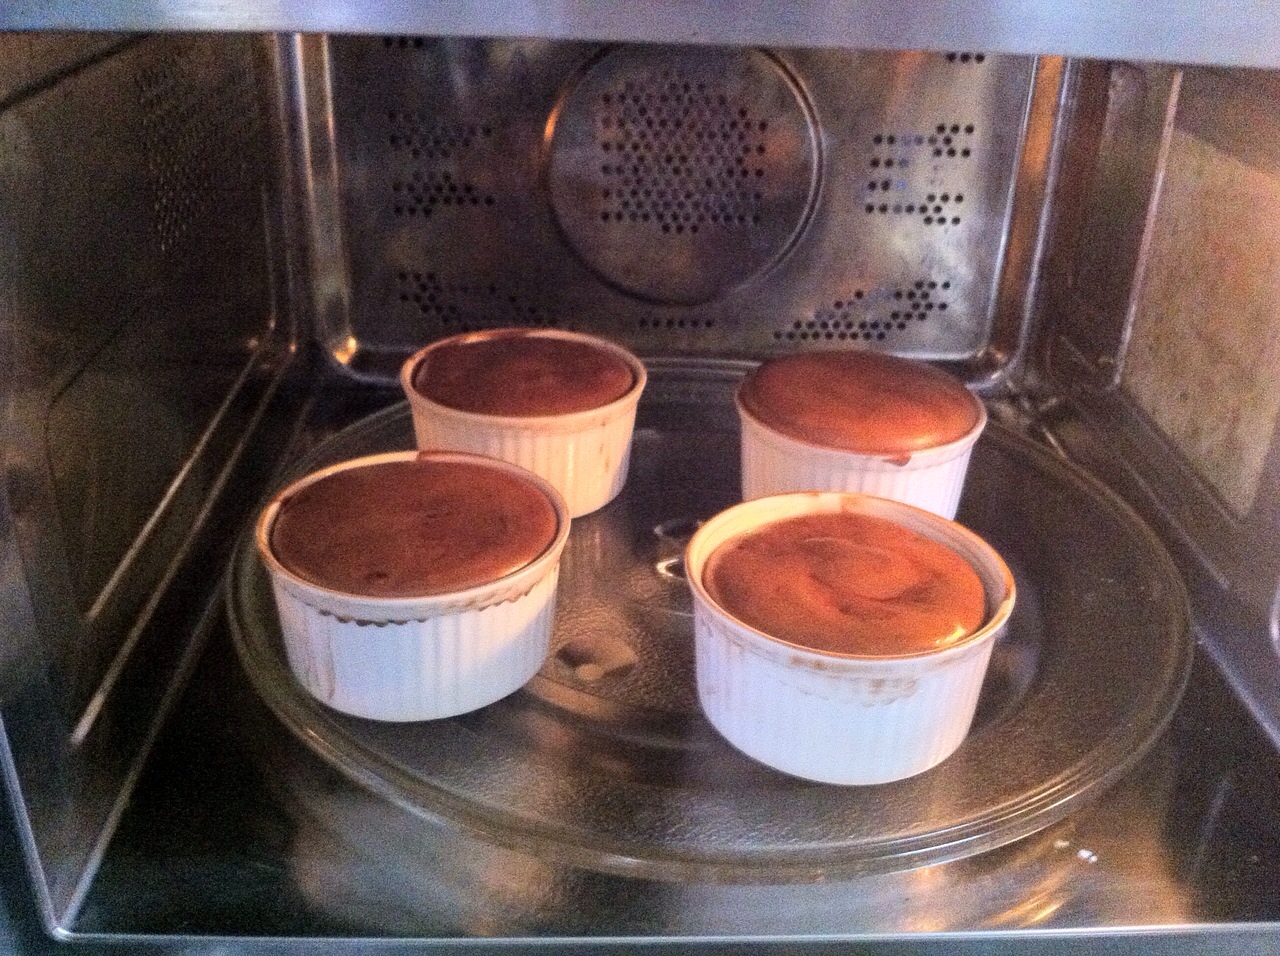
Level the surface with a palate knife then bake for 6-8 minutes, or until well risen and with a slightly wobbly center.
Remove from the oven and dust with the remaining cocoa powder. Serve immediately with a scoop of mint chocolate chip ice cream.
The picture is taken 5 mins after they were taken out of the oven. They didn’t raise as much as they should have. Explanation below.
Mistakes I did:
I over filled the ramekins. I had only 4 . Ideally fill the ramekin just until where its inner circumference suddenly increases.
I kept removing batter from each and re-adjusting the quantity before they went to the oven. This made them lose the air in them in the top 1cm and made it a little heavy on the top. Hence they didn’t raise double the size. They souffles raised only 3cm above the ramekins .
So do NOT overwork the batter. if required keep the ramekins on a scale and pour the appropriate amount of batter into them. similarly pour same amount in other ramekins so they cook consistent.
Also mine took 20-25 mins to cook. the cooking time depends on the type of oven you have and the size of your ramekins, just keep checking every 5 mins.. you will know.
Having said that, it tasted amazing. Just the right amount of bitter sweetness from the good chocolate. Not too light but light enough. they had body.
Sunday. I was sipping my afternoon tea in the balcony.
Watching the trees covering the horizon, I caught myself talking to my plants in the balcony. Then I had this craving to eat something good.. (duh… it wasn’t pakoda that I was missing)
Wondering why I have such a limited choice with high tea, I decided to make myself a yeasted coffee cake. It was certainly not competing with pakodas, guess its in a different league.
Ingredients
2 cups pitted prunes
1 cup water
1/4 cup orange juice
1 tsp orange zest
1/4 tsp salt
1/3 cup brown sugar
I made half of this as I had only 1 cup of prunes
Combine all of the ingredients in a saucepan except for the brown sugar. Stir and bring to a boil for one minute
Reduce heat to medium low, allowing the mixture to simmer slowly and constantly. Cover the pot. Let the mixture simmer covered for 20 minutes, stirring every few minutes.
Remove the lid from the pan. Let the prunes continue to simmer for 3-5 more minutes, stirring frequently, until most of the liquid has evaporated/been absorbed. Keep a close eye on the pan to make sure the prunes don’t burn. When there are about 3 tbsp of liquid left in the pan, remove from heat.
Stir the brown sugar into the prune mixture till brown sugar melts and dissolves
Mash the prune mixture with a potato masher till a smooth puree forms. Run a fork through the mixture to break up any pieces the potato masher missed. You can also use an immersion blender for a smoother puree.
Let the mixture cool to room temperature before using. Store in a sealed, airtight container in the refrigerator. Refrigerating the filling to chill completely will make it easier to work with when filling.
For the Dough
Followed the recipe from here http://www.treats-sf.com/2011/03/yeasted-coffee-cake.html
This can make 2 coffee cakes, you can choose to take half the weight of these and make just one. Ingredients
For the yeast coffee cake dough:
4 cups (600 g ) flour
¼ cup (55 g ) sugar
¾ teaspoon (5 g) salt
1 package (2 ¼ teaspoons / 7g) active dried yeast
¾ cup (180 ml) whole milk
¼ cup (60 ml) water (doesn’t matter what temperature)
½ cup (135 g ) unsalted butter at room temperature
2 large eggs at room temperature
I have had bad experiences with yeast. I never knew how to use it. There are few varieties, rather states of yeast : compressed fresh yeast, active dry yeast, instant yeast. I found the instant yeast at Institute of Baking and Cake Art, Bangalore. It’s a big pack like 250g or so. I have had it for 2 years now and there is still a lot left, if you preserve it properly it will last for few more years, I guess.
Directions:
Prepare the dough:
In a large mixing bowl, combine 1 ½ cups (230 g) of the flour, the sugar, salt and yeast.
In a saucepan, combine the milk, water and butter and heat over medium heat until warm and the butter is just melted. I added 10 saffron threads to the warmed liquid and allowed to steep off of the heat for 10 minutes. This gives the mixture a distinct aroma and flavor and a yellowish-orange hue.
With an electric mixer on low-speed, gradually add the warm liquid to the flour/yeast mixture, beating until well blended. Increase mixer speed to medium and beat 2 minutes.
Add the eggs and 1 cup (150 g) flour and beat for 2 more minutes.
Using a wooden spoon, stir in enough of the remaining flour to make a dough that holds together. Turn out onto a floured surface (use any of the 1 ½ cups of flour remaining) and knead the dough for 8 to 10 minutes until the dough is soft, smooth and elastic, keeping the work surface floured and adding extra flour as needed.
Place the dough in a lightly greased (I use vegetable oil) bowl, turning to coat all sides. Cover the bowl with plastic wrap and a kitchen towel and let rise until double in bulk, 45 – 60 minutes. The rising time will depend on the type of yeast you use and the room temperature. So what I do is, I pre-heat the oven to 140′ and turn it off. now I put the bowl covered with cling film in the oven and wait till the oven temp come down to room temperature. I do this until the dough has risen to required size.( some recipes need us to wait for dough to double and some just need 1 and a half time)
Once the dough has doubled, make the meringue:
For the meringue:
3 large egg whites at room temperature
¼ teaspoon salt
½ teaspoon vanilla
½ cup (110 g / 4 oz.) sugar
In a clean mixing bowl – ideally a plastic or metal bowl so the egg whites adhere to the side (they slip on glass) and you don’t end up with liquid remaining in the bottom – beat the egg whites with the salt, first on low-speed for 30 seconds, then increase to high and continue beating until foamy and opaque. Add the vanilla then start adding the ½ cup sugar, a tablespoon at a time as you beat, until very stiff, glossy peaks form.
For the filling:
1 cup (110 g) chopped pecans or walnuts
2 Tablespoons (30 g) granulated sugar
¼ teaspoon ground cinnamon
1 cup (170 g) coarsely chopped chocolate
1 cup of plum butter
In a small bowl, combine the cinnamon and sugar for the filling if using. You can add the chopped nuts to this
Assemble the Coffee Cakes:
Line 2 baking/cookie sheets with parchment paper.
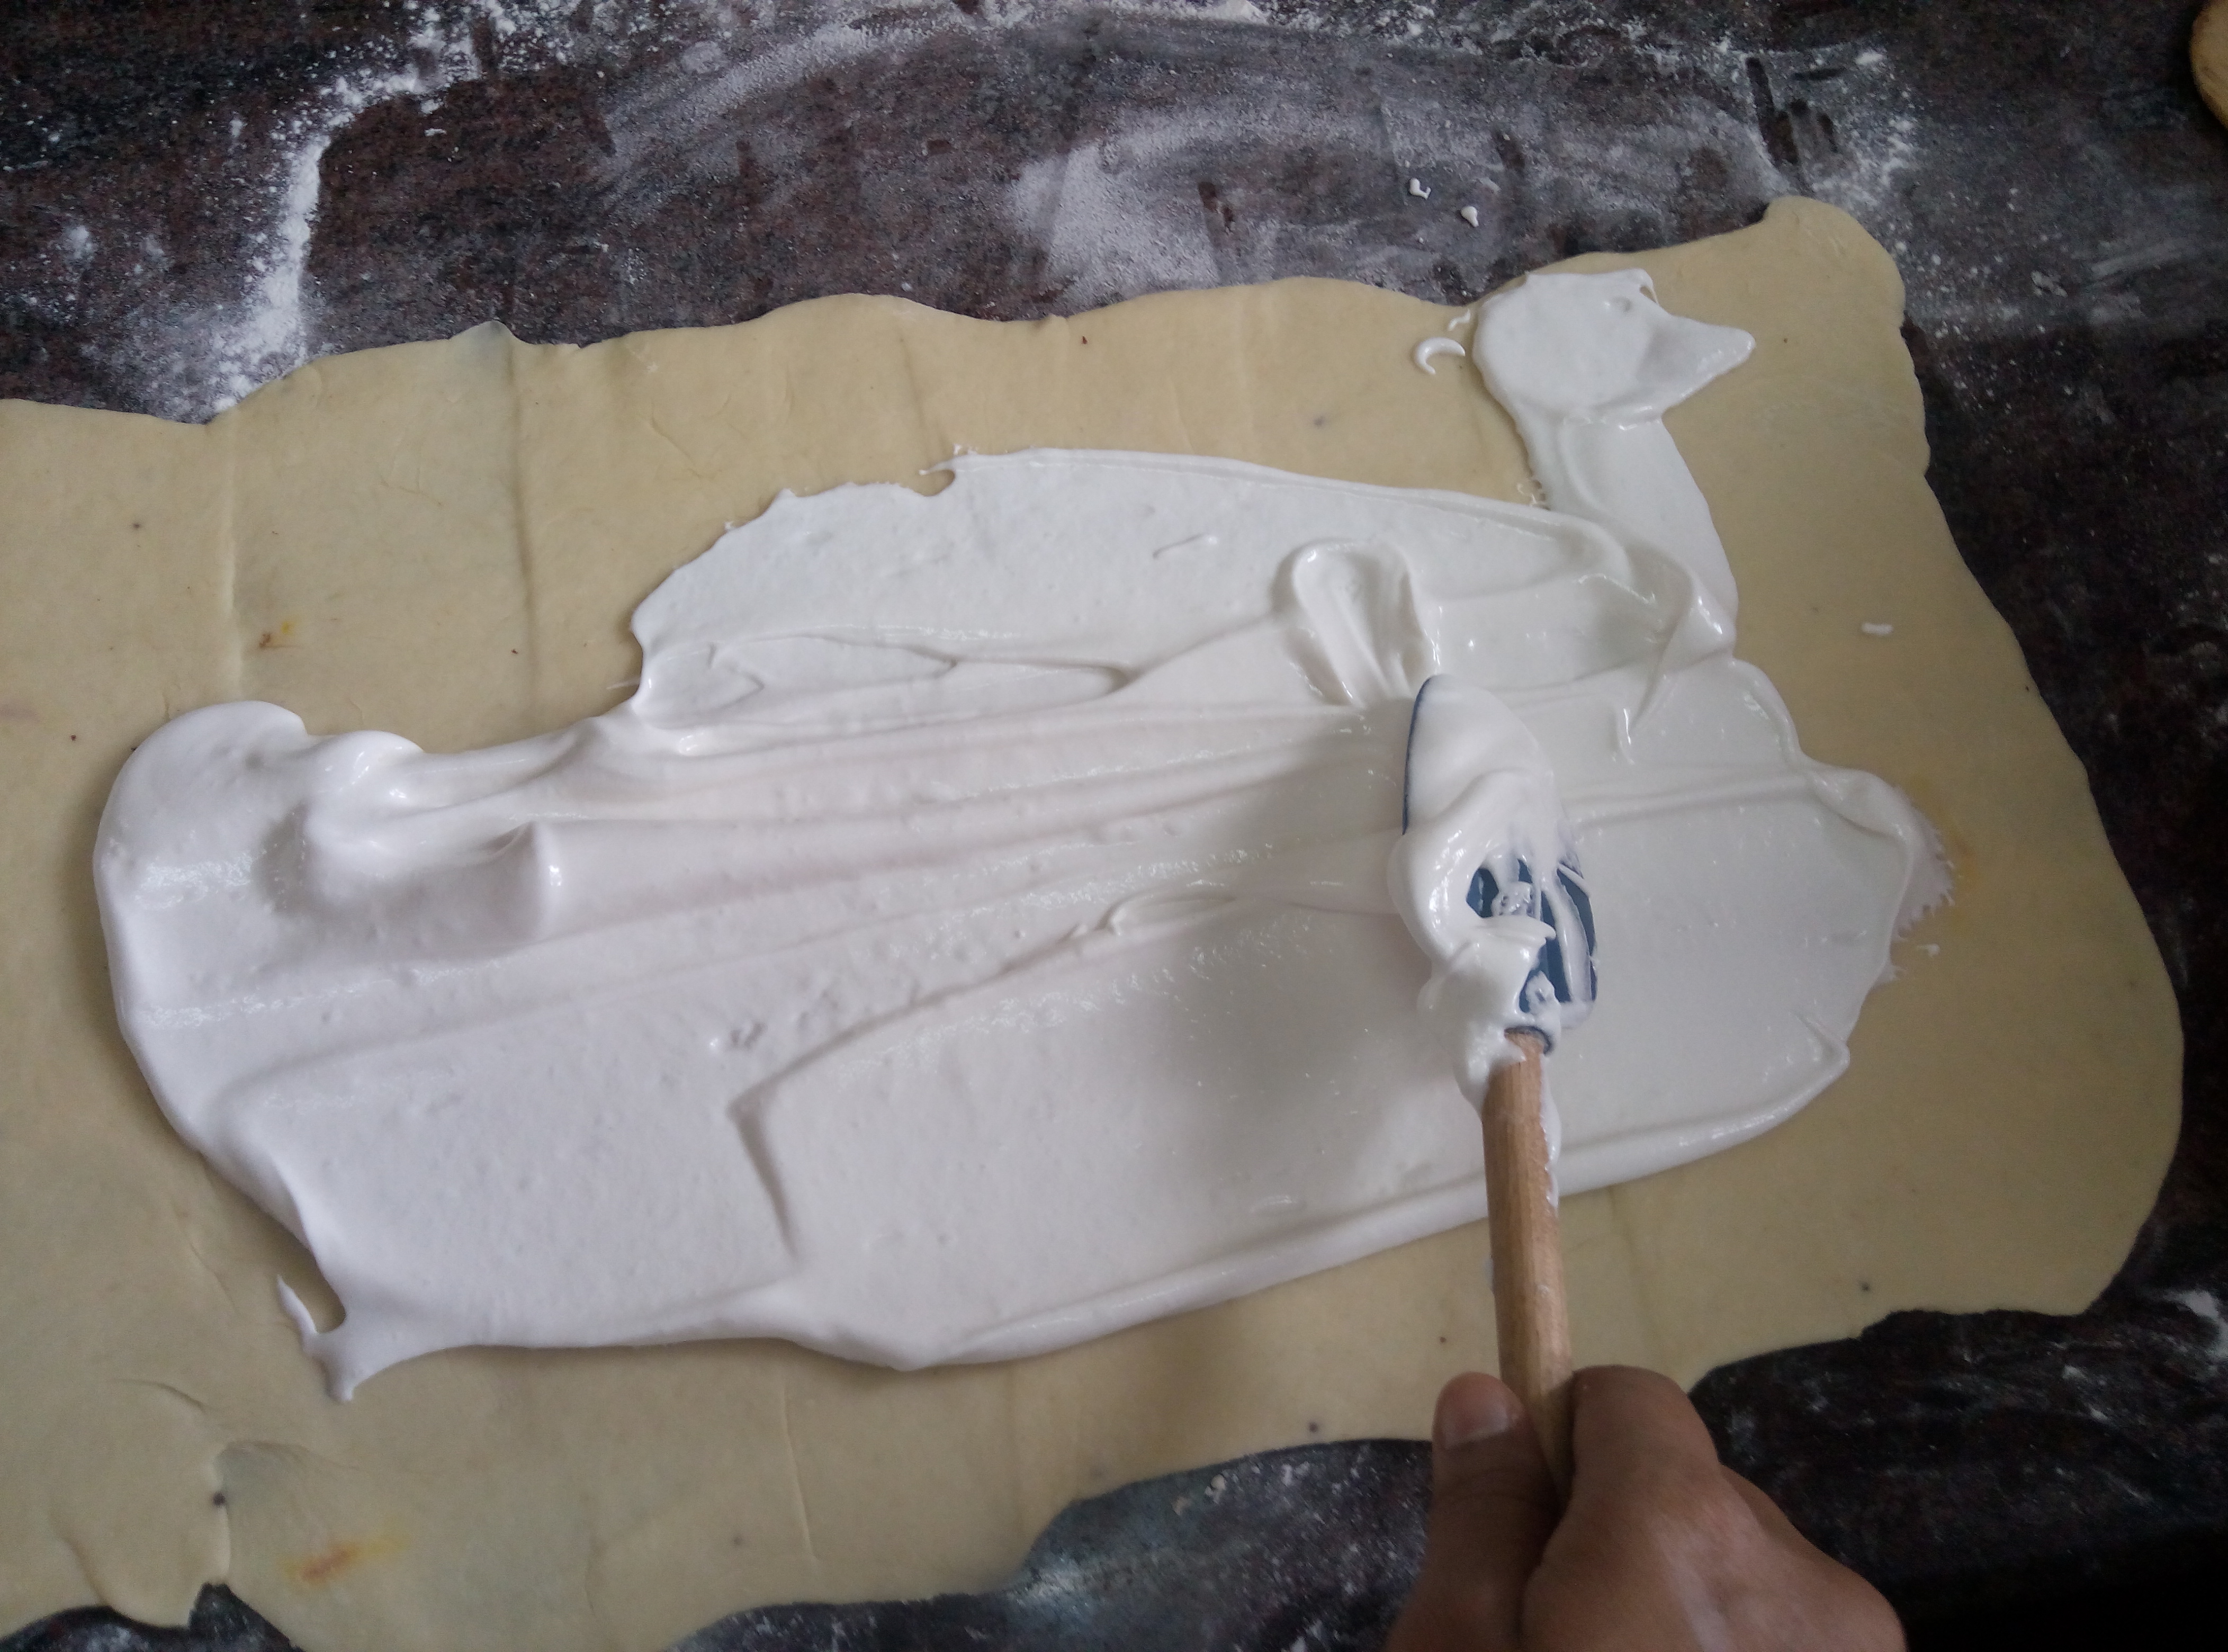
Spread half of the meringue evenly over the rectangle up to about 1/2-inch (3/4 cm) from the edges.
I had some almonds, pisthachios, walnut, cranberries, candied orange peal and some good quality chocolate.
Sprinkle half of your filling of choice evenly over the meringue (ex: half of the cinnamon-sugar followed by half the chopped nuts and half of the chocolate chips/chopped chocolate). Then I put the prune butter.
Roll up the dough jellyroll style, from the long side.
Pinch the seam closed to seal.
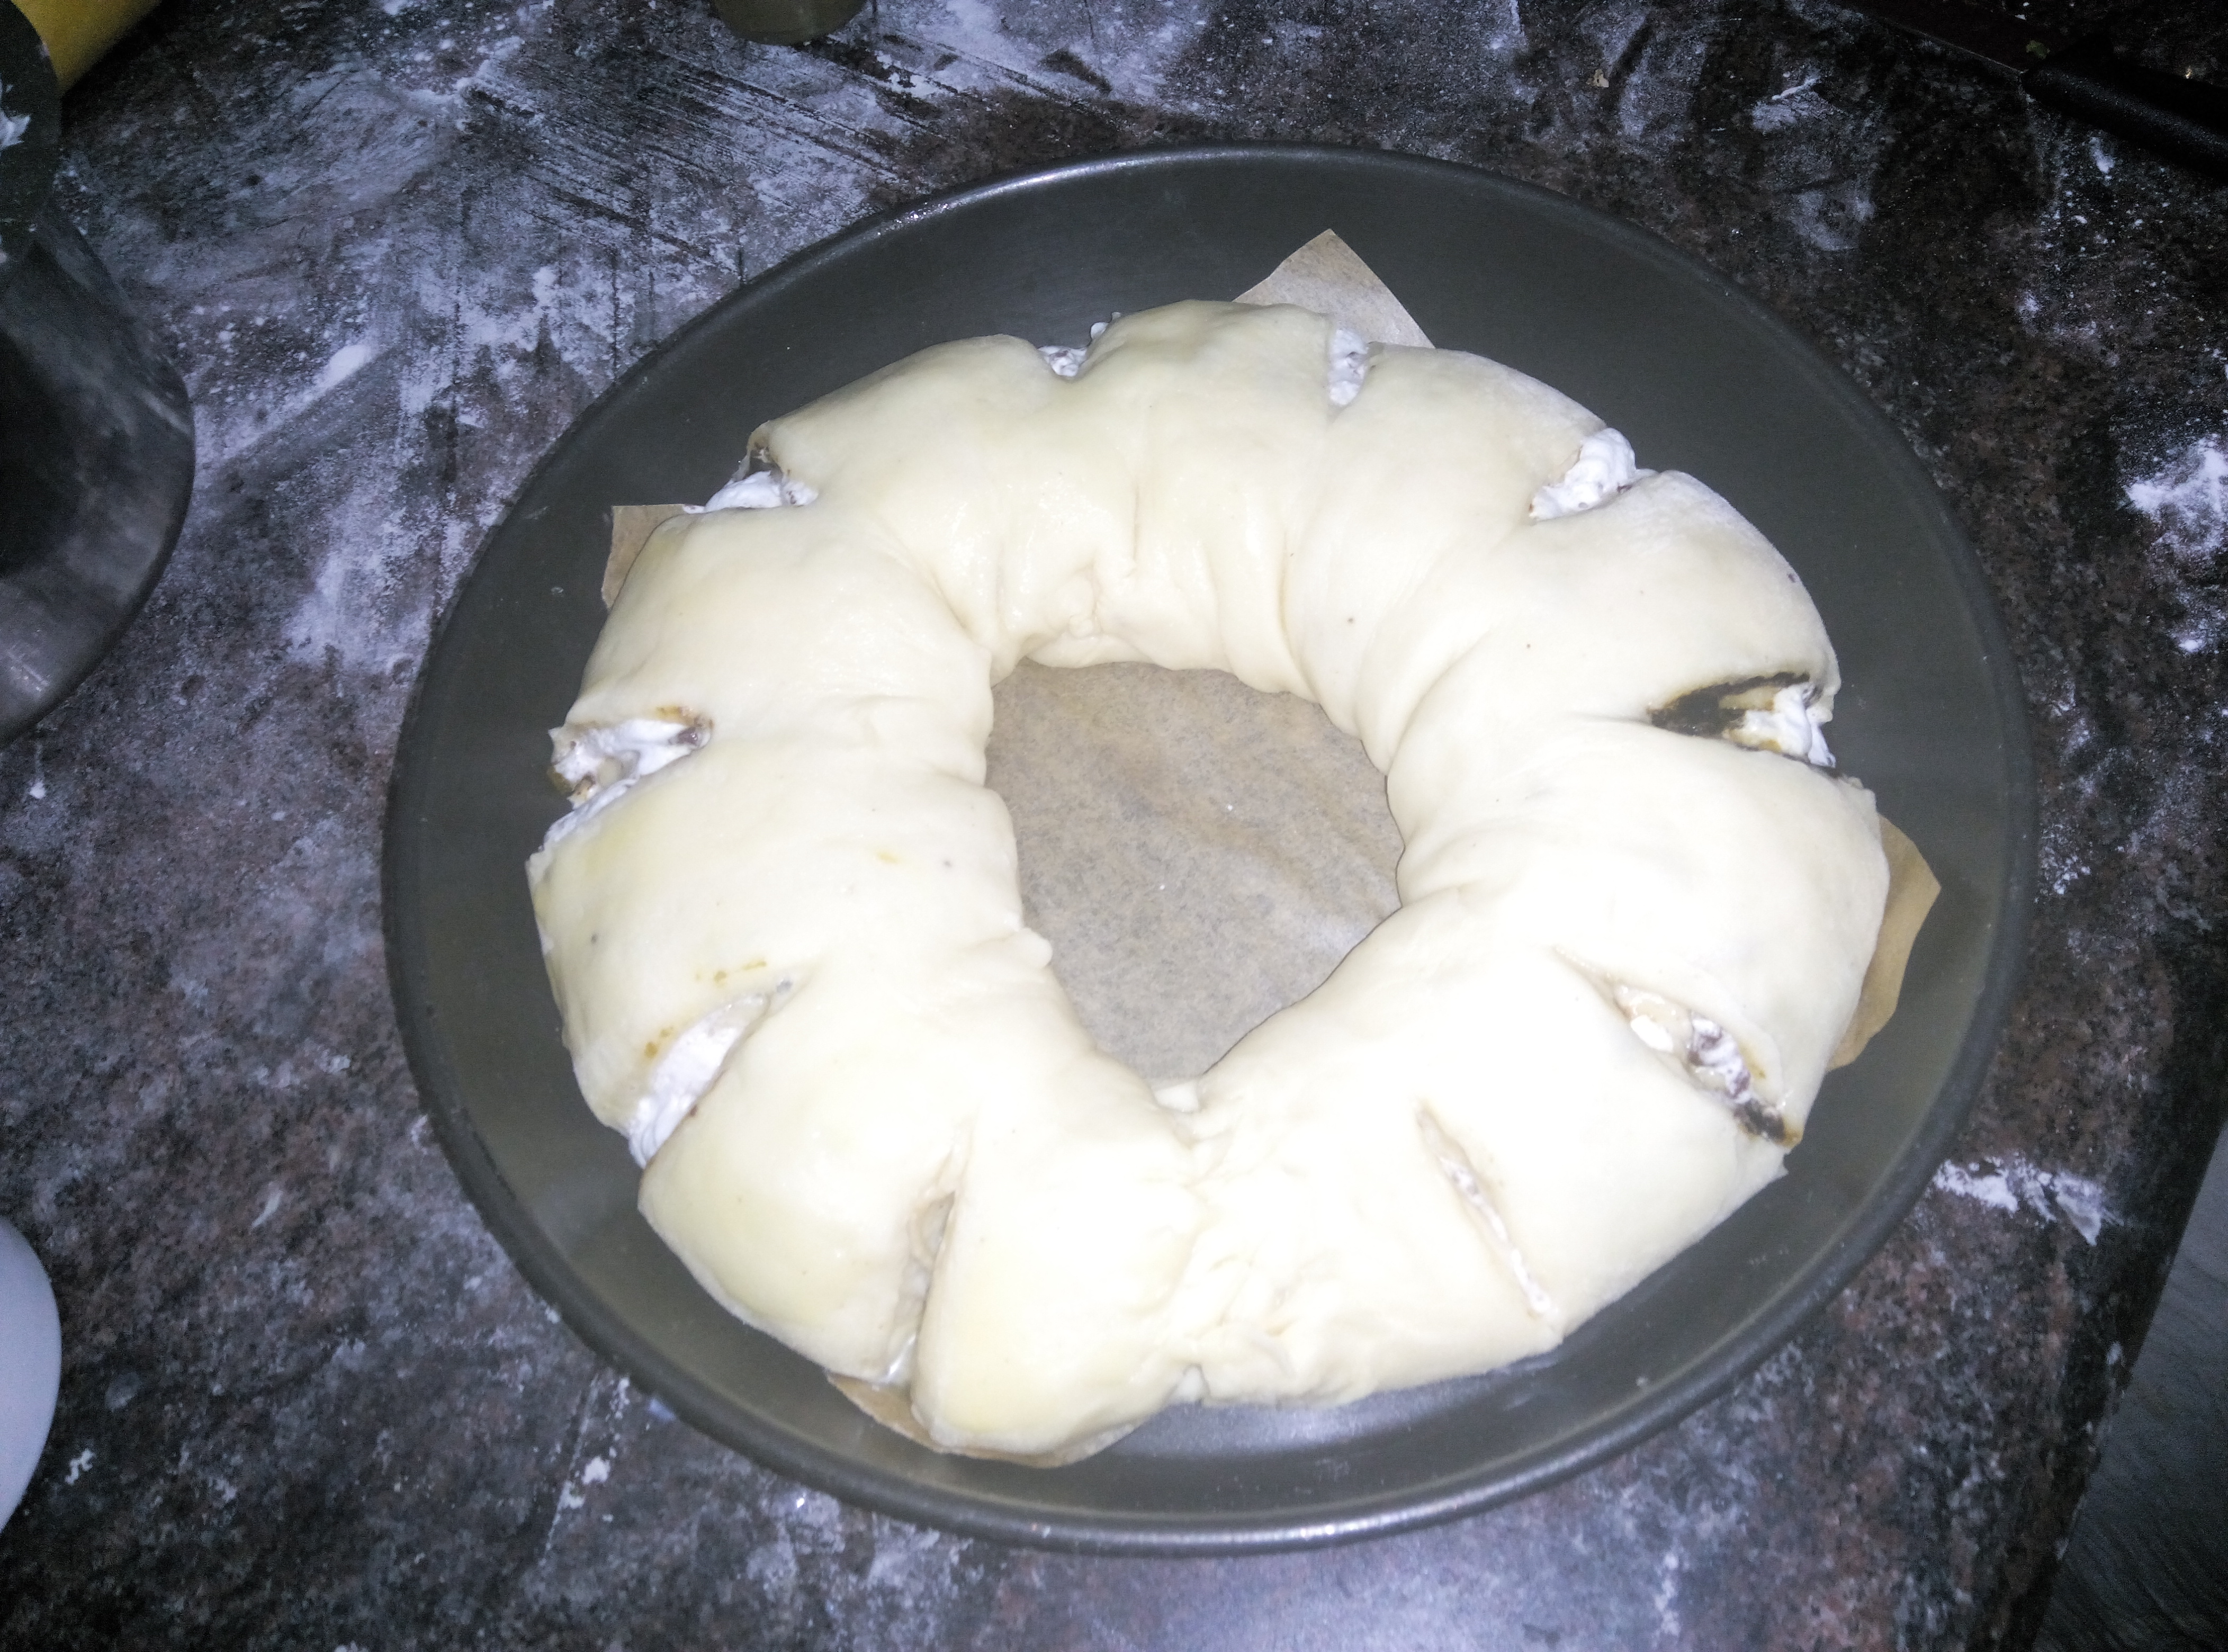
Very carefully transfer the filled log to one of the lined cookie sheets, seam side down. Bring the ends of the log around and seal the ends together, forming a ring, tucking one end into the other and pinching to seal.
Using kitchen scissors or a sharp knife (although scissors are easier), make cuts along the outside edge at 1-inch (2 ½ cm) intervals. Make them as shallow or as deep as desired but don’t be afraid to cut deep into the ring.
Repeat with the remaining dough, meringue and fillings.
Cover the 2 coffee cakes with plastic wrap and allow them to rise again for 45 to 60 minutes.
Preheat the oven to 350°F (180°C).
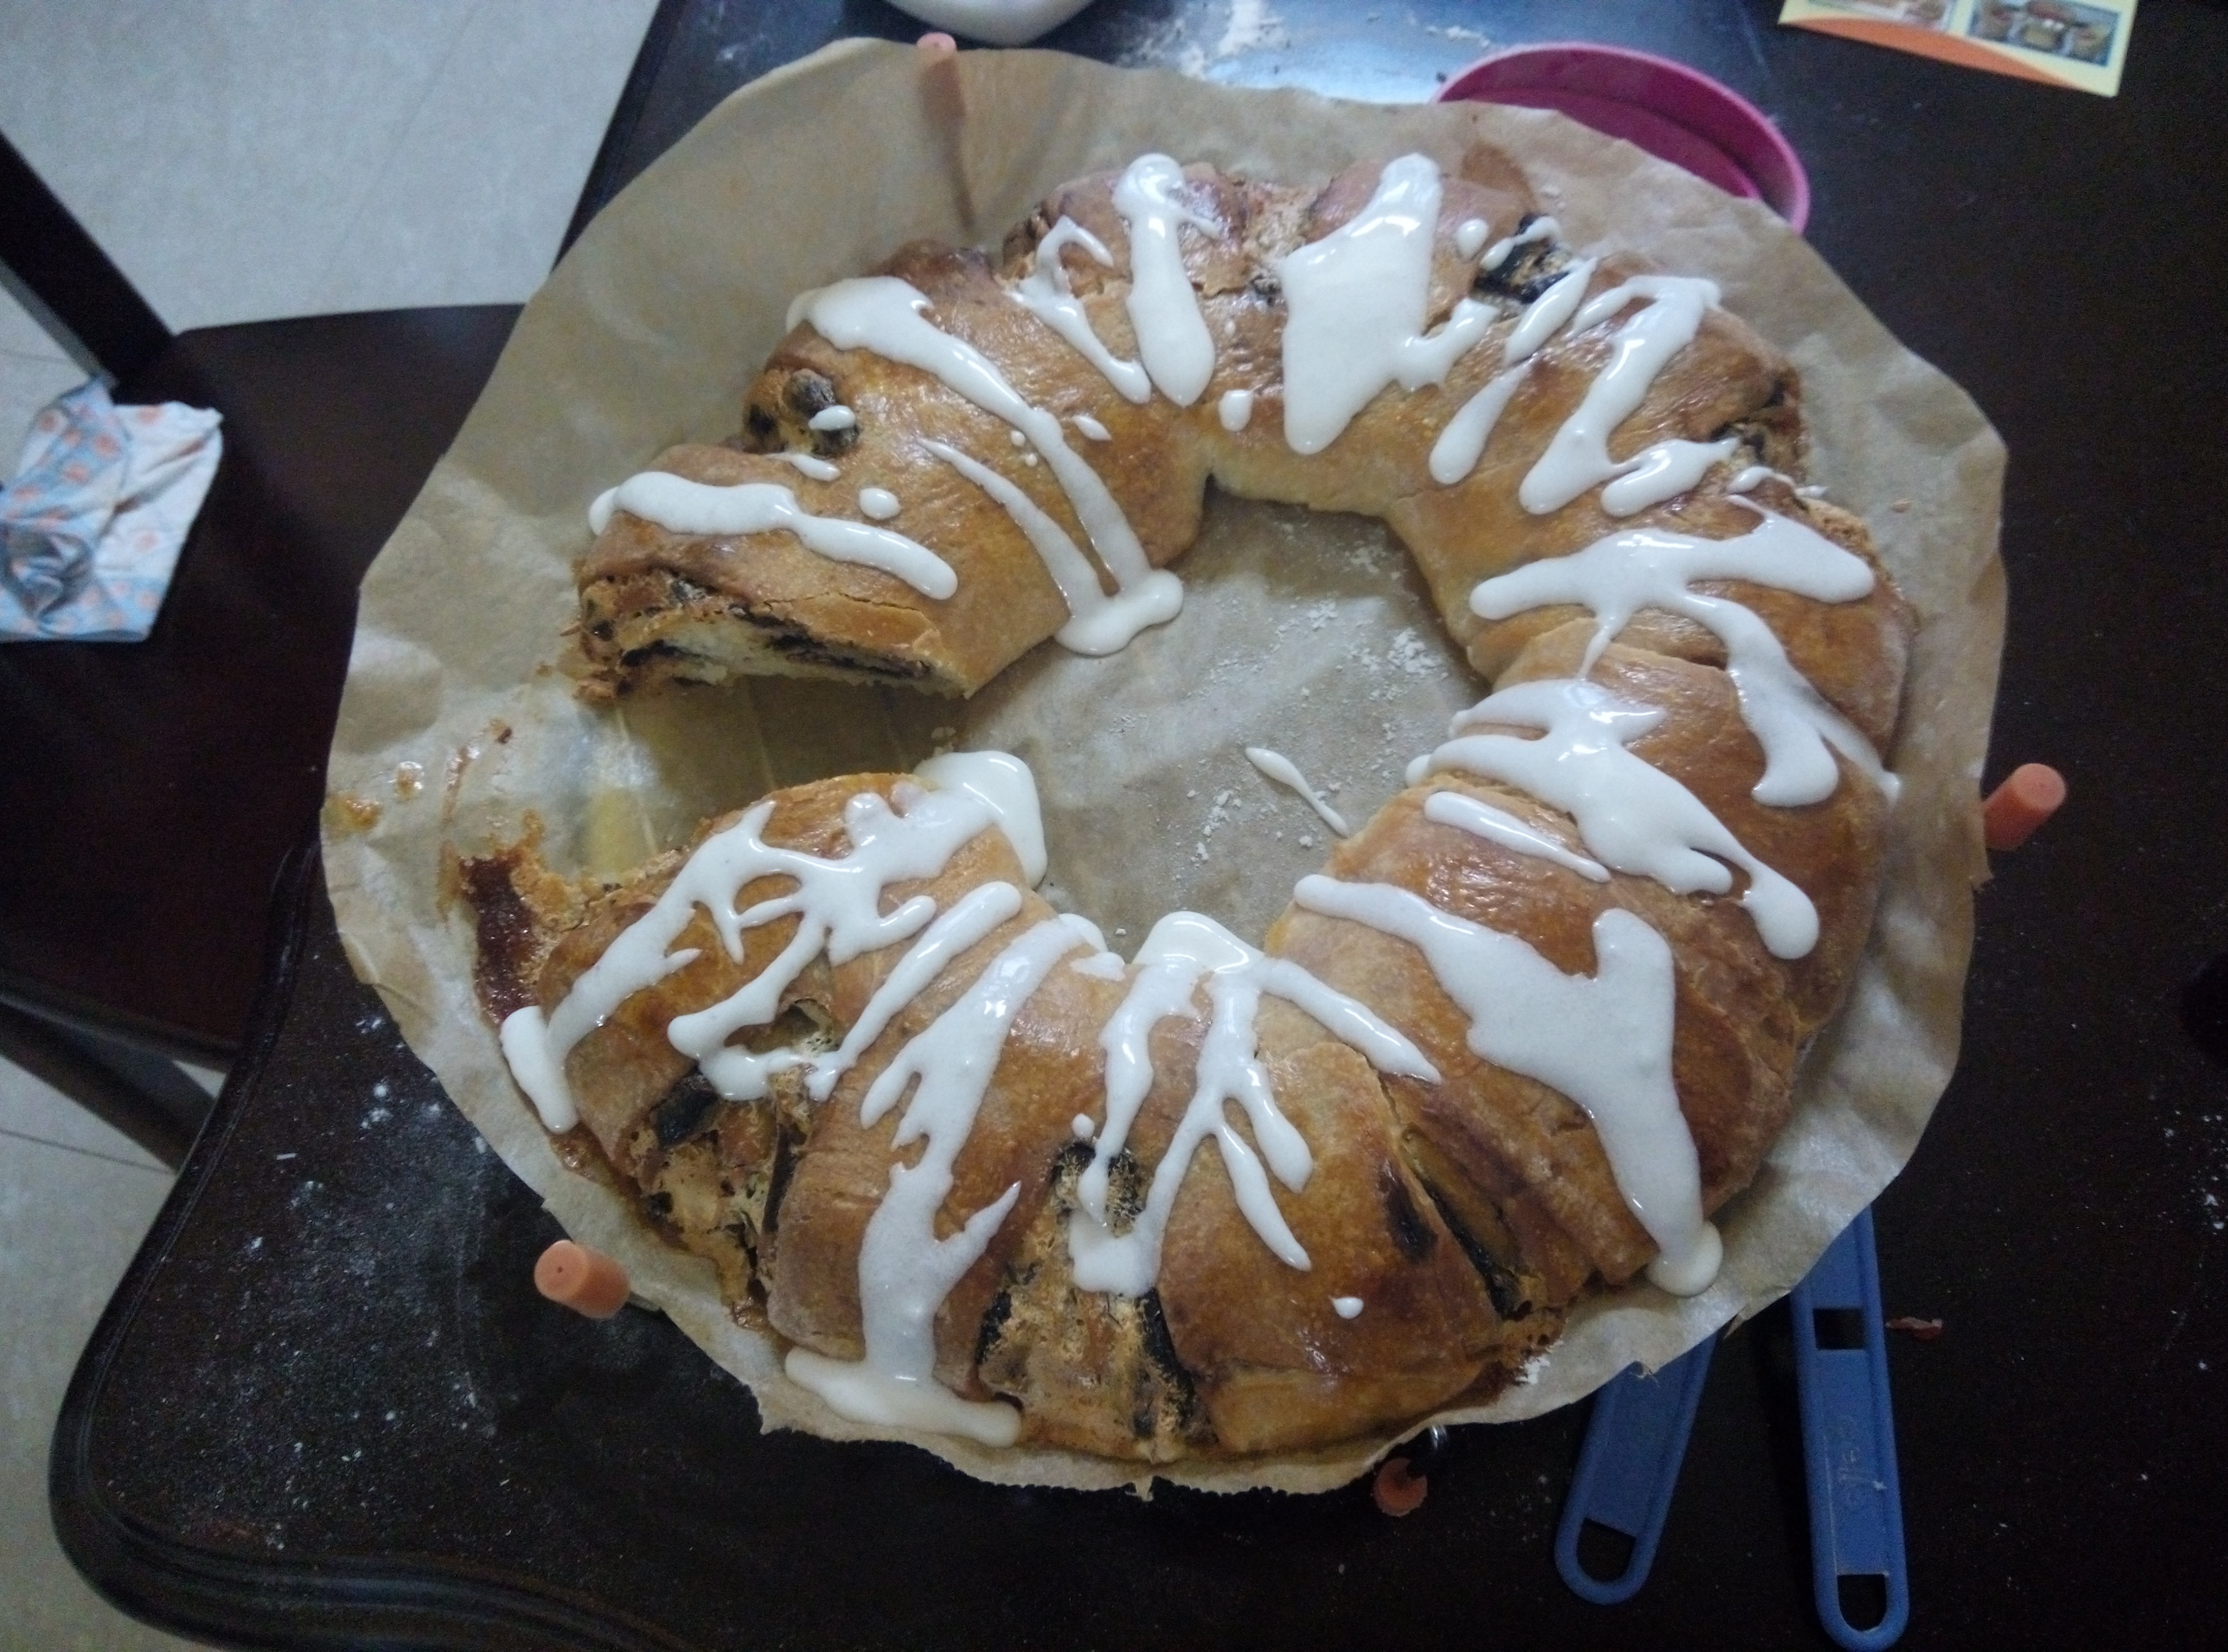
Brush the tops of the coffee cakes with the egg wash. Bake in the preheated oven for 25 to 30 minutes until risen and golden brown. The dough should sound hollow when tapped.
I hate the way it looks. I didnt have an egg for the egg wash so used a leftover egg yolk to brush the cake… hence the ugliness.
Remove from the oven and slide the parchment paper off the cookie sheets onto the table. Very gently loosen the coffee cakes from the paper with a large spatula and carefully slide the cakes off onto cooling racks. Allow to cool.
Sugar frosting
Pour one cup of powdered sugar in a medium/small bowl.
Add 1-3 tablespoons of milk, water or orange juice. You can also use heavy cream.
Make sure it is not too runny or too thick.
Refrigerate for 30-60 minutes to thicken.
Just before serving, dust the tops of the coffee cakes with confectioner’s sugar/ sugar frosting as well as cocoa powder if using chocolate in the filling. These are best eaten fresh, the same day or the next day.
If you are gonna make this, the best tip is….. wait for it……. In The End. 1300hrs Tuesday 24June PT:Hey it’s Tya’s birthday day after. Me: Oh!, I thought it’s in July. PT: No it’s on 26th. why don’t we bake a cake. I could help. Me: aha, it’s middle of the week. PT: It ll be nice if we did, just to make him feel special. Me: let me see, I ll check a few recipes. I remember him pinging me a blueberry cake long ago. And I could use it for my first blog. PT: We could take a lot of pictures. Both: Yay!!!( me in my head… “she is mental”)
2200 hours
Just back home from office. Me: This crack PT thinks we could make a cake in 2 days. I am looking for a recipe Roomie:When do you want it by. Me: day after. Should at least boil down to one recipe today. 2200 hours
fast asleep
1100hours Wednesday 25June PT: What time should we go. Me: where to? PT: to your place, to bake the cakeaaa. Me: I haven’t thought of a recipe yet. okay lets see. I will figure it out. We will leave from office by 4:30 1615hours
Office IM PT: should we go? Me: damn still haven’t thought of anything specific. We ll leave at 4:45.. I will research for recipe on our way back. Do you want a regular cream frosting or fondant. I have never worked with fondant. PT: (with her french accent) lets make it with fondant.
When you are making this cake, please read the whole recipe and prep at least 3 days in advance and allow the cake to rest for at least 8 hours.
lemon curd:
I made these on the same day as I made the cake layers. If you can, do this a day before the cake layers.
I am fan of Stephanie Jaworski, and to get a perfect lemon curd, just follow this recipe. http://www.joyofbaking.com/LemonCurd.html Ingredients
3 large eggs(I used 1 double egg and 1 regular egg)
3/4 cup (150 grams) white sugar
1/3 cup (80 ml) fresh lemon juice
4 tablespoons (56 grams) unsalted butter, at room temperature
1 tablespoon (4 grams) finely shredded lemon zest
Don’t be parsimonious and get limes, plan in advance and find lemons. I buy them from Foodhall at 1MG mall or Godrej nature’s basket. The Foodhall ones are fresher, plum and more juicy. it will cost approx Rs150($2.5 ). 1 lemon will give you 1/3 cup juice.
First zest the lemon carefully with a good zester/ grater. then juice it with your regular citrus juicer. Because these are bigger than limes the juicer would do a very clean and efficient job for us.
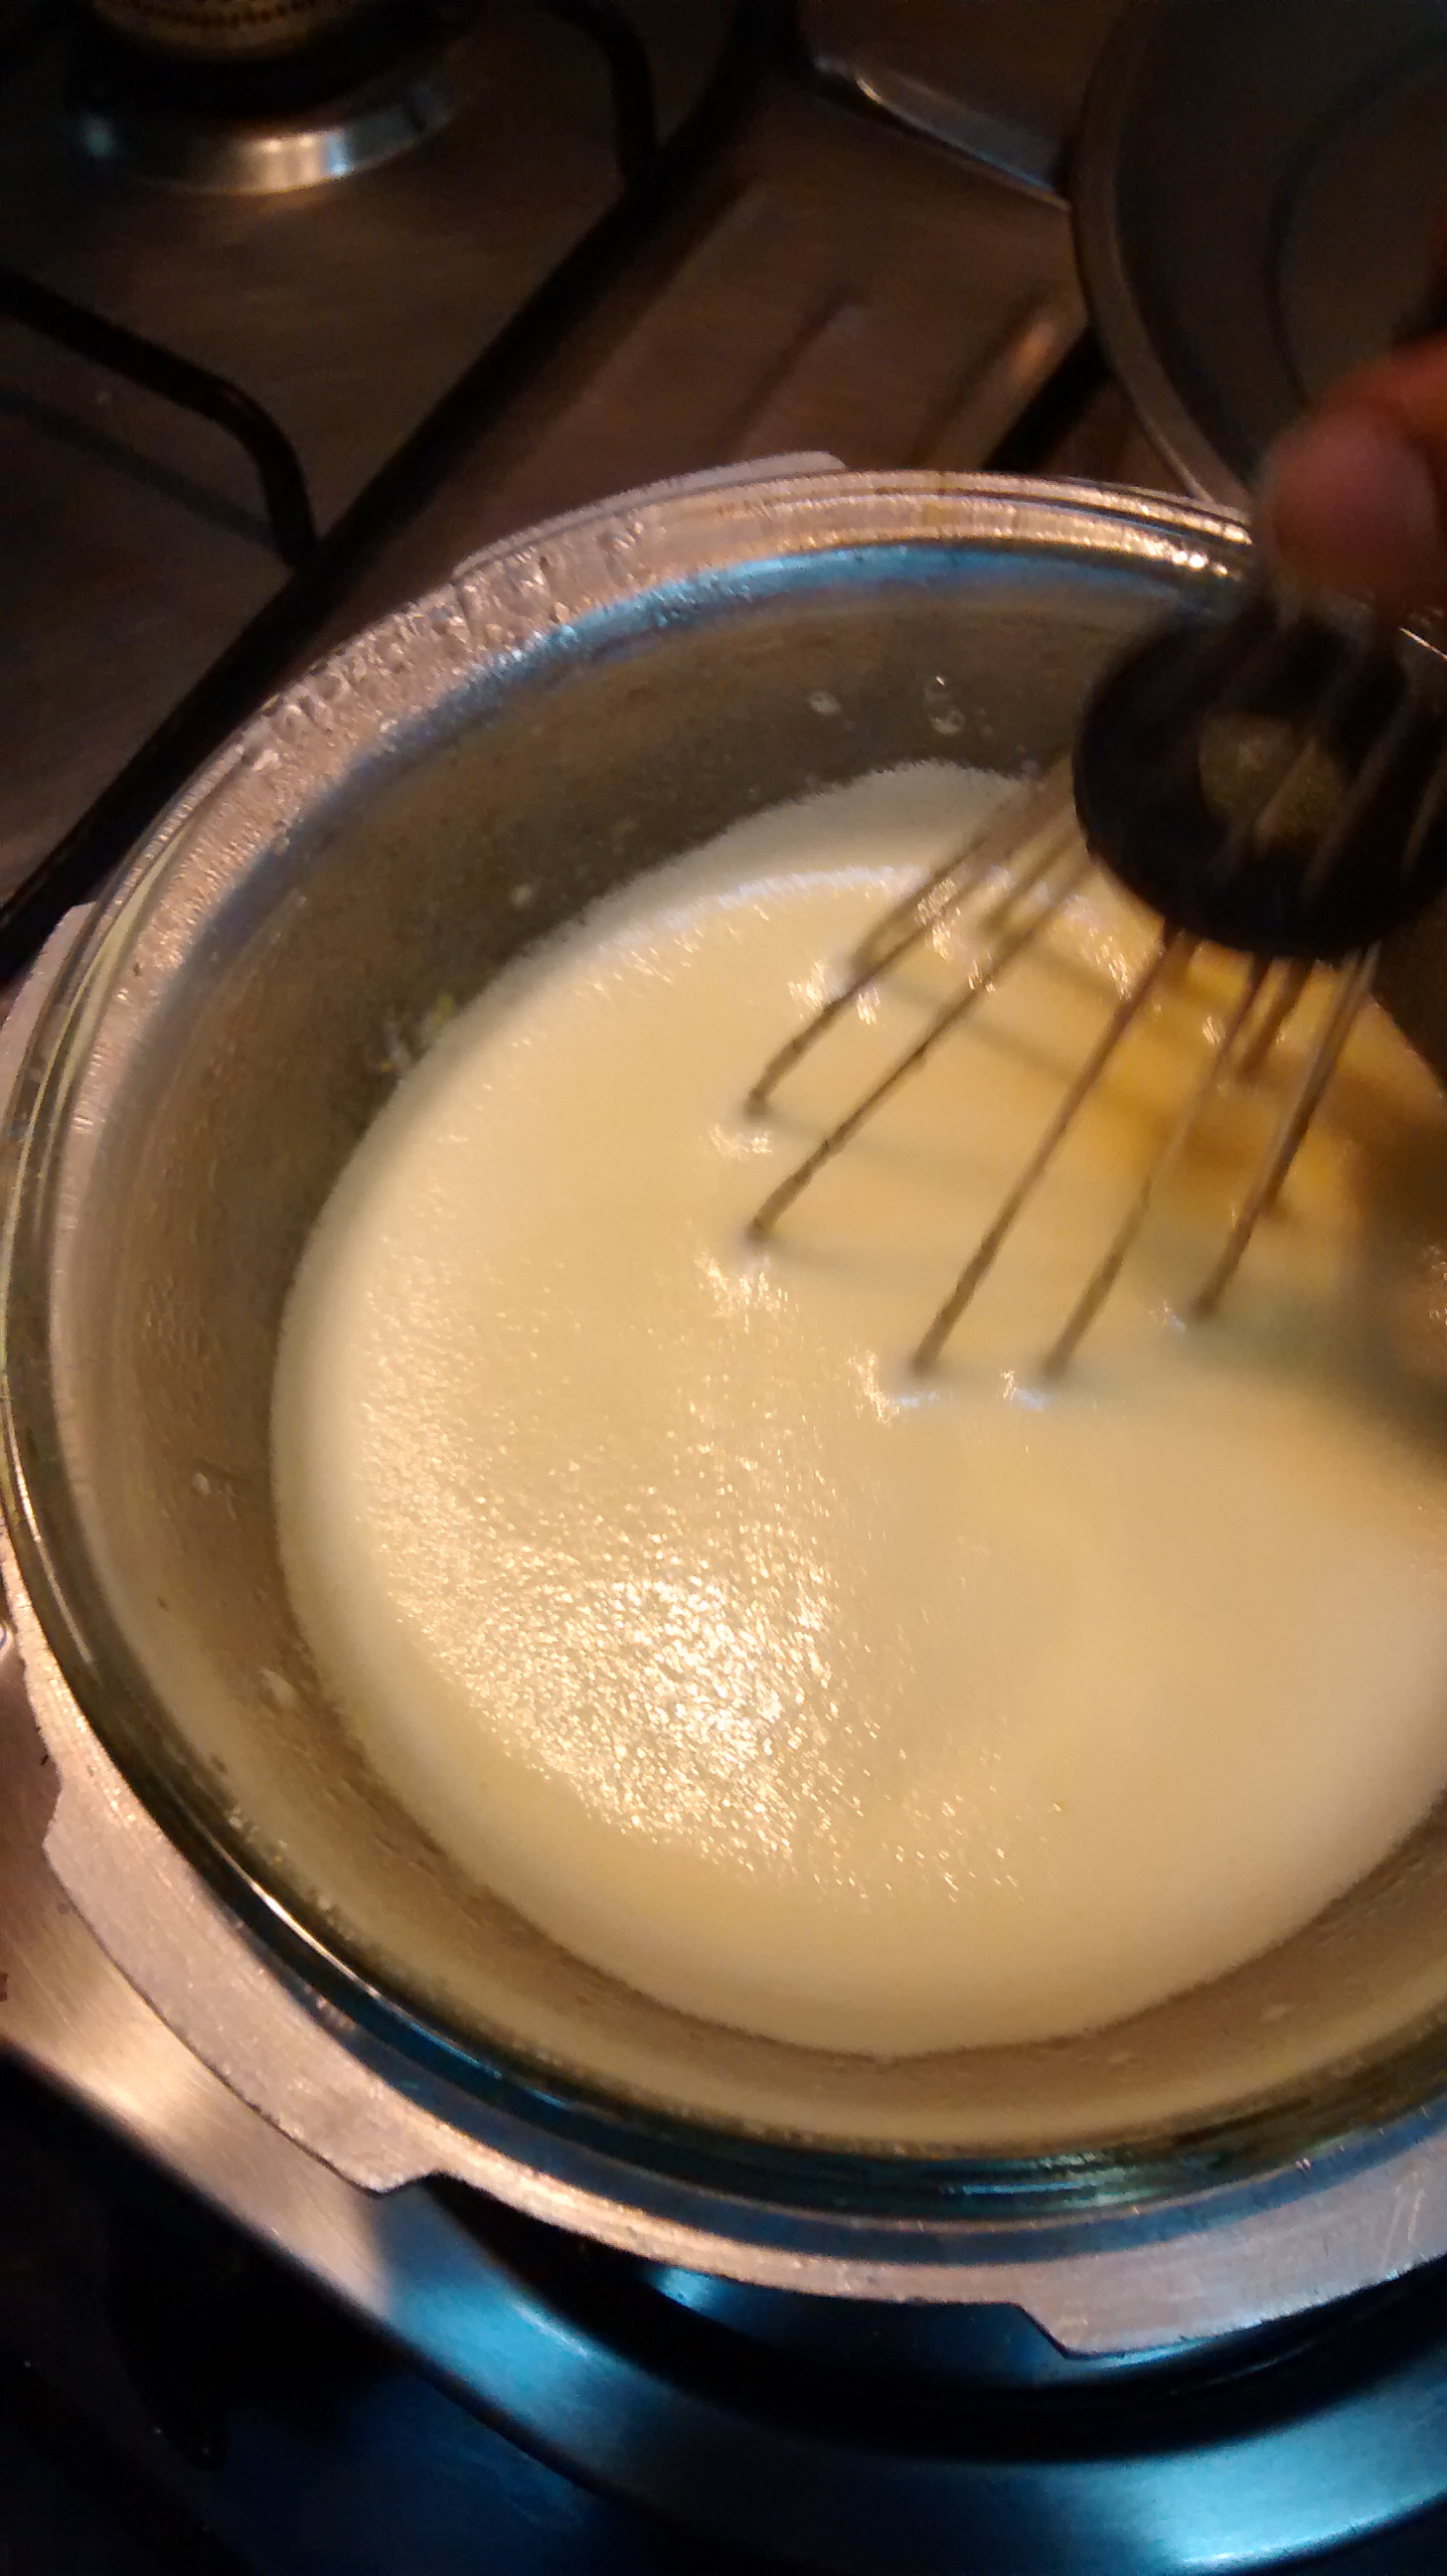
In a bowl placed over a saucepan of simmering water, whisk together the eggs, sugar( granules, icing or powdered), and lemon juice until blended. Cook, stirring constantly to prevent it from curdling, until the mixture becomes thick. Remove from heat and immediately pour through a fine strainer to remove any lumps. Cut the butter into small pieces and whisk into the mixture until the butter has melted. Add the lemon zest and let it cool. The lemon curd will continue to thicken as it cools. Cover immediately (so a skin doesn’t form) and refrigerate.
Makes 1 1/2 cups (360 ml).
whisk vigorously………………See, that ‘s bright yellow.
Crème fraîche:
1 cup (225 ml) starter cream of your choice
1 tbs. (15 ml) cultured buttermilk
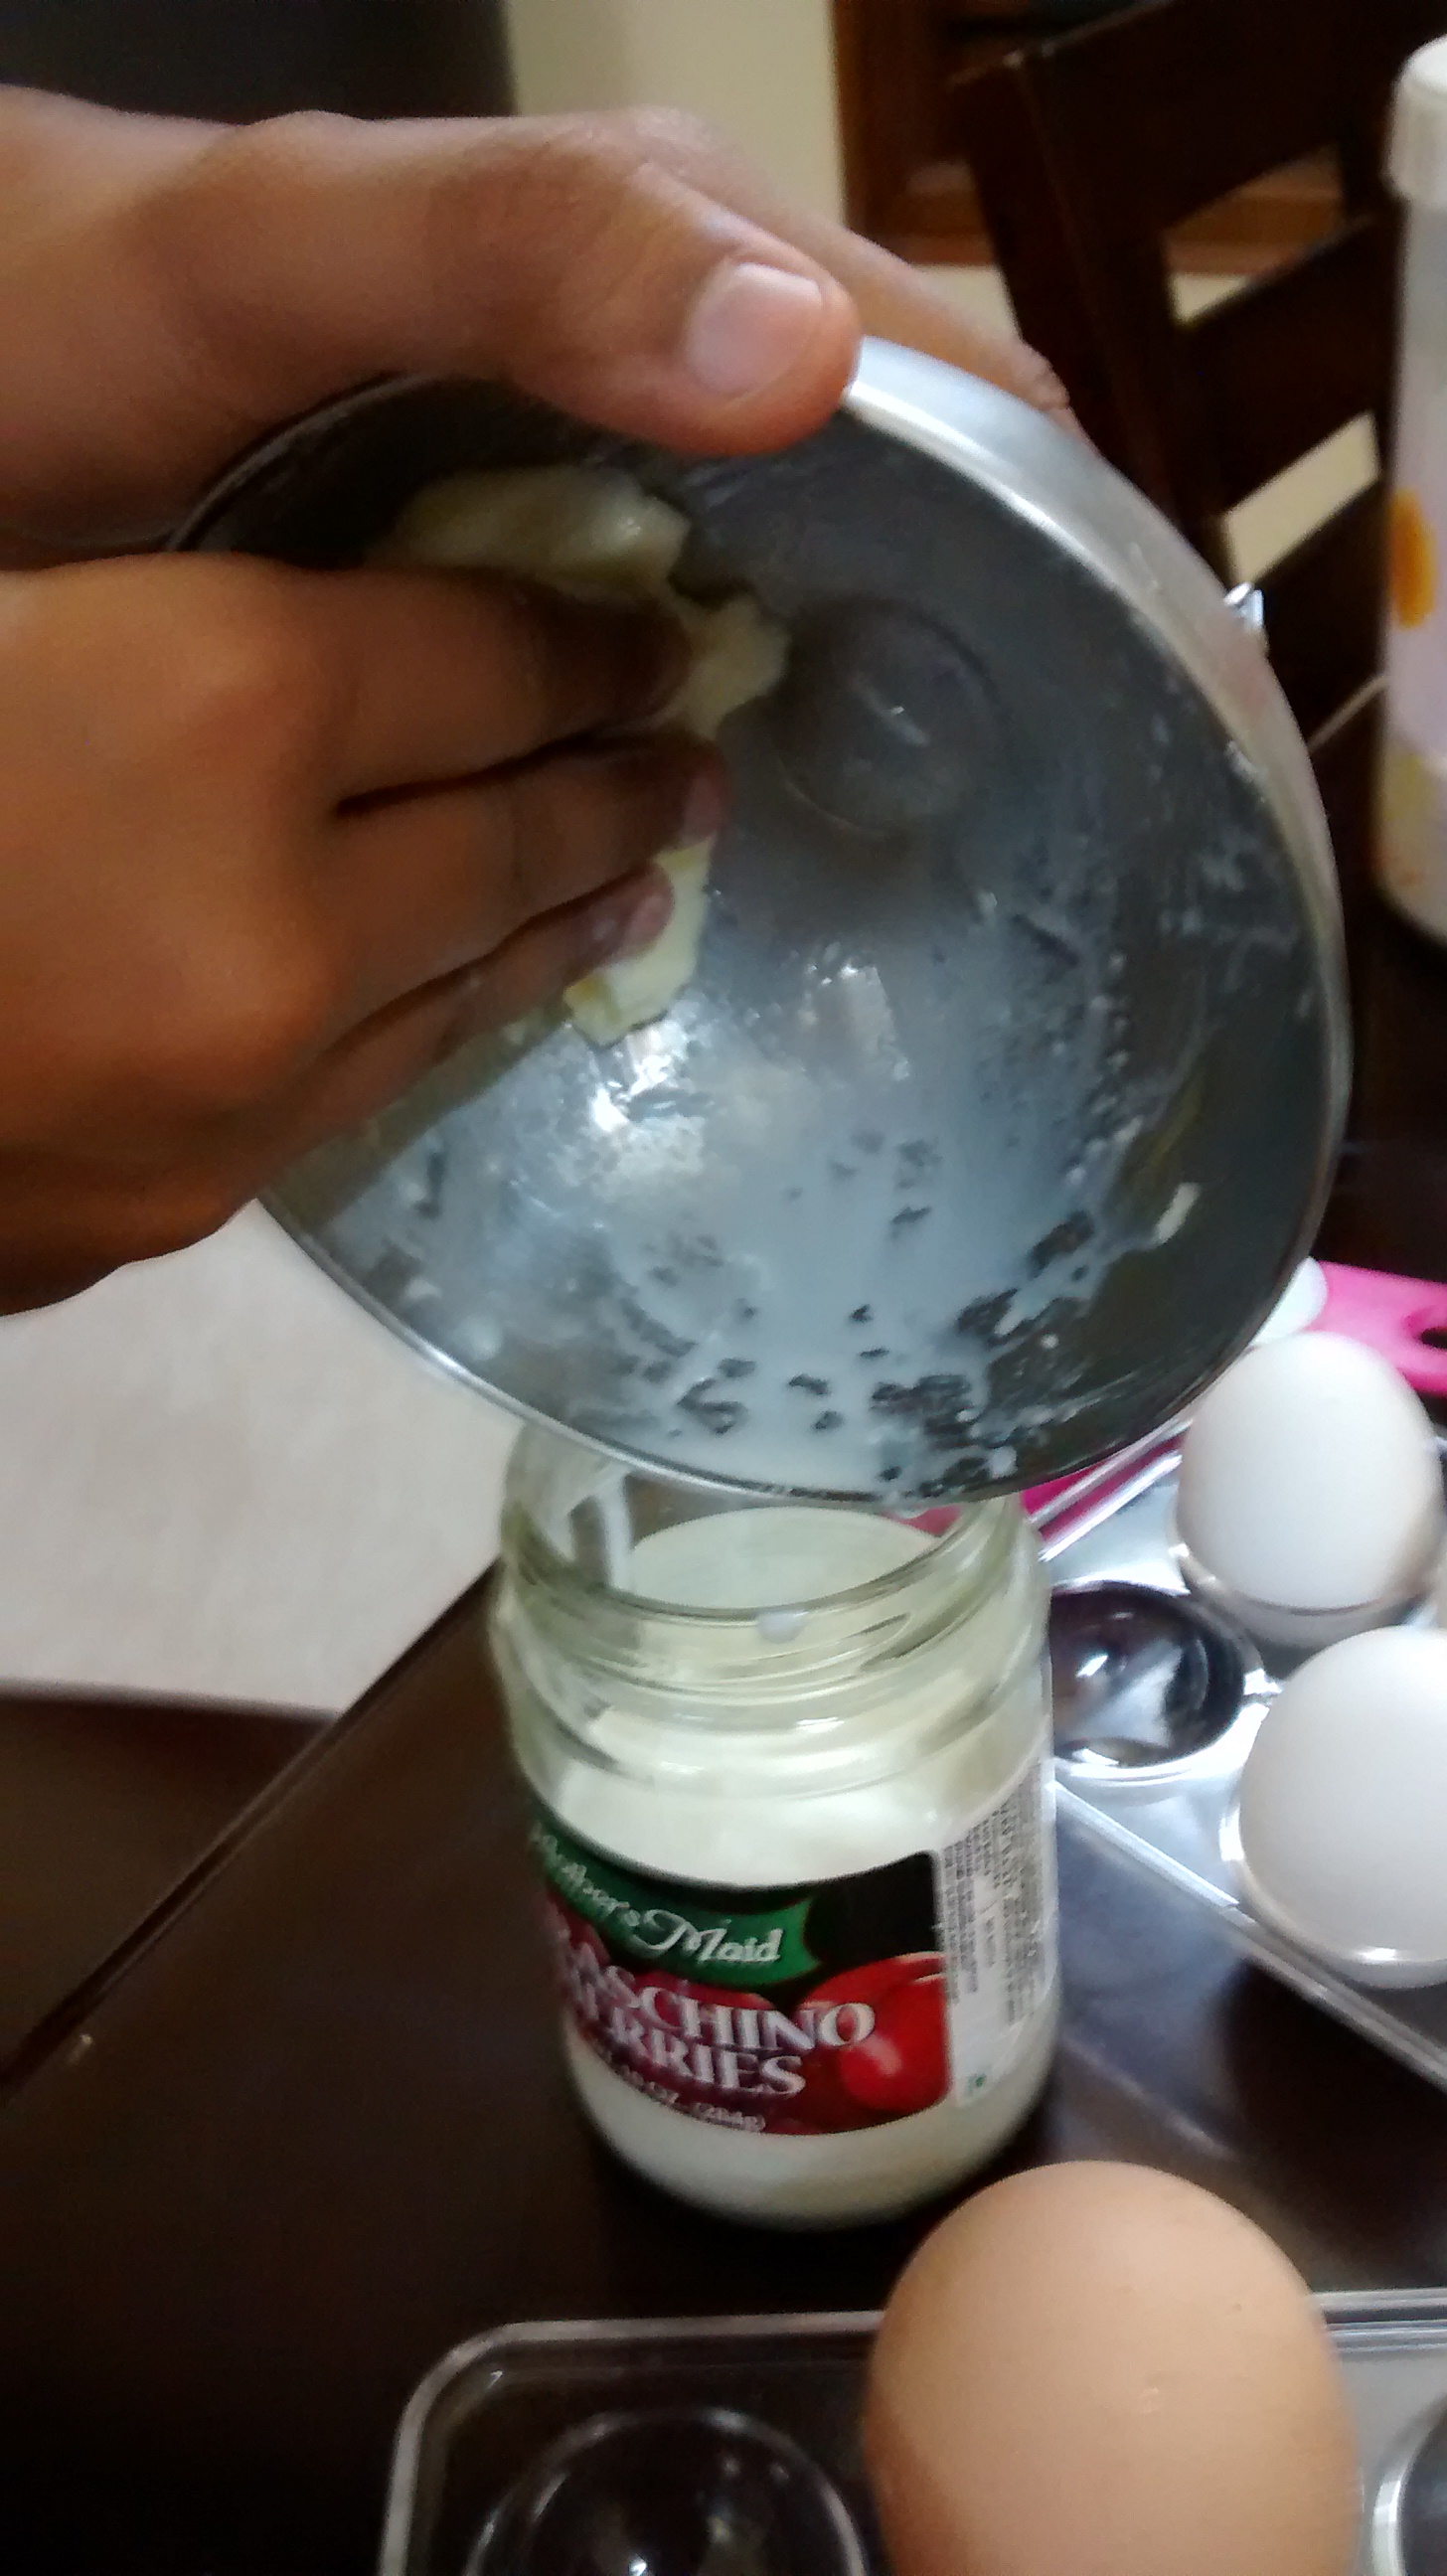
whip cream= butter+ buttermilk
I made buttermilk by whipping 3-4 tbs of cream until it turned into butter.
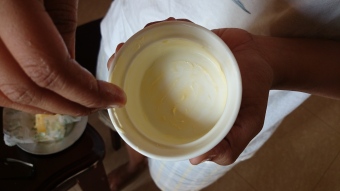
mix both the ingredients in a jar and Cover the jar lightly with a cotton dish towel. Allow it to stand in a warm spot for 24 to 48 hours.
After a day or 2.. it looks like this and tastes amazing
I made this only to realize it wouldn’t be ready until the birthday. I could feed him just the sour cream. Brilliant !! PT and I considered using the liquidy mixture instead of waiting for it to curd. It tasted like nothing but cream, I was worried it will be too much moisture in the batter,making it runny, and eventually the cake layers would fall apart.
I quickly googled and found an instant recipe – Slowly whipped up some cream(whipping) with some lemon juice. It tasted similar to Crème fraîche. It was more like sour cream though. but I had no choice. The cake layers.
I followed this recipe because it was laborious and loved the ingredients that went it. I strongly believe 65% of the goodness of any dish is dependent on the quality of its ingredients. http://sweetapolita.com/2011/02/triple-lemon-blueberry-layer-cake/
Ingredients
2 cups plus 6 tablespoons (290 g) all-purpose flour, sifted
2 teaspoons (9 g) baking powder
1 teaspoon (7g) salt
3 cups fresh blueberries
1/2 cup (120 ml) sour cream
1/2 cup (120 ml) whole milk
2 teaspoons (10 ml) pure vanilla extract
1/2 teaspoon (2.5 ml) pure lemon extract
1 teaspoon (5 ml) lemon zest
1 cup (2 sticks)(227 g) unsalted butter, softened
1-1/2 cups (300 g) white sugar
4 large eggs, at room temperature
You might wanna make half the quantity. This makes a lot of cake. I made it for a colleague, it was planned to be cut at office, that”s 30 people to be fed.
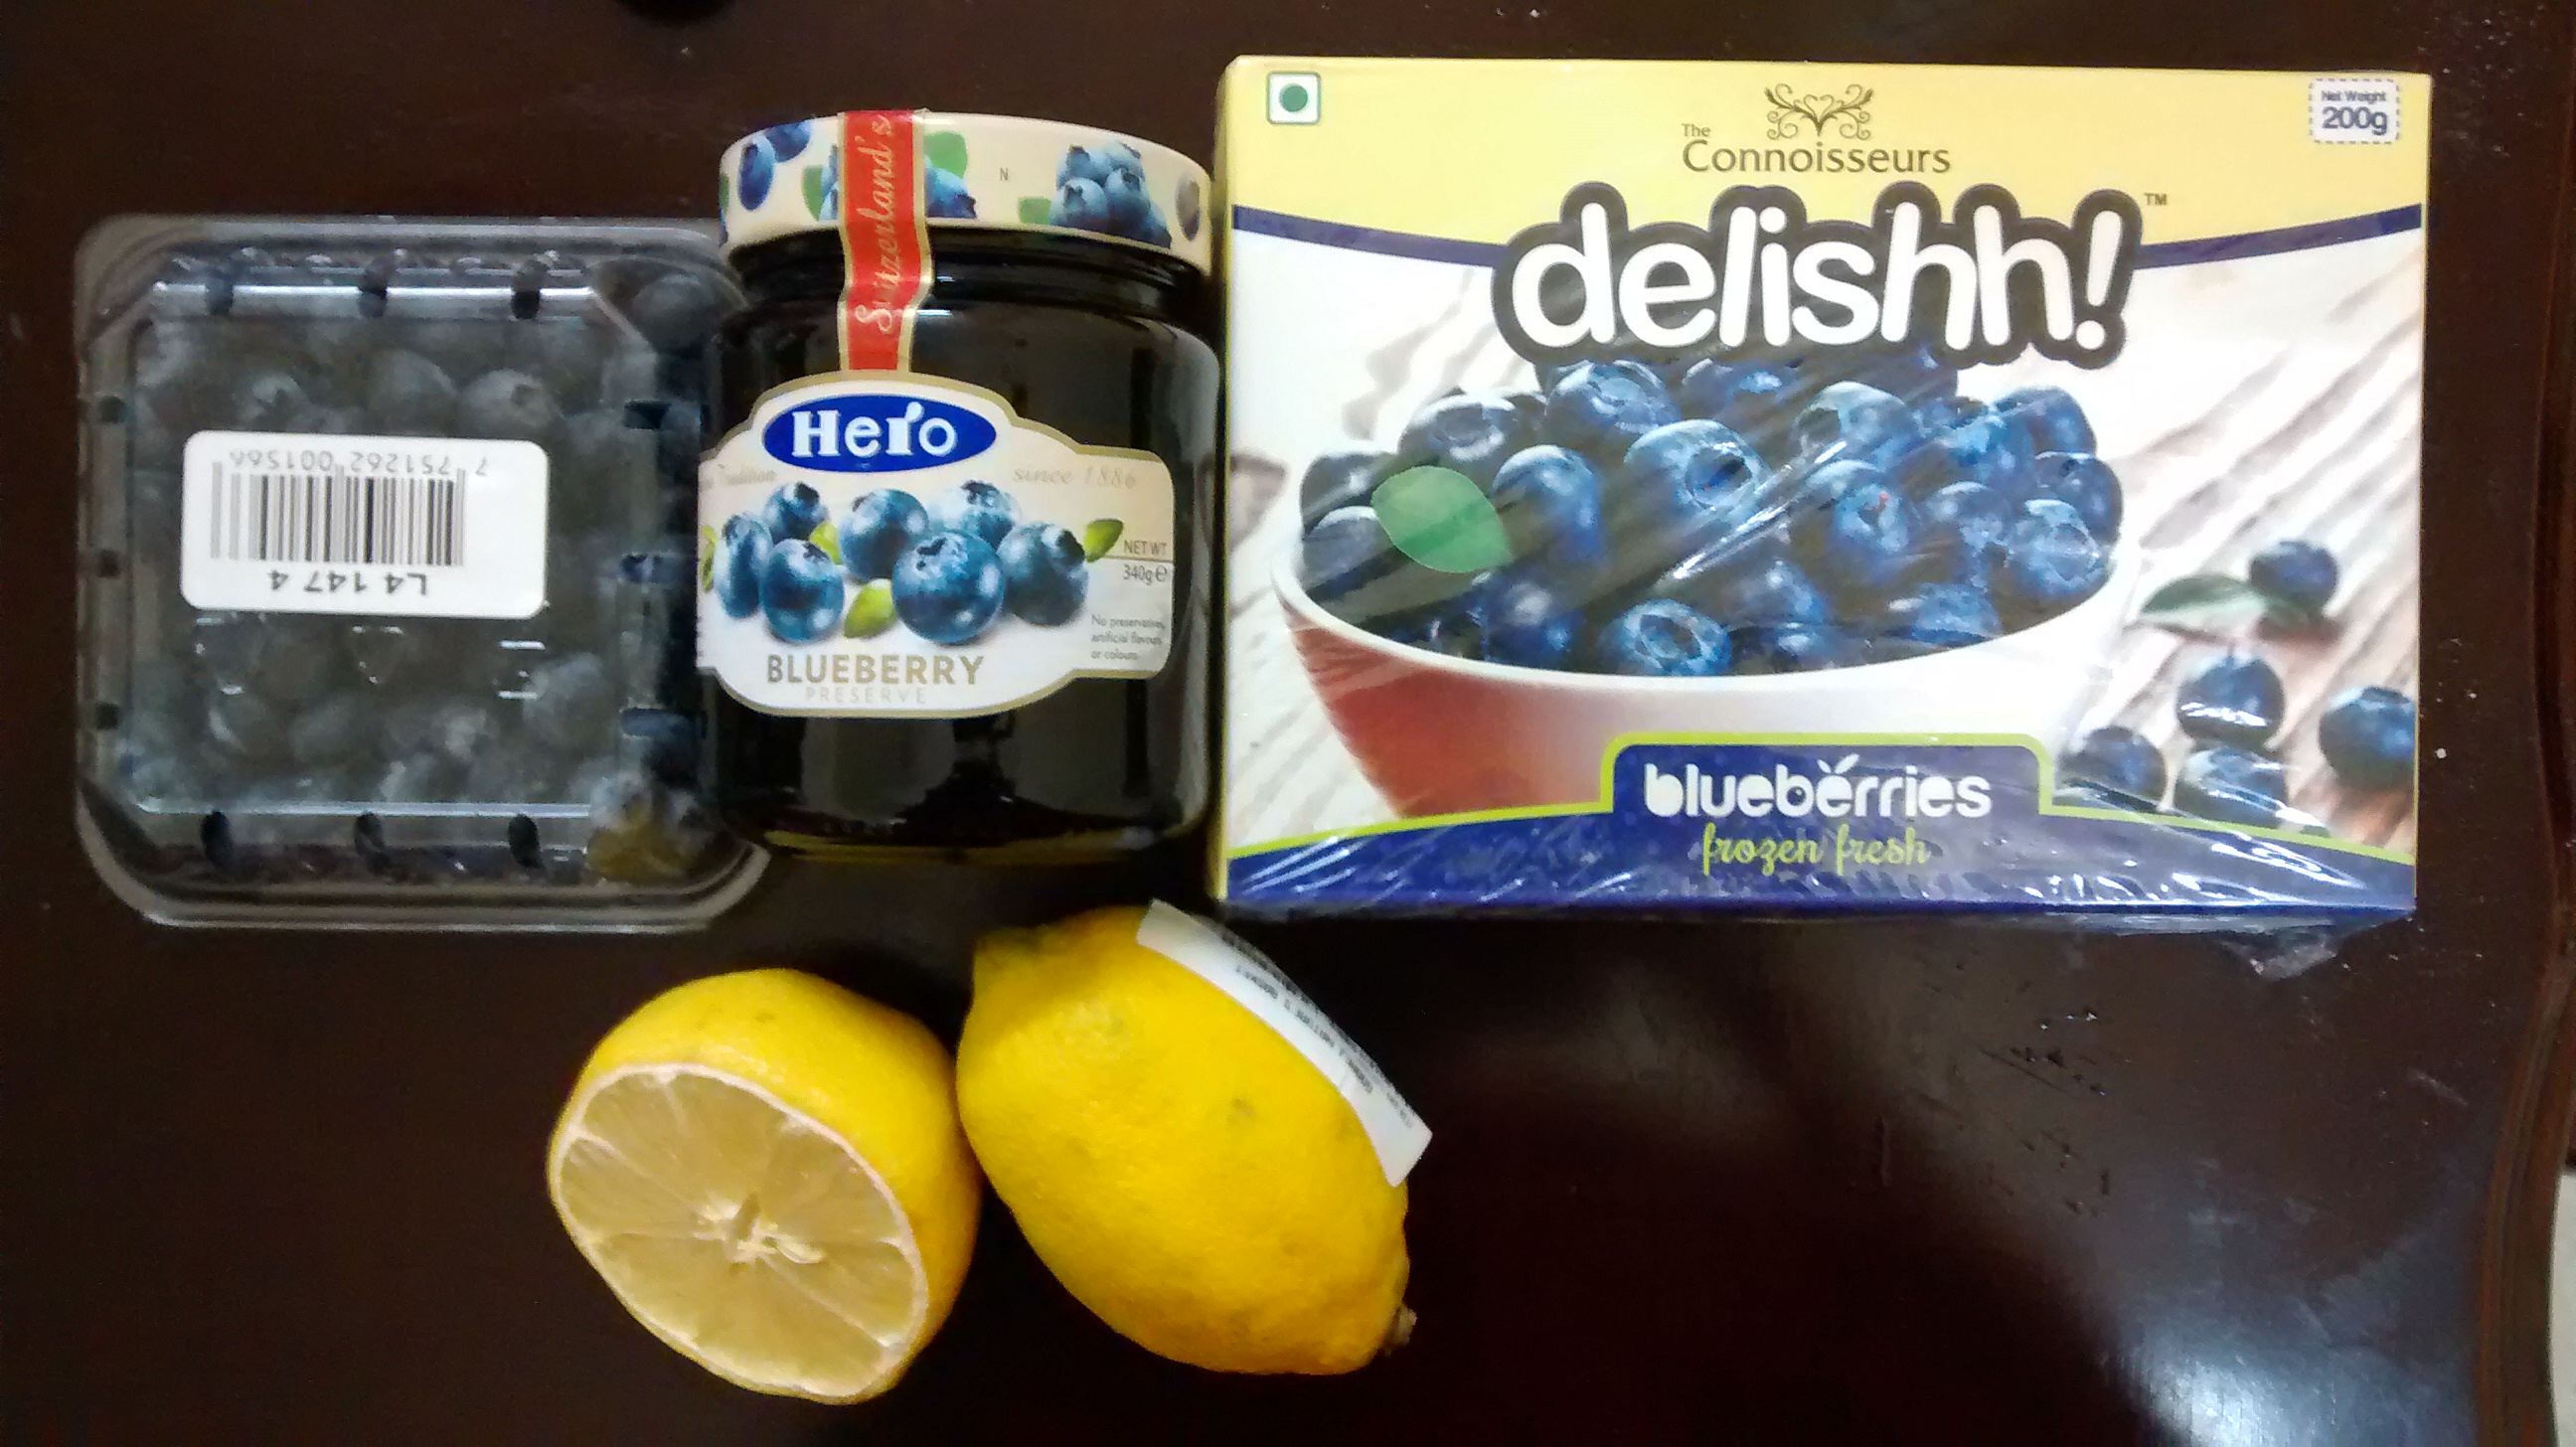
For the blueberries, I bought 1 pack of fresh ones, Rs 520 ($8)for 130g, these are imported from Peru, I believe. One Could find them in Nature’s Basket or Foodhall, these are seasonal. Call them to check the availability before you go to their store.
I bought 1 pack of frozen and another pack of dehydrated(dried) blue berries.
Frozen ones, you would get all year and they are cheaper. Will cost you Rs.200 per 200 grams. The Problem with these is that the water melts from the berries a lot when they reach room temperature adding more moisture to the batter. I let them sit for a while and tried squeezing the water out of them.
And the dehydrated ones, I had to soak them in warm water and then mildly squeeze them.
The dried ones again you could get them from Foodhall, Nature’s Basket or one really nice place on Coles road that sells all kinds of dried fruits , spices and nuts( I like the pine nuts).
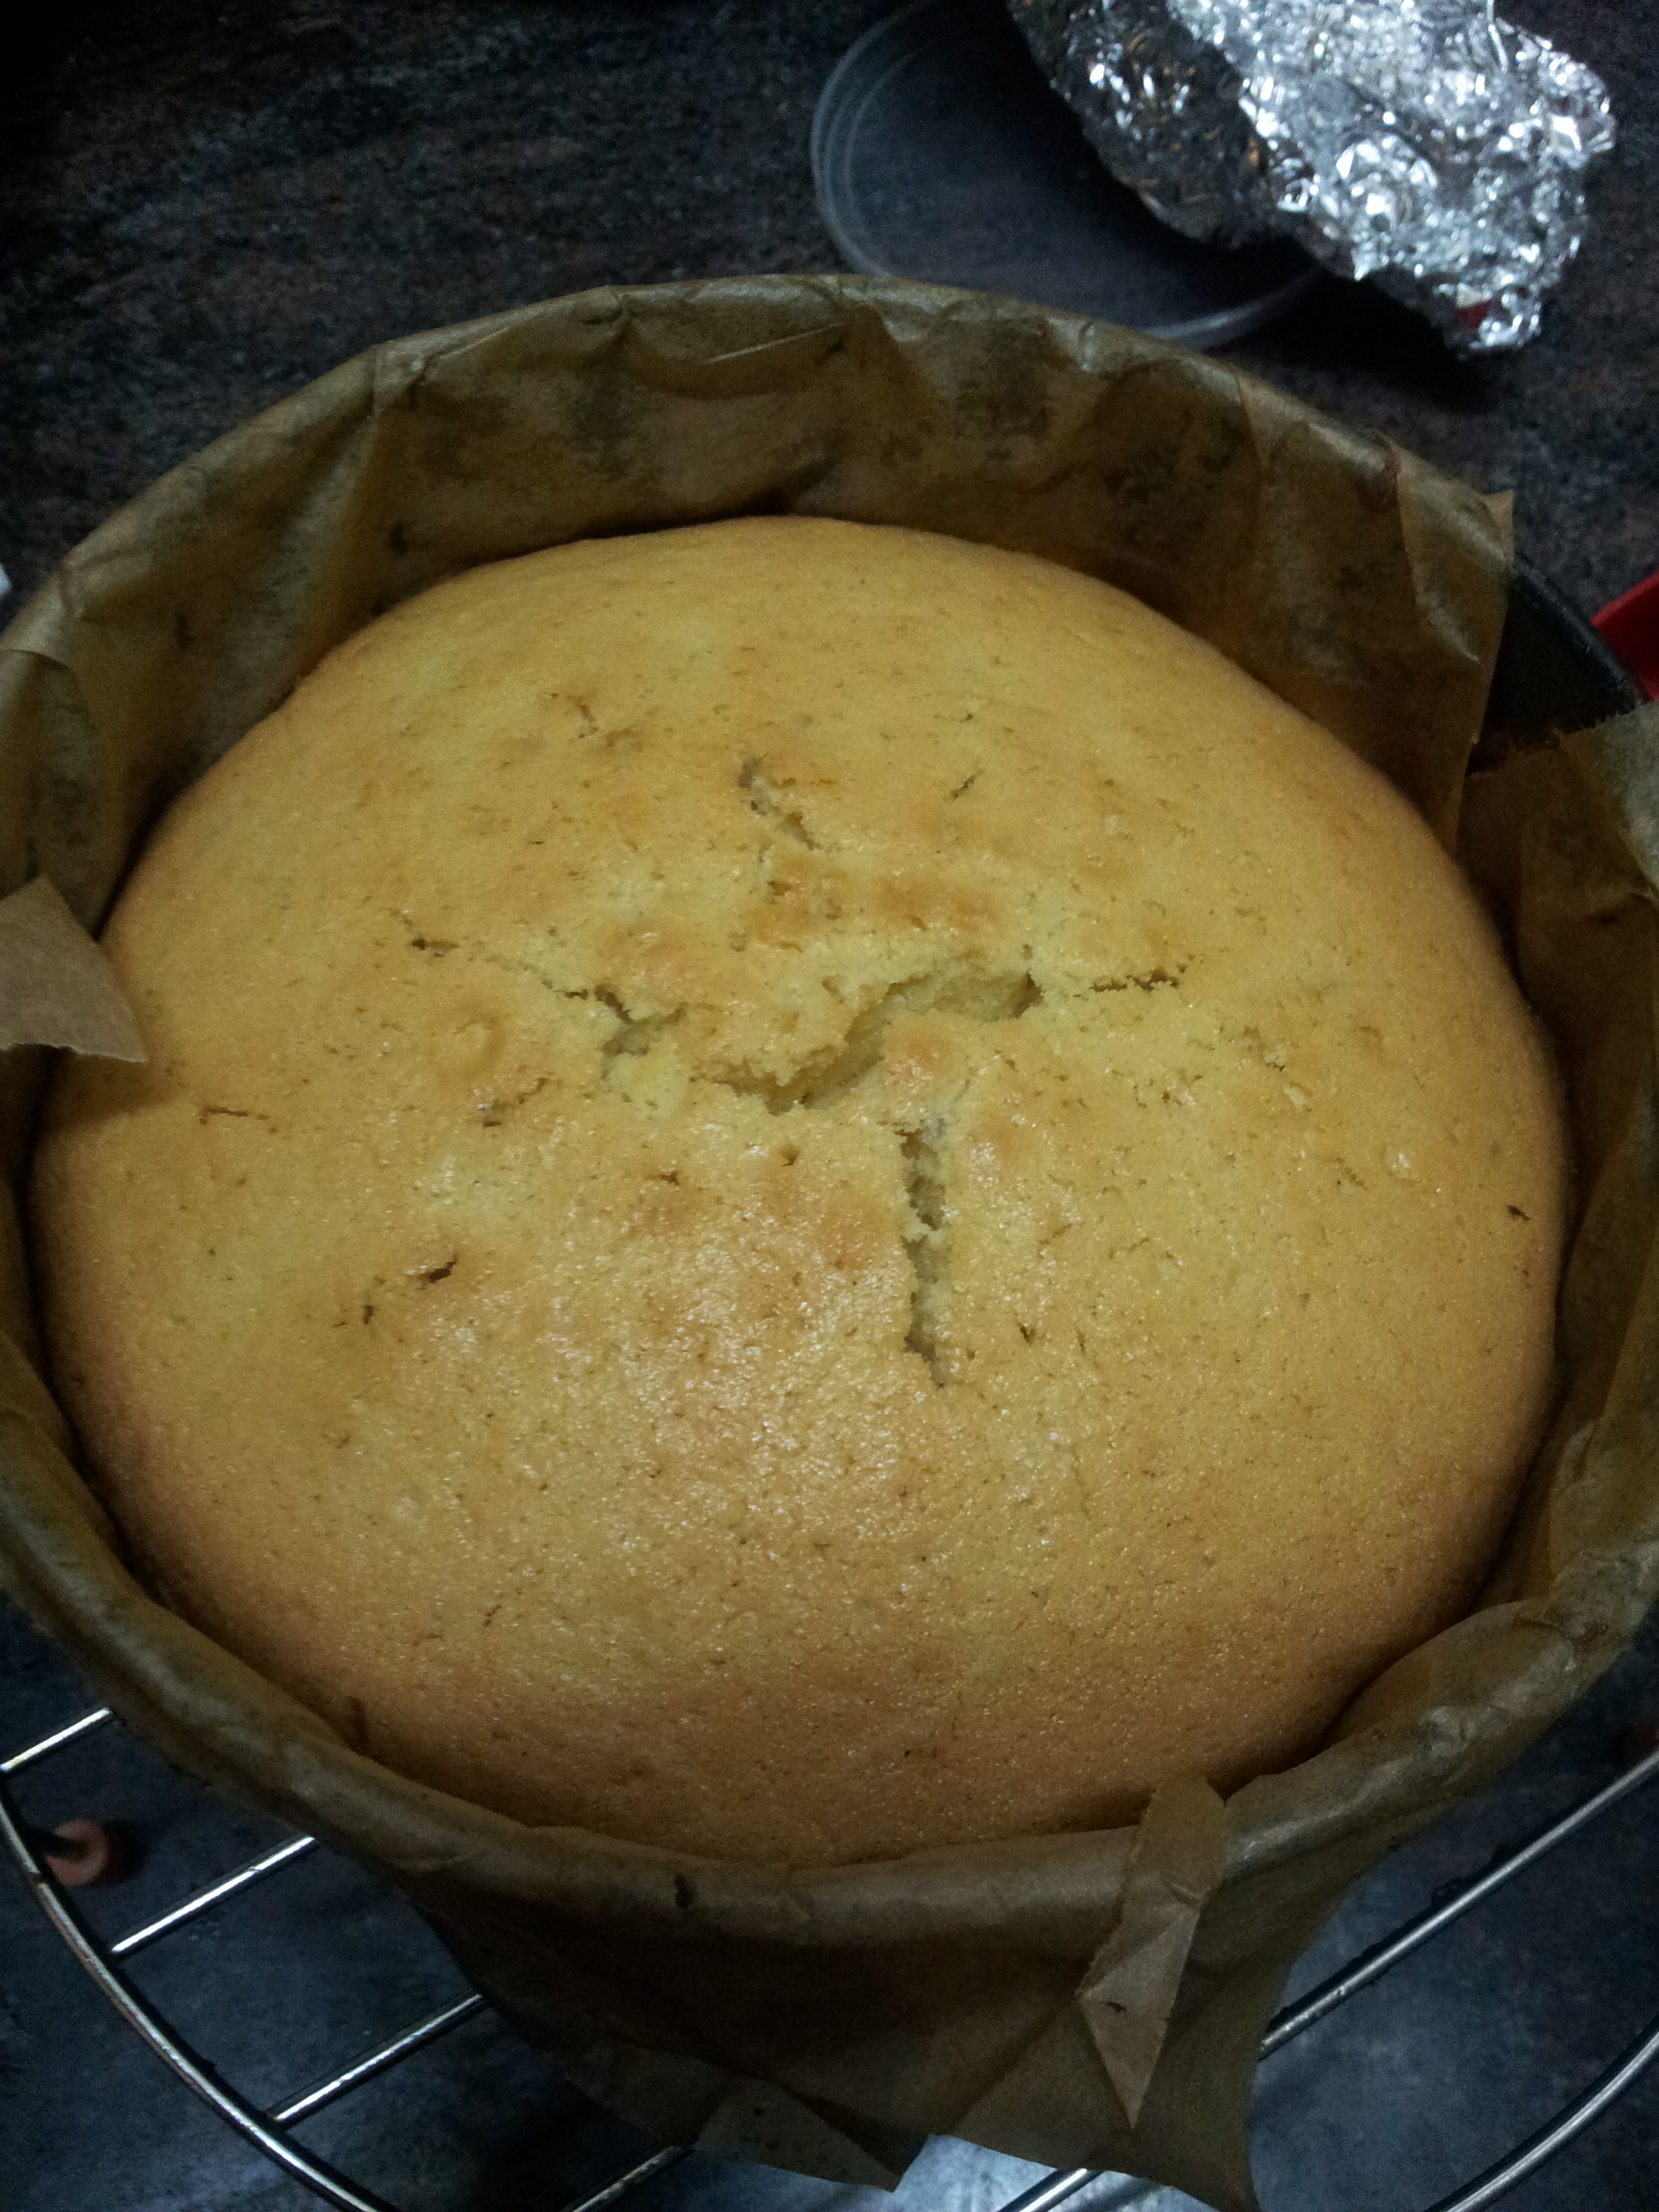
I cut a circle from the parchment paper with exact radius of the bottom of the pan… but this was a springform pan. When I checked it after 15 mins in the microwave.. boom … there was batter leaking.
How stupid of me…tip: use a lot of paper, let it spring out of base tray.
I had to take it out and pour the batter from pan to another one and as it had already baked for 15 mins , there were bits of cake already formed.
This is the final product!!!.. you see how much parchment I used this time..
For the Cake:
Preheat oven to 350°F. Prepare three 8″ round cake pans with parchment paper, butter and flour. I had 2 pans, so added 2/3 in the larger pan and 1/3 in smaller.
Sift dry ingredients into medium bowl. Transfer 1 tablespoon flour mixture to a different bowl. Add fresh blueberries and coat them with flour. Set remaining flour mixture and blueberries aside.
Stir sour cream, whole milk, vanilla extract, lemon extract and lemon zest in small bowl.
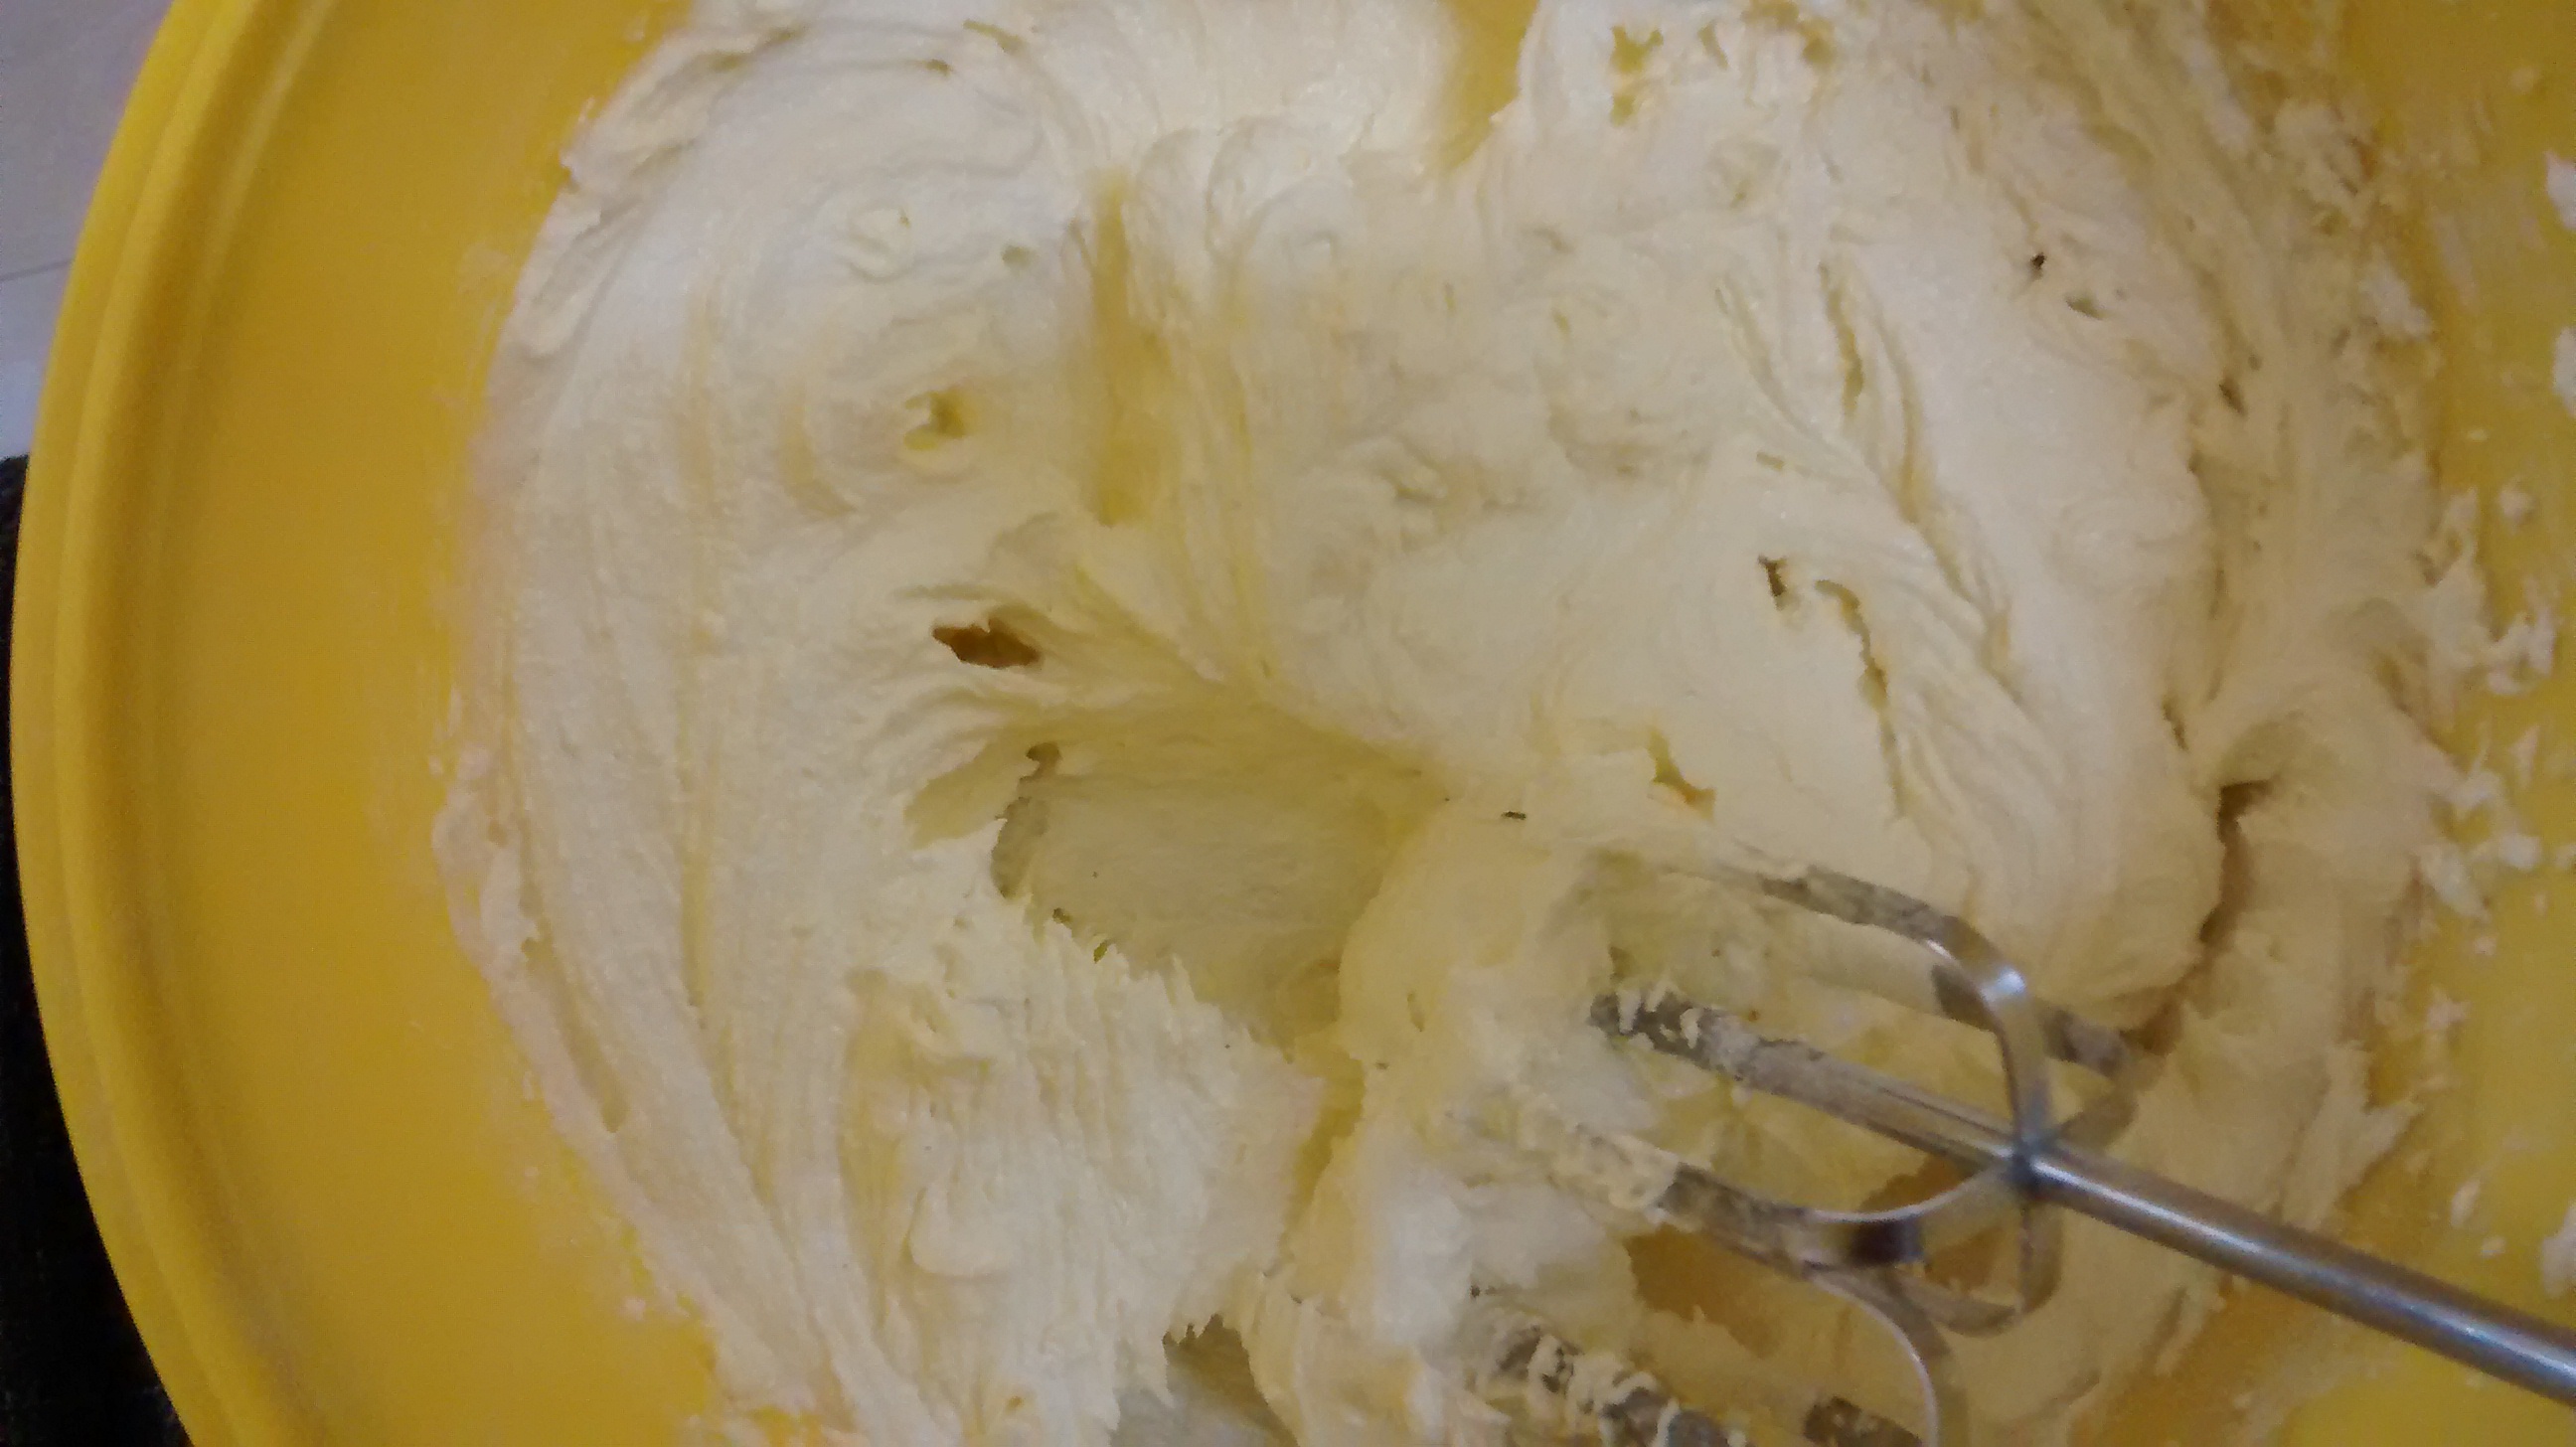
In the bowl of a stand mixer(I used regular hand mixer/whisker), mix cream butter and sugar, until pale yellow and very fluffy, about 5 minutes. Beat in eggs one at a time, until well combined.
Mix in flour mixture alternately with milk mixture, starting and ending with flour mixture. Stir until just combined. Gently fold in blueberries.
Divide batter equally among prepared pans. Bake for about 25 minutes or until toothpick inserted into center comes out clean. Cool cakes in pans on racks for about 10 minutes, then invert onto racks until completely cool
It was early 0100 hours on 26 June. I was tired and decided to sleep and hating PT for putting us through this.
I woke up really early and went to office, finished my previous day’s work and came home with PT by 1130 to finish the cake.
As I was using fondant, I made swiss buttercream frosting (Martha Stewart’s recipe)
Swiss Buttercream Ingredients
5 large egg whites( yes, you NEED 5 egg whites)
1 cup plus 2 tablespoons sugar
Pinch of salt
1 pound (454 gr ) unsalted butter, cut into tablespoons, room temperature. ( Thats a lot of butter)
1 1/2 teaspoons pure vanilla extract
I know that might freak you out, but lets remember that it is a cake and not some sprout salad.
This is egg white+sugar
STEP 1
Combine egg whites, sugar, and salt in the heatproof bowl of a standing mixer set over a pan of simmering water. Whisk constantly by hand until mixture is warm to the touch and the sugar has dissolved (the mixture should feel completely smooth when rubbed between your fingertips).
STEP 2
Attach the bowl to the mixer fitted with the whisk attachment. Starting on low and gradually increasing to medium-high speed, whisk until stiff (but not dry) peaks form. Continue mixing until the mixture is fluffy and glossy, and completely cool (test by touching the bottom of the bowl). It should take about 10 minutes.
STEP 3
With mixer on medium-low speed, add the butter a few tablespoons at a time, mixing well after each addition. Once all butter has been added, whisk in vanilla. Switch to the paddle attachment, and continue beating on low speed until all air bubbles are eliminated, about 2 minutes. Scrape down sides of bowl with a flexible spatula, and continue beating until the frosting is completely smooth. Keep buttercream at room temperature if using the same day.
.
It will look ugly. its okay, it gets better
STEP 4
(Optional) To tint buttercream (or royal icing), reserve some for toning down the color, if necessary. Add gel-paste food color, a drop at a time (or use the toothpick or skewer to add food color a dab at a time) to the remaining buttercream. You can use a single shade of food color or experiment by mixing two or more. Blend after each addition with the mixer (use a paddle attachment) or a flexible spatula, until desired shade is achieved. Avoid adding too much food color too soon, as the hue will intensify with continued stirring; if necessary, you can tone down the shade by mixing in some reserved untinted buttercream
The final product
<>ASSEMBLY!
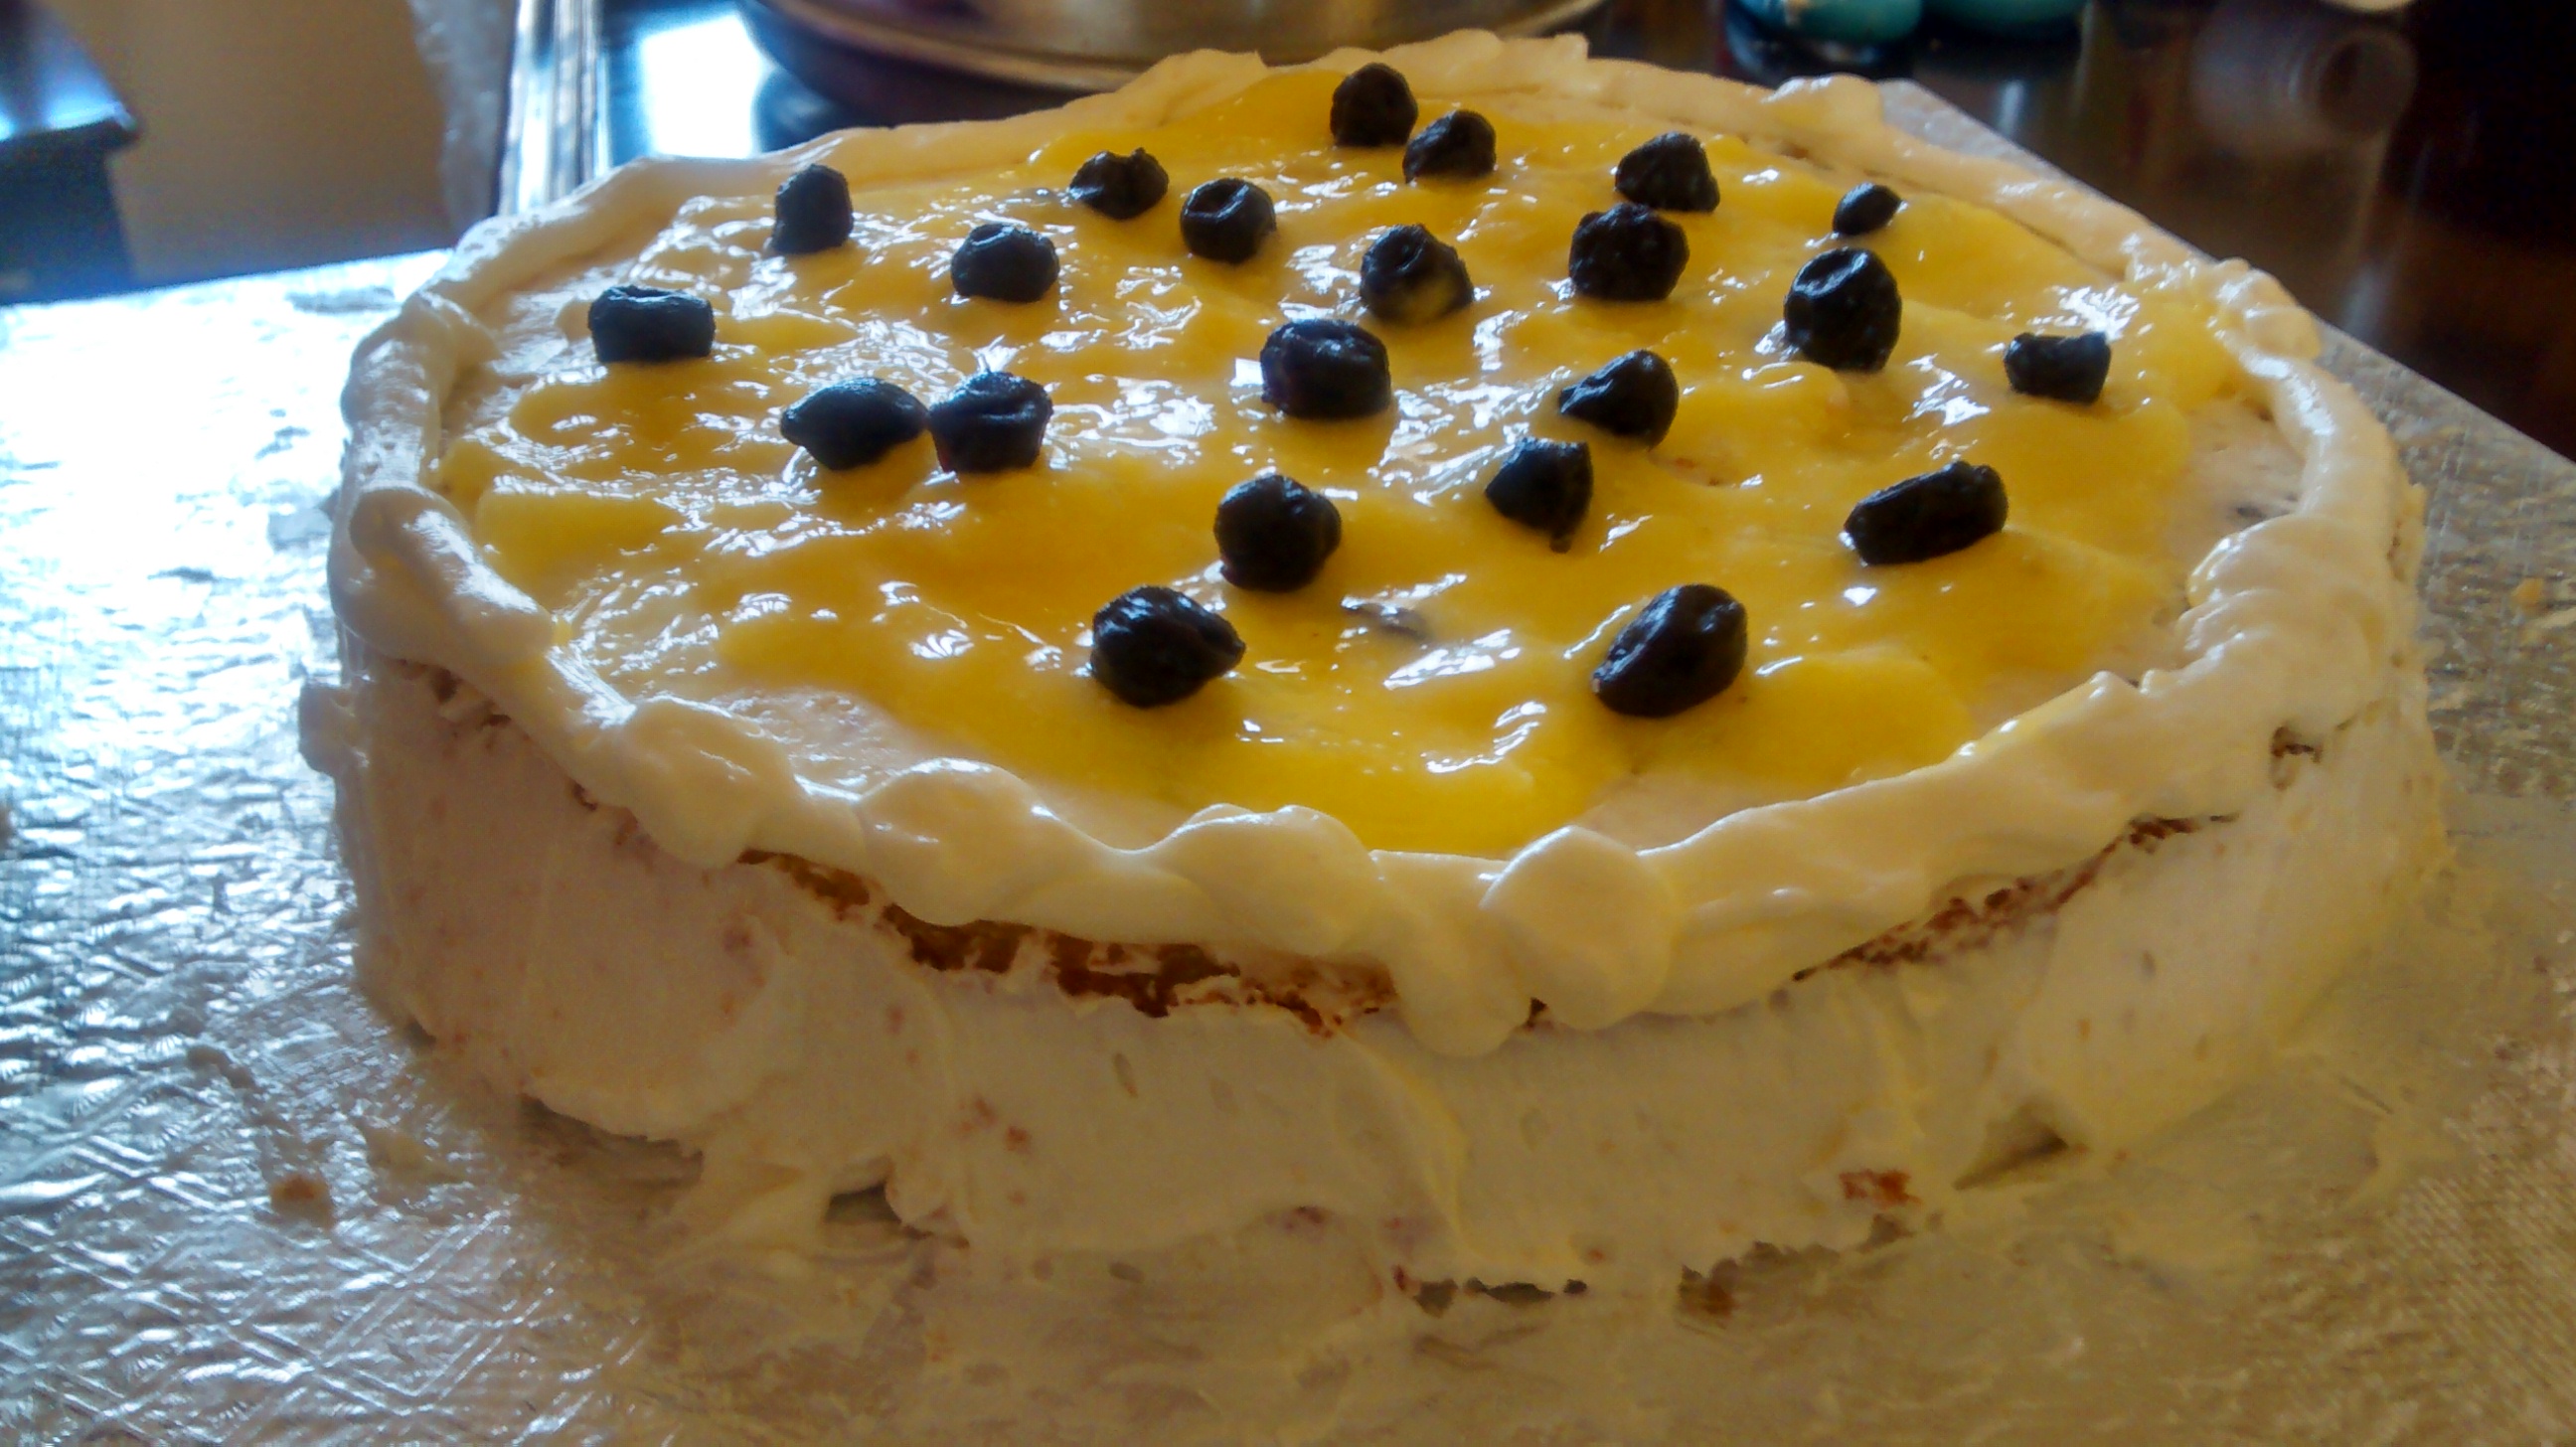
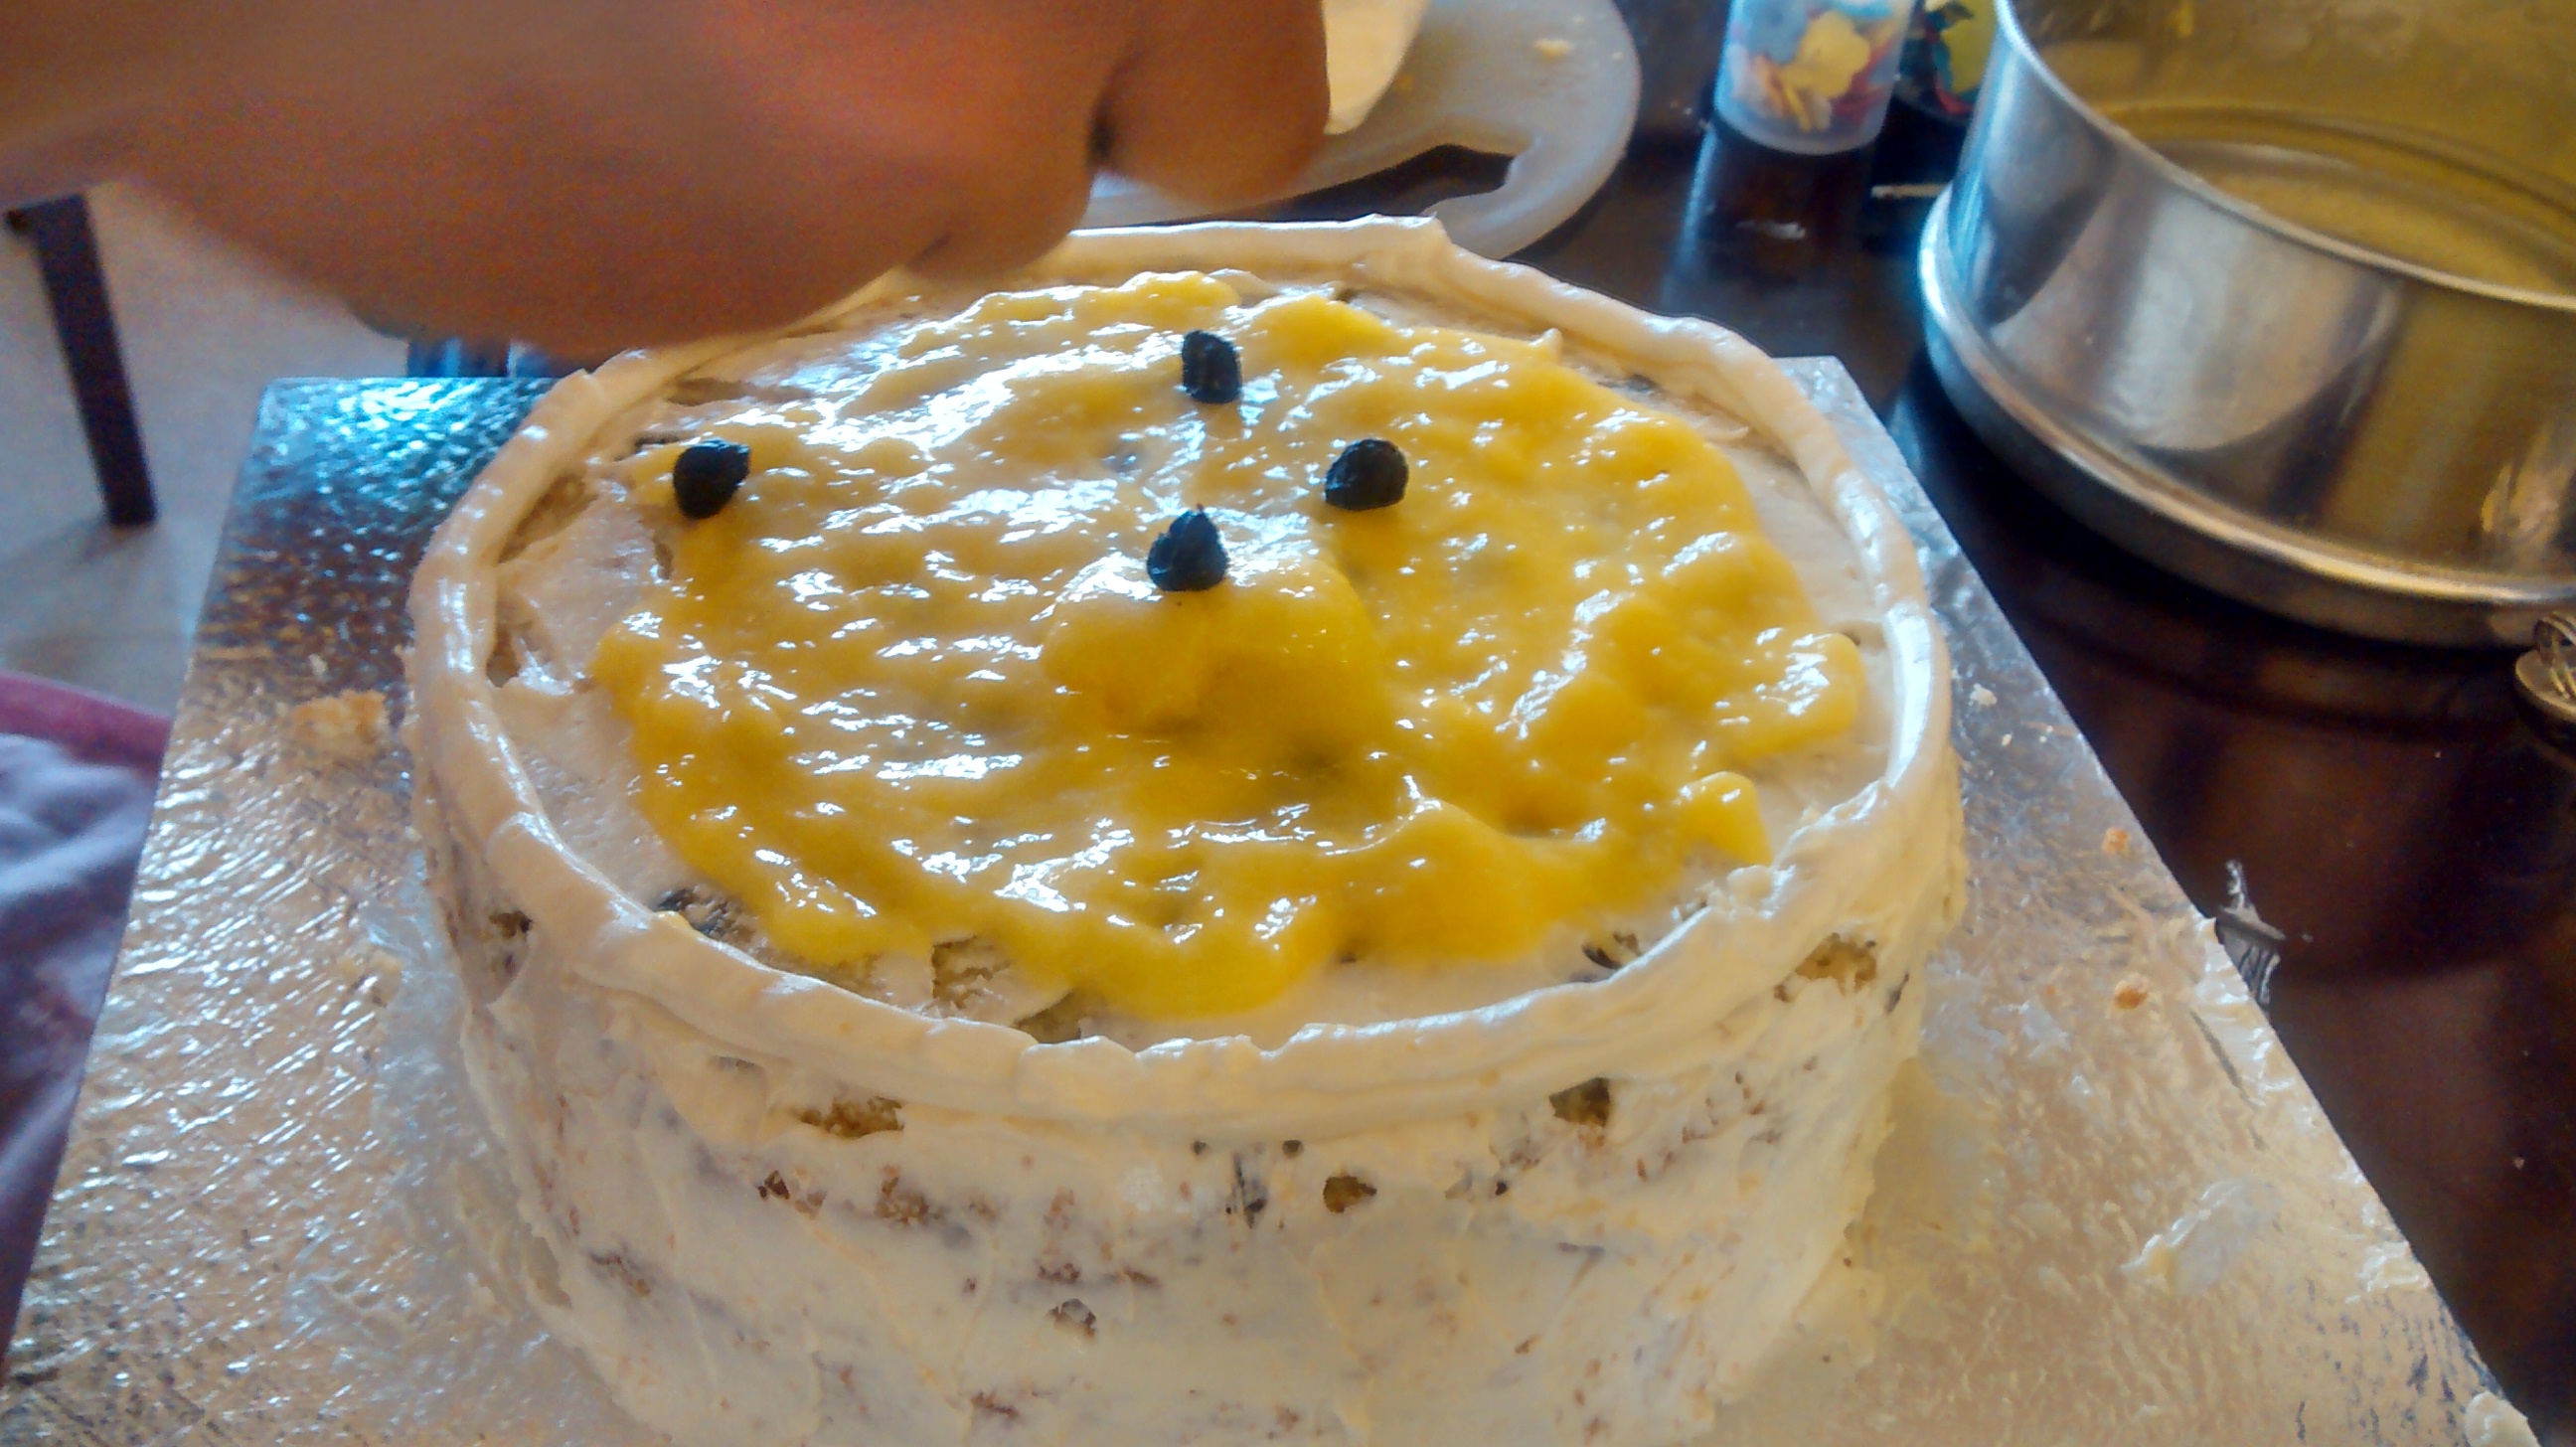
I had this fancy cake board( whatever that thing is called)… you could do this on a nice plate at home. Put some buttercream on board, place one layer of cake on it and start spreading buttercream allover it.
Now make a wall on the boundary with the cream and spread the lemon curd inside(2 spoonfuls) and sprinkle some berries.
Place the 2nd layer of cake and do the same
And the 3rd layer. don’t do the lemon curd thing here.. Use a lot of cream to make it a close to perfect cylinder. and place it in the refrigerator for an hour or so. FONDANT
Now fondant, you could make it yourself at home. if you planning to make this at home please do this 4-5 days in advance(if you are not a pro) I would use this recipe.
But for time, I bought it from Institute of Baking and Cake Art, Bangalore. They are little tough to deal with. You could go there or send them an email to deliver multiple things.
Now this is the first time I have seen in live, tasted and worked with fondant.
This idea was to have so kind of abstract swirls on the fondant and we made these red and blue colored strips by coloring the fondant.
What we had in mind was this. And it turned out like this..
We regretted. should have stuck to plain white carpet. We stuck weird strips on its lateral surface.
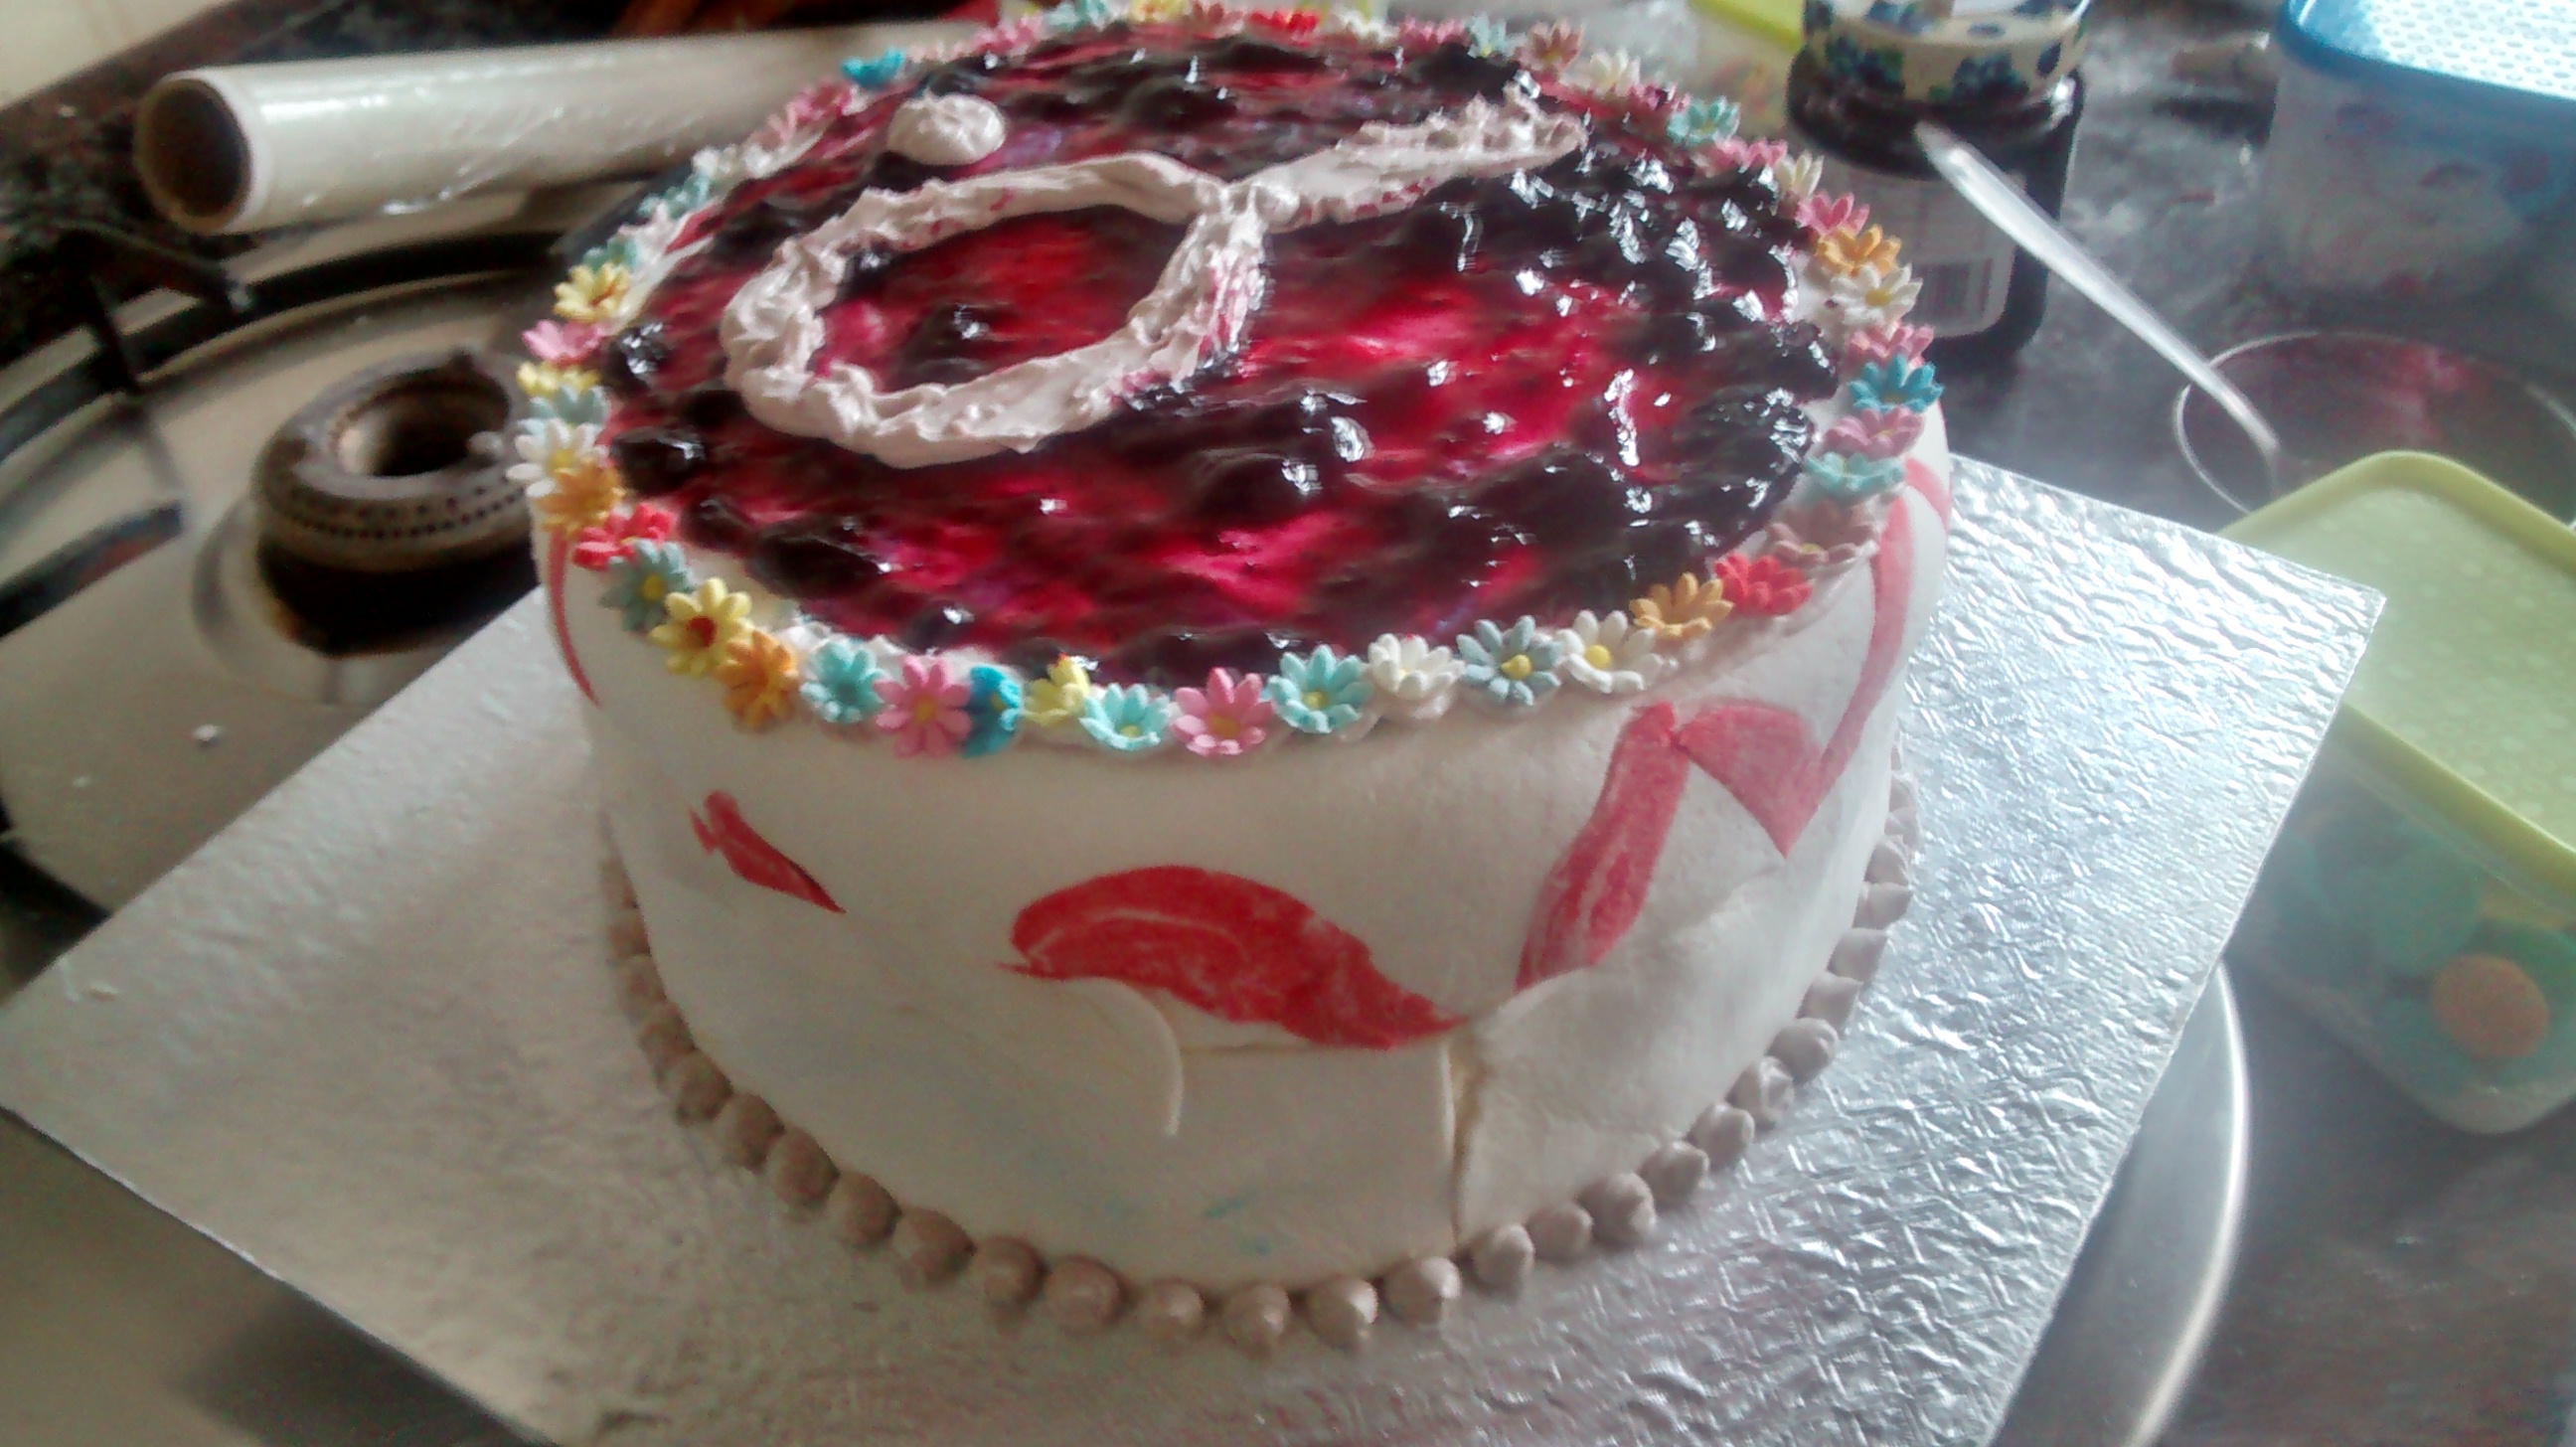
I had butterflies. large daisies and other very girly stuff to decorate it. We had some mercy for Tya and stuck to small flowers. Put a thin circle of cream and randomly placed flowers on it.
It was still ugly….
PT said, its anyways ugly, no harm in making a jam spread on it.
So we did this !!!! yay!!! its not lovely.. PT attempted to make a table tennis racket, it looked like this..
Some more blueberries to show off… hahhaha
There it is a wonderful cake .. we had no clue how it tasted.. PT: lets forget the looks , I prayed for it to taste good.
So we met Tya and others. Everyone said it looked good. I agree! for someone used to making high tea cakes, this is big.
He cut the cake, everyone ate it and said “its good”.. “really nice”
I ate. It was below average. way below my own standards. I knew people were being nice. But I was too tired to be sad.
Ignored everything and saved the leftovers , took it home and left it in the fridge for my roommates.
NEXT day
Me: hey there that cake in fridge, taste some.
Roomie:okay. (opens the box, takes a spoonful … chew chew)
(Brows raised) wow.. this is really good.
Me:( thinking.. yeah sure.. thats bad sarcasm if you were trying)
I eat after an hour..
I am blown.. what really happened in the fridge. huh??
so the fondant absorbed the cream and moisture from the lemon curd and the dried berries fluffed up too, all the individual components exchanged flavors and it just blasted in my mouth.
Bottomline :
MAKE THIS A DAY IN ADVANCE.
For the sides:
Now all these fancy items can be bought at this place called Cake and Baking Institute for not so expensive prices.
Oh, forgot to mention, have a lot of powdered sugar done in advance. 😉 PT did it for me.